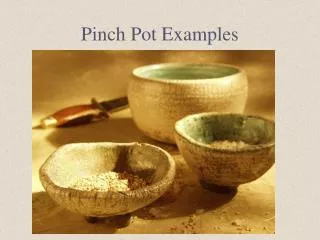
Pinch Pot Gallery
Pinch Pot Gallery. Just because it’s simple doesn’t mean it can’t be beautiful. Simple Pinch pots in a series. Glazed Pinch Pots Sometimes the pot does not seem special until it has been glazed. The decoration on these pots was created with a painted underglaze.

Pinch Pot Gallery
E N D
Presentation Transcript
Pinch Pot Gallery Just because it’s simple doesn’t mean it can’t be beautiful.
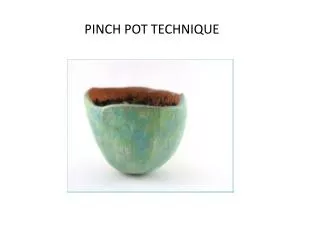
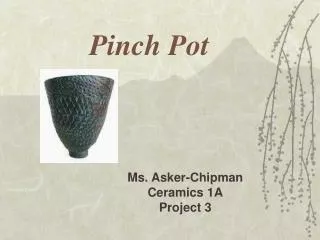
Glazed Pinch Pots Sometimes the pot does not seem special until it has been glazed.
The decoration on these pots was created with a painted underglaze.
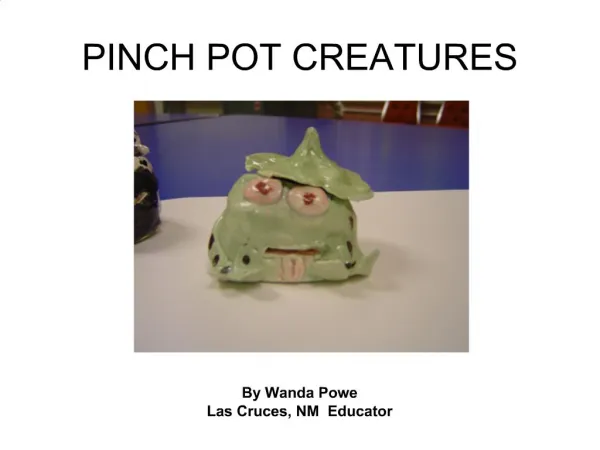
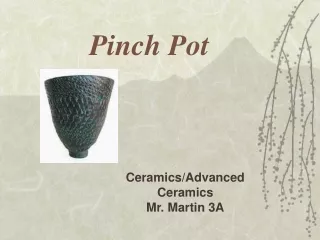
In this pinch pot the artist has sculpted an interesting surface.
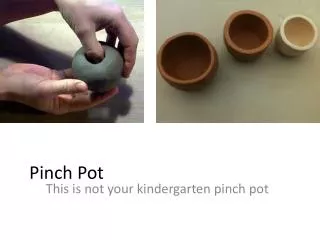
This pot is “leather hard”. It needs to dry and be “bisque” fired before glaze can be applied.
These pots are also “leather hard”. Notice the interesting surface designs.
A little whimsy and imagination turns pinch pots into swans!
In this class project, students were asked to decorate their pots with poetry.
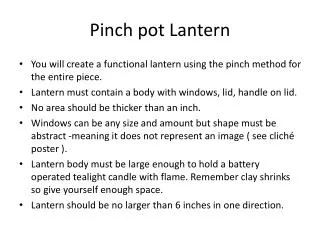
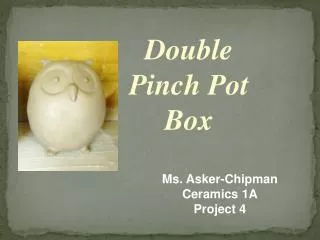
Let’s make this simple project more interesting: • The “theme” of the project is FISH. • Consider the shapes and textures of sea creatures for surface details. • Do not overcomplicate the project. • You should have a finished piece in two or three days.
Important details: • No wall of your pot should be more than about ¼ inch (.6 cm) thick. • The pot must be refined. Your fingerprints should not show and the edges should be smoothed. • Mark the bottom of the pot with your name or initials clear and readable. • Projects without names cannot be graded. • Keep your wet clay projects in your bin during construction. • Seal the bag or bin properly. • Once a piece is dry you cannot change it. • Place your finished pot on the assigned shelf for drying.