Download
1 / 16
160 likes | 372 Views
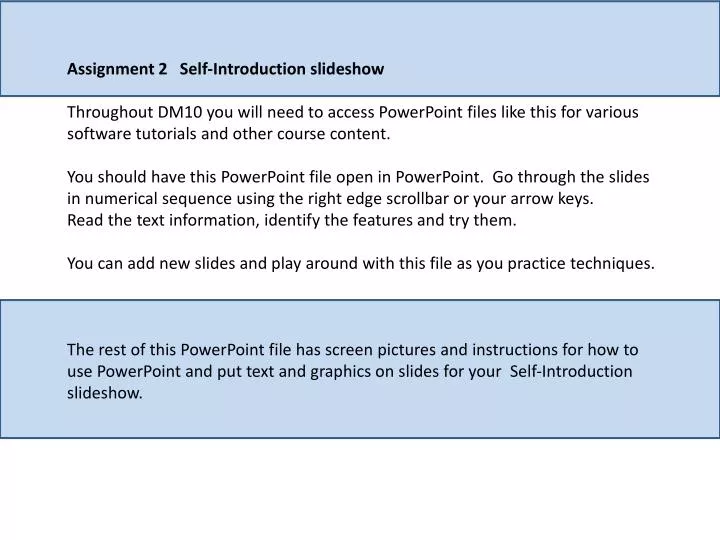
Assignment 2 Self-Introduction slideshow Throughout DM10 you will need to access PowerPoint files like this for various software tutorials and other course content.

E N D
Assignment 2 Self-Introduction slideshow Throughout DM10 you will need to access PowerPoint files like this for various software tutorials and other course content. You should have this PowerPoint file open in PowerPoint. Go through the slides in numerical sequence using the right edge scrollbar or your arrow keys. Read the text information, identify the features and try them. You can add new slides and play around with this file as you practice techniques. The rest of this PowerPoint file has screen pictures and instructions for how to use PowerPoint and put text and graphics on slides for your Self-Introduction slideshow.
PowerPoint is the worlds most used and misused presentation software. Think of PowerPoint as an empty box where you add .Then you use your design skills to create This is the “Power” in PowerPoint. Each PowerPoint slide can hold text, graphics, audio, video, animation, and interactivity in any combination. (DM10 Mantra: More is not necessarily better.) This slide has body text, WordArt text, a vector graphic (arrow), and an imported raster graphic (box). content Content Sequences
PowerPoint can be a powerful tool to deliver ideas, concepts, stories, and experiences. The right content, sequence, and timing can create a powerful experience for your audience. PowerPoint has many features making it easy to create interactive or self-running slideshow presentations. Look at the tools and interface to see what is available to you. This picture is what you see when starting a new slideshow in PowerPoint 2007.
This screen picture is the PowerPoint interface. Most of your tools are at the top of your screen. They use a horizontal tab system to change to different sets of tools depending on what you want to do. Click the different tabs to the right of “Home” to see how tool sets change. horizontal tabs This is the slide view where you add slide content. This is a thumbnail view of your slide. This screen picture slideshow only has one slide, and there is no content. These are placeholders for text. You can use them or not, just click and start typing. If no text is added in the placeholders, they will not be visible in the slide when viewing the Show. My preference is to delete these placeholders and start with a blank slide.
When you have this file open in PowerPoint, you are in the working/editing mode. These slides and this file are not the end-product. The end product is the Show: no menus, no buttons, just your slides - full screen. The content you design, create, acquire, process, and arrange will be what your audience sees (and hears). You can create a Show (ppsx or pps) any time from the working file like this one (pptx or ppt). It is one of the options in the Save As menu , under the top left Office Button. You can save the Show as a separate file: ppsx or pps. You cannot edit the show, only play it. This is a very important button. You use to view the end-product slide Show, as your audience will see it.Try it (at the bottom of your screen), then use the Esc key on your keyboard to return to this view.
Think of the separate content on a slide as objects. This slide has 8 objects. Can you count them? Each can be moved, resized, deleted, put in front or behind other objects, even animated or turned into a trigger to make something else happen as the slideshow plays. This text box is one object. Same as the others. The big screenshot graphic is another object. This textbox is an object, the arrow another object. two more objects Move your cursor around this slide, watch how the cursor changes. The cursor is your visual clue to what you can do with the objects. Click an object to select it and move it with the 4 arrows cursor. Then Ctrl+z to undo. Try it.
Selecting text box objects can be tricky. Move your cursor inside this yellow text box and click once after this word. Notice how a text insertion line is set and the box gets a dashed line around it and handle dots around the edge. This is text editing mode where you can change the text contents. Try it. This works like any text in a word processor. Click anywhere in the white area to deselect this object. Next try clicking on the line border. Notice how the line stays solid with selection dots around the edges. This is object selection mode, different than a dotted line because now you can use the arrow keys on your keyboard to move the box around the slide. Try it. The cursor is your visual clue to what you can do. Four arrows means move the object, two arrows means change the size in a certain direction. Select the above box again and move the cursor over the green dot, this is for rotating the object. Try it. Ctrl+z to undo.
Here is one way select objects (including the text placeholders). Use your cursor with the left mouse button held down and draw diagonally to make a selection box to surround the content you want to select. Try it on this slide. Put your cursor in the top right corner and drag a diagonal selection box. When you release the mouse button, notice how selected objects get selection dots. You can select single or multiple objects. Objects must be completely enclosed in the diagonal box to be selected. This light blue box is the selection area.
When you create a new blank slideshow you get these placeholder text boxes. You can use the diagonal drag to select these placeholders. Try it.
When you release the cursor the text placeholders are selected, as shown by the corner dots and top green dots. Hit the Delete key on your keyboard. They’re gone. Ctrl+a is a common keystroke for selecting all (a for all). Can you use this keystroke to select the placeholder text boxes? Try to delete content on this slide. Ctrl+z is undo. The easiest way to increase your computer efficiency is to learn and use keystrokes along with your mouse actions and right-mouse button.
To add some new body text to a slide, start with this tool from the top Home toolbar. With the tool selected, draw a box on the slide by dragging diagonally while holding the left mouse button (the same action as you used to select objects). The new placeholder text box will look like this. Don’t worry about getting the size or position exact, just get it close, you can adjust the textbox size later, move it around, do most anything you want to it. When you release the mouse your box will get a dotted line around it and a flashing cursor. It will look like this. Ready for you to enter some text The textbox will automatically grow vertically as additional lines of text are added.
Textbox text is a way to add body text to a slide. “Body Text” typically has a main purpose : to be read. Your design choices will determine how easily or difficult it is to read the text. Setting text attributes like font, size, and coloris called text formatting. This yellow textbox is an object. You can move it, resize it, rotate it, add fill color to it, add a border or outline to it. Whatever you do, consider the main purpose for this text is to be read. These are the tools for adding textbox color, outlines or other effects. Select the yellow text box in this slide and play around with changing how it looks. These are the tools for formatting your text. The tools become active when they have some text to change. Ready for you to enter some text
Try using the text box tool and dragging a text placeholder on this slide, roughly on the right bottom half. Then add some text to the textbox. Use your Enter key to make “hard returns” (new lines of text). Notice the distance between text lines, this is called “leading”. Then change the textbox size by grabbing side handles.
Try adding some body text to this slide and playing with design and formatting to become familiar with your options. (Formatting text includes font selection, text size, color, attributes such as Bold, Italics, etc.)
Adding a picture to a slide The PowerPoint “Help” files that come with the software are quite extensive. To access PowerPoint Help look for the tiny question mark in a blue circle. (I see it in the top right corner under the X.) Go to PowerPoint help and search for “Insert a picture” You should see the specific help listed near the top of the search results. Throughout the semester you should use PowerPoint help as one of your problem-solving resources. This is true for almost all software, some software has great help, some is not very user-friendly. Photos must be a separate file on your computer before inserting onto a slide (usually a jpg file). Once the photo is on the slide it is “embedded” in the PowerPoint file. In the top Insert menu is a Picture button. This takes you to a window to locate your photo file. Later in the semester we will go through image processing in preparation for inserting in a slide.
To complete your Intro Slideshow you will need to place text and a picture or pictures on different slides, creating a short visual sequence. You will need to add slides to the show so it has a total of 5 slides. The New Slide button is in the Home tab and has a drop down for slide layout options. Be sure to spell-check before turning in your file. The spell-check button is under the Review tab in the top horizontal tab list. If you run into questions about how to do certain things that are beyond the basic requirements of this assignment, try the PowerPoint help, maybe you will find what you need. You can also send specific questions in email to the course instructor. If you are using OpenOffice Impress, tools and features will be different but principles are the same.