Download
1 / 7
70 likes | 80 Views
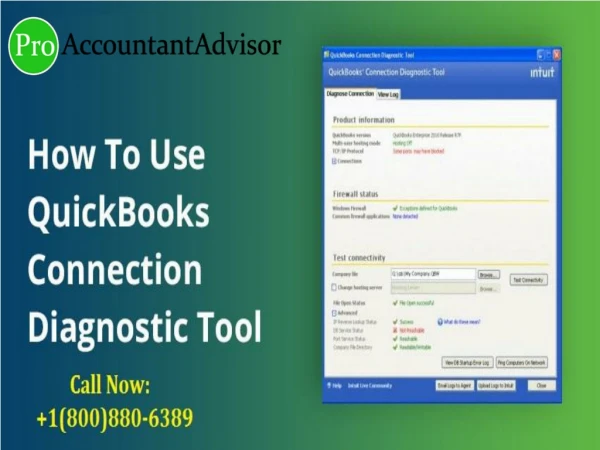
Click on the given link to know how to Recover lost QuickBooks file. Dial (855)-526-5749 to get help from our quickbooks experts. To know more: https://bit.ly/3q6F8ss

E N D
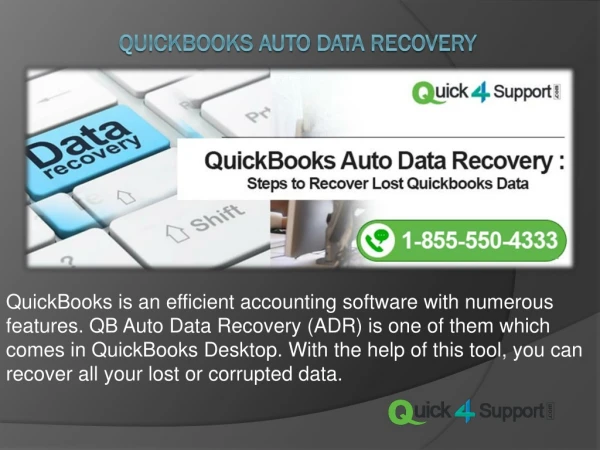
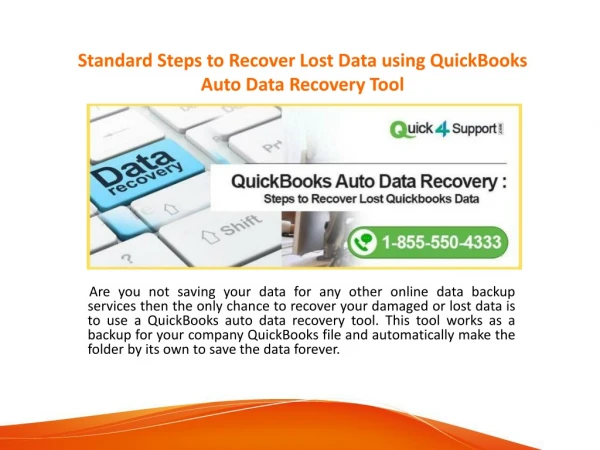
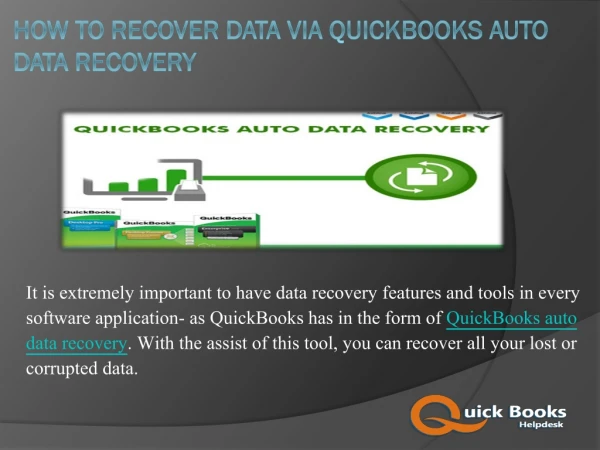
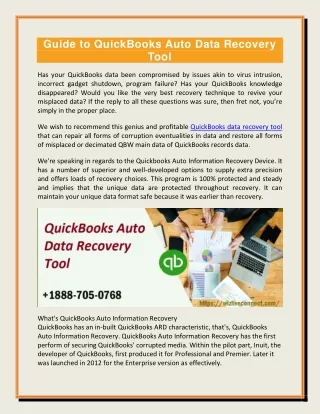
A Complete Guide On QuickBooks Auto Data Recovery Tool Recovering lost transactions with the help of the current Transaction Log file and a copy of the company file. Restoring the last few transactions with a copy of the Company file and Transaction log file. QuickBooks desktop application has a unique feature that enables users to recover lost or corrupted data. Using the QuickBooks Auto Data Recovery tool is the fastest way of recovering the lost data. The Auto Data Recovery tool recovers the lost data in the following ways: The QuickBooks auto data service is a long process and may take some time. However, the user cannot use the QuickBooks software for several days after using the tool.
Auto Data Recovery feature is only available in QuickBooks Pro, Premier, and Enterprise versions. Update QuickBooks Desktop to its latest version to maximize the feature. Auto Data Recovery feature is not available in QuickBooks Accountant Edition. QuickBooks can only generate the ADR file up to 1.5 Gigabytes. Points to Remember
Restoring the last few transactions by utilizing the original transaction log file and ADR version of the company file: Close QuickBooks and create a new folder on the Desktop and name it as QBTest. Double-click and open the folder containing the company file. Search for the .tlg file in the company file’s folder. Show file extensions If you cannot find the .tlg file, follow the steps to show file extensions. Press Windows and E keys on your keyboard to open the File Explorer. Click Organize, then choose Folder and search options. Steps to Recover recent transactions with the help of .TLG and .QBW file If you are using Windows 10, 8.1 & 8 Click View, then select Filename extension. Choose Hide extensions for known file types. Click Apply, then OK
Copy the .tlg file and paste it to the QBTest folder you created on desktop. Then, open the QuickBooks Auto Data Recovery folder. Now, copy the .QBW folder and paste it to the QBTest folder. Open the QBTest folder, right-click the QBW.adr file and choose Rename. Open QuickBooks and then open the company file from the QBTest folder. Register the account to verify the transactions. Click on the File menu and select Utilities. Select Verify Data to check the data integrity of the recovered data. Copy the QBTest company file to the original location and move the damaged company file to a new location.
Steps to recover lost data using .QBW.adr and .TLG.adr files By utilizing the ADR version of .QBW and .TLG file, you can recover the last 12 hours of transactions: Close QuickBooks and create a new folder, name it as QBTest. Open the folder having the company file. Search for QuickBooks Auto Data Recovery folder. Search for the company file with .TLG.adr and .QBW.adr file. If the file extensions are not visible, follow the steps given below to show file extensions: Open File Explorer by tapping the Windows and E keys together on your keyboard. Click Organize and then select Folder and search options. Next, choose Hide extensions for known files and click Apply.
Copy both .TLG.adr file and .QBW.adr file. Paste both the files into the QBTest folder. Remove .adr from both the file names. Open QuickBooks. Open the company file from the QBTest folder. Use your verified account and verify all the transactions. Follow the steps to check the data integrity of the recovered file: From the top left pane, choose the File menu. Select Utilities and then Verify Data. If you don’t get any error after verifying the company file, move the file to the original location and move the damaged company file to a different location.
Conclusion That’s all about QuickBooks Auto Data Recovery. If you still have any queries about it, then talk to the QuickBooks support team by calling us on our customer service number(855)-526-5749.