Download
1 / 11
110 likes | 257 Views
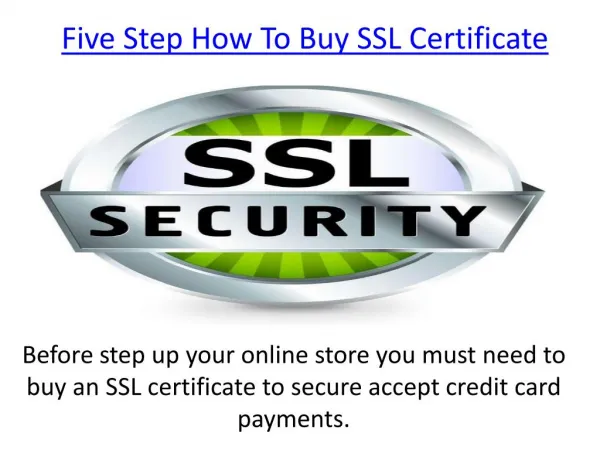
SSL Certificate Installation Guide for Apple Mac OS X Server.

E N D
5 Steps To Install SSL Certificate for Your Apple Mac OS X Server - By RapidSSLOnline
Step 1 • Once your order is issued, store the yourhostname.zip file into your server, and extract both your Primary Certificate (yourhostname.cert) and Intermediate Certificate (certificateauthority.crt) in the same folder. SSL Certificate Installation Steps for Apple Mac OS X Server
Step 2 • Now, Double click on Intermediate Certificate and choose import option from the pop-box of ‘Add Certificate’, then select ‘System’ option from ‘Keychain’ drop down menu and click on ‘Add Button’ to perform the import process. SSL Certificate Installation Steps for Apple Mac OS X Server
Note: For the next step of Import process, you need to add administrator credential to validate changes.
Step 3 • After import process, open your Apple Mac OS X Server and then click on ‘Certificates’. Now select the setting option and choose ‘Add Signed or Renewed Certificate from Certificate Authority’ in that drop down menu. SSL Certificate Installation Steps for Apple Mac OS X Server
Step 4 • Once you choose the option ’Add Signed or Renewed Certificate from Certificate Authority’ from the Settings, it will show all the details about the existing certificate or the new certificate. Now you have to drag your Primary Certificate (yourhostname.cert) into the pop window, which you have seen while selecting the option ’Add Signed or Renewed Certificate from Certificate Authority’ from setting. SSL Certificate Installation Steps for Apple Mac OS X Server
Step 5 • Now click the ‘OK’ button when you complete Primary Certificate (yourhostname.cert) drag and drop process. SSL Certificate Installation Steps for Apple Mac OS X Server
Congratulations! Your SSL Certificate is now installed on the Apple Mac OS X Server. SSL Certificate Installation Steps for Apple Mac OS X Server
For More Information About SSL Certificate Installation Guide for Apple Mac OS X Server : https://www.rapidsslonline.com/blog/ssl-certificate-installation-in-apple-mac-os-x-server SSL Certificate Installation Steps for Apple Mac OS X Server