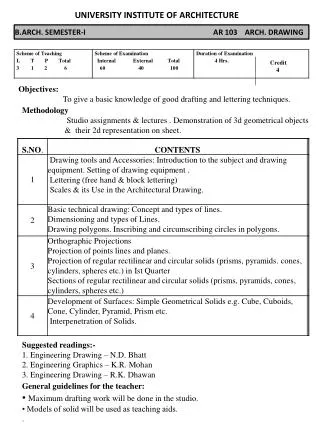
Drawing & Drafting Tools
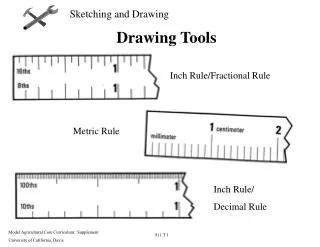
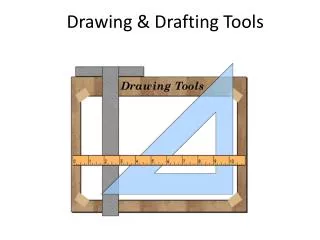
Drawing & Drafting Tools. T-Square. Why is the letter “T” in its name? Why is the word “square” in its name?. Drawing a perfectly straight VERTICAL line. Drawing a perfectly straight HORIZONTAL line. Triangle. Why is called a “triangle”?. Using a triangle to draw a horizontal line.

Drawing & Drafting Tools
E N D
Presentation Transcript
T-Square Why is the letter “T” in its name? Why is the word “square” in its name?
Triangle Why is called a “triangle”?
90 Degree Angles A Right Triangle can help you draw perfect 90 degree triangles. The RED line is 90 degrees 90
You will need: • Drawing board • T-Square • Paper • Pencil
One-Point Perspective Assignment #1 Tape a piece of paper to the center of your drawing board. Vanishing point Draw the “X” shown, starting from each corner. This will help you find The exact center of the paper.
Drawing a “room” Draw a vertical line to represent the start of the back right wall
Add Wood Flooring TIP: Use a ruler to measure an even distance between the dots!
Draw sides of skylight “walls” Make sure your line intersects this point!
The important diagonal line! This will help us draw the individual tiles!