Activity Overview
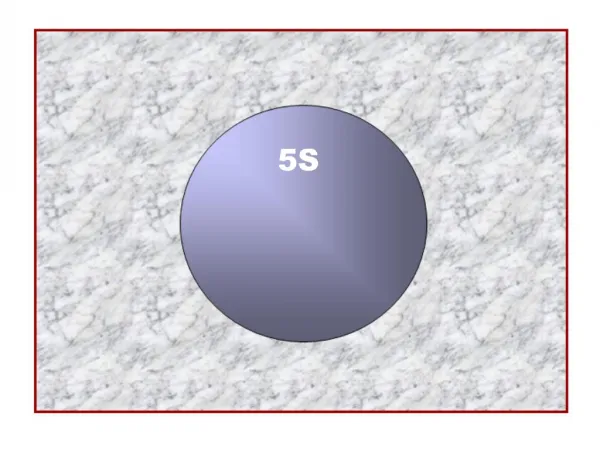
Activity Overview . Disciplines Covered: Science & Math Prep Time: 60-90 minutes Activity time: 2 class periods, plus incubation time (about 3-5 days). LD100. 100. LD50. % Mortality. LOEL. 0. The Dose Makes the Poison. LD 50: Lethal Dose 50% LD 100: Lethal Dose 100%

Activity Overview
E N D
Presentation Transcript
Activity Overview • Disciplines Covered: Science & Math • Prep Time: 60-90 minutes • Activity time: 2 class periods, plus incubation time (about 3-5 days)
LD100 100 LD50 % Mortality LOEL 0 The Dose Makes the Poison LD 50: Lethal Dose 50% LD 100: Lethal Dose 100% LOEL: Lowest Observable Effect Level
Serial Dilution Preparation • Teacher: Yeast dilutions • Three batches of 10-5 yeast solution • Students: Cleaners- 100% to 0.0001% • Group A – Lysol Kitchen Antibacterial Cleaner • Group B – Tilex Mildew Remover • Group C- Borax
Part I: Serial dilutions • Working in pairs, you have 10 minutes to complete this task: • Practice using the disposable pipette with colored water. • Create a 10-6 dilution of yeast • a. Mix the 10-5 yeast dilution well. • b. Using a pipette, take 1 ml from 10 yeast dilution. • c. Add this to the 9 ml of water in the blank tube. • d. Label this new dilution “10-6” • e. Mix well.
Part II: Petrifilms • You have 5 minutes to complete this task. Working in pairs: • Mix your 10-6 dilution well. • Draw 1 ml of your solution into a NEW disposable pipette. • Take one 3M Yeast and Mold petrifilm. • Lift the plastic layer. • Squeeze out the 1 ml into one large drop in the middle of the grid • Lay the plastic layer back down. • Place the spreader over the middle of the drop. • Press down with firm pressure for about 5 seconds.
Potato Dextrose Agar Plates • An alternative to 3M Yeast and Mold Petrifilms are the traditional agar plates. • Potato dextrose agar is used because it is a good medium for growing yeast. • The alternative student and teacher materials are available on the Hydroville website: www.hydroville.org
Agar plate after Incubation Control vs. 100% Lysol
Part III: Data Analysis and Interpretation • You have 10 minutes to complete this task. • Work together to count the colonies on the petrifilms for each dilution (Tilex, Lysol, or Borax). • Plot your data on the graphs provided. • Find the LOEL and LD50 on the dose-response curve. • Compare answers with other groups to determine which cleaner is the most effective.
Calculations C= Number of colonies in control T= Number of colonies in treatment % killed = C-T x 100 C
Student Outcomes • After doing this activity, students will be able to: • Develop a dose-response curve. • Identify the Lowest Observable Effect Level (LOEL), LD100 and LD50 on the dose-response curve. • Understand the effect disinfectants have on yeast growth. • Understand the purpose of using an experimental control.