Install NetBeans with PHP
Install NetBeans with PHP. ISYS 475. Install NetBeans. (If you want install Java) First download and install Java JDK: http://www.oracle.com/technetwork/java/javase/downloads/index.html Then download and install NetBeans 7.3.1 bundll All with PHP:

Install NetBeans with PHP
E N D
Presentation Transcript
Install NetBeans with PHP ISYS 475
Install NetBeans • (If you want install Java) First download and install Java JDK: • http://www.oracle.com/technetwork/java/javase/downloads/index.html • Then download and install NetBeans 7.3.1 bundll All with PHP: • http://netbeans.org/downloads/index.html • Note: This NetBeans with PHP only install the PHP code editor, not the PHP compiler.
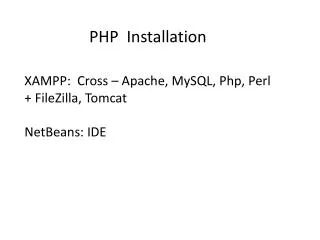
install and configure an AMP (Apache, MySQL, PHP) package • http://netbeans.org/kb/docs/php/configure-php-environment-windows.html • Installing and Configuring the XAMPP Package • Download the XAMPP 1.8.2 installer package • install the Apache server and the MySQL database server as services • http://www.apachefriends.org/en/xampp-windows.html • Note: On the XAMPP page, Don’t click the 7-ZIP Download. Scroll down untill you can see the content of the download. Click Installer. • See next slide
Connecting NetBeans to PHP Compiler • From NetBeans IDE, click Tools/Option, then click PHP/General: • For PHP 5 Interpreter, browse to: • c:\xampp\php\php.exe
Testing PHP • Open a new php project: • File/New project/PHP
Connecting to a MySQL Database • http://netbeans.org/kb/docs/ide/mysql.html • Register and configure MySQL Server Properties: • From NetBeans, right-click the Databases node in the Services window and choose Register MySQL Server to open the MySQL Server Properties dialog box.
Testing MySQL Server • Before you can connect to a MySQL Database Server, you must first ensure that the MySQL Database Server is running on your machine. If the database server is not connected you will see (disconnected) next to the user name in the MySQL Server node in the Service window and you will not be able to expand the node.
Starting the MySQL Server:1. First start the XAMP Control Panel2. Start Apache and MySQL
Port 80 issue • If you get the Port 80 conflict message, most likely is because of your computer is running Internet Information service, IIS, in the background and you need to stop it. • To stop IIS: • Control Panel/Administrative tools/Internet Information Service • Click STOP to stop IIS
Connecting to MySQL Server • In the IDE's Services window, right-click the MySQL Server node and choose Create Database. • Creating Database Tables • Using the Create Table Dialog
If loading NetBeans is too slow: You may uninstall some components: Tools/plugins and click Installed