Download
1 / 9

E N D
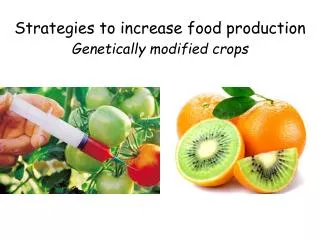
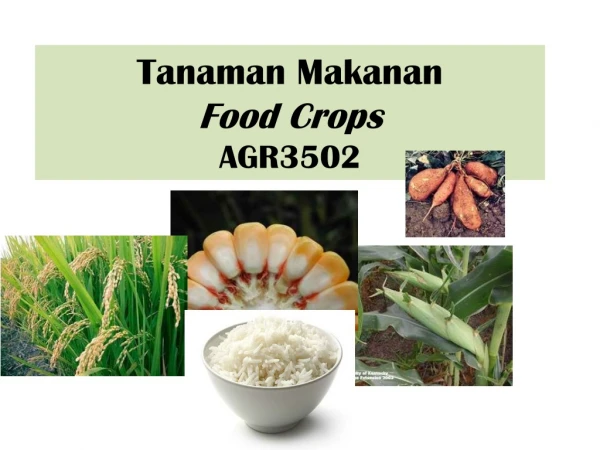
Choosing Food Crops • Next we will review some of the more robust food producing plants that grow well in our local environment of Puna, Hawaii. Also included here are tips on growing methods that will help make your garden experience fun and efficient.
Potato • Potato varieties are many. Begin your potato search at your local organic food market or farmers market. Most typical varieties of potatoes found in larger grocery stores are basic staples and can be grown easily in Hawaii. For added nutrition and more variety in your garden and in the food you eat, try growing some of the less common potato varieties. • Start by dividing a fresh potato into sections that include at least three “Eyes” or nodes (these are the little dimples on the outside of a potato). Allow the cut potato pieces to air dry in a well ventilated location for approximately twenty-four to forty-eight hours prior to planting.
Lasagna-layer-planting • One basic planting method begins by laying down a four-to-six inch layer of humus/compost/soil mix directly on the planting surface of lava or decomposing cinder. Place air-dried potato pieces on top of the soil-mix layer about eight-to-ten inches apart. Cover the potato pieces with a layer of compost/mulch approximately two to four inches thick. The result will be several layers of compost/mulch with live potatoes as filling between the layers (similar to a dish of lasagna). Keep your lasagna-layered potato patch moist until sprouts appear and then water when mulch/soil is dry to a depth of one inch. Potato vines can be quite prolific and grow vigorously covering several square yards of garden surface area so remember to plan on placing other garden plants a good distance from your potato plantings. Your potatoes will be ready to harvest once the vines die back (most likely as winter season sets in).
Trash Can Potatoes. • This planting method works great in limited growing space or where there is little or no access to bare ground. Begin by finding a new or used trash can that is at least eighteen inches in diameter and two feet deep. Punch about a dozen drainage holes in the bottom of the waste can. Place your new planting container on a drain pan then cover the bottom of the container with soil mixture about eight to ten inches deep. Place cut/air-dried potato pieces six-to-eight inches apart on the surface of this bottom soil and cover with two-to-four inches of your soil mixture. Keep the soil moist until sprouts appear. As plants grow, add another few inches of soil to the growing surface. Repeat this process until the soil layer reaches the top of the container. When vines die-back, begin harvesting potatoes down through each layer as you need them while recovering the rooted portions of vine to allow them to continue to grow.
Lilikoi (Passion Fruit) • Lilikoi vines are a vigorous climbing tendril vine predominantly from South America. Some Passion fruit vines can grow to twenty-to-thirty feet and need no cross-pollination to bear fruit. Fruit can be picked from the vine when ripening color appears. Or, simply gather the dropped fruit from the ground under the vines every few days. The plants do well in many soil types as long a good drainage is provided. Mulch and cinder blended together works great as a planting mix. Fertilize bi-monthly with compost tea or chicken manure. • Plant you Lilikoi in a sunny location and train vines on to a trellis, wall, fence or large sturdy tree or use as a soil-bank-holding cover. The vines are short lived with a total life of about five-to-six years. Place a plant tag on the base vine with name and planting date. • Plants bear fruit June to January. Prune plants yearly after harvest and die-back of vines. It may be desirable to thin the vines by cutting one third of them all the way back to ground level.
Cabbage • Cabbage is native to the sea coast of Europe and Britain. Cabbage plants grow best in full sun and rich, moist loamy soil that drains well. For optimum root nutrient uptake, it’s best to practice “Crop rotation” and avoid growing cabbage in an area where other cabbage family plants have been grown within the past three years. • Begin with cabbage seeds and sprouts in small pots or direct-planting containers. Move sprouts to full sun planting areas in the garden a soon as they are four to six inches tall. Keep new cabbage sprouts separated by twelve to fourteen inches apart in rows two-feet apart to allow for mature plant growth and adequate nutrition availability to the plant roots. Remember to rotate planting areas to maximize nutrient availability and reduce presence of damaging bacteria in the soil. Feed your cabbage plants bi-monthly (every two months) with compost tea or chicken manure to maintain strong growth and increase the plant’s natural defense against disease and pest damage.
Sweet Potato • Sweet Potato is best propagated using stem cuttings. Place 6” to 9”long stem sections about a foot apart under 3-4 inches of healthy, well draining soil that is at least 10 inches deep. Sweet potatoes do well with generous amounts of phosphorous and pot-ash but only a small amount of nitrogen. Reduced nitrogen will help the plant produce root structures where the food is, more than foliage growth. • Sweet potato plants grow great in the Puna area, as long as they are protected from invasive animals.
Pineapples • Pineapples are in the “Bromeliad” plant family native to South America. Collecting pineapple tops is a great way to start your own pineapple patch. The green tops should be cut from the fruit leaving about an inch or so of the fruit attached to the leafy top. Stand these cuttings aside in a well ventilated area for at least 24 hours to let the cut top “heal-over” prior to planting. By allowing the plant to heal before planting prevents rotting and promotes a good healthy start. Soil mixture can be mostly black cinder with a bit of humus or mulch mixed into hold water. Once the plants are rooted and show signs of growth, begin adding nutrients to promote vigorous production. Using compost tea that has a good balance of nitrogen and phosphorous and Iron and manganese (from seaweed) will work great as a fertilizer. Because the center or “Cup” in the middle of the pineapple is sensitive to rot, be careful to keep mulch and strong fertilizers clear of the center area. Rinse any mulch or fertilizer from the center cup using fresh clean water. • Place the healed fruit tops or “Keiki” 1-2 feet apart about 2 inches deep in healthy, well draining soil. Pineapple plants will produce fruit from keiki tops in one to two years depending on the variety and growing conditions. It’s fun to mark each top with a date to help you predict when the fruit will be ready for harvest.
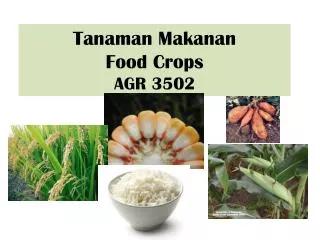
The following is a partial list of other plants that do great in Puna. Specific planting information on these plants will be provided in food garden classes. • Squash Pumpkin • Taro • Sweet Potatoes • Banana • Strawberry • Sweet Grass • Ginger • Tomato • Beans • Peas • Carrots • Lettuce