Download
1 / 6
60 likes | 83 Views
Though you can directly connect your printer to the network, while the networking way you choose might differ that depends on your printer hardware. For more information, consult experts at HP Help Number. http://hptechsupporthelpnumber.com

E N D
Guidelines to use a Router to Make an HP Printer a Wireless Printer: http://hptechsupporthelpnumber.com
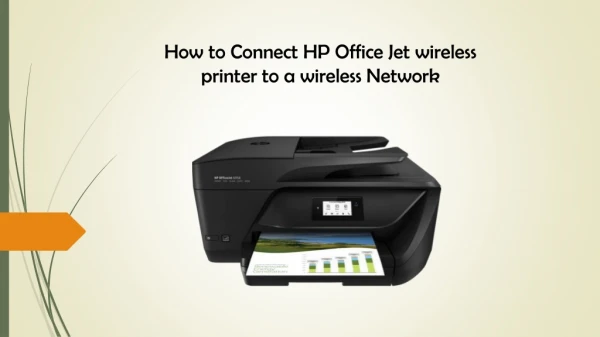
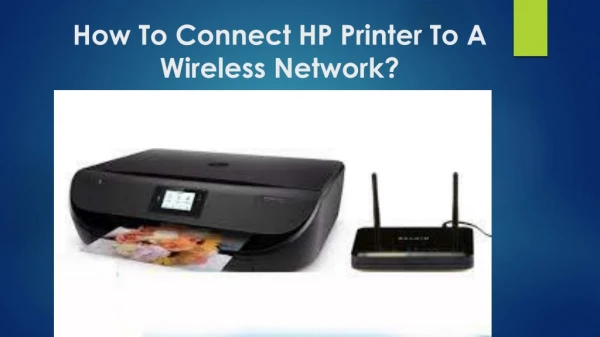
Guidelines to use a Router to Make an HP Printer a Wireless Printer: • Networking a printer enables you to the printer wirelessly from any network-enabled computer. This can help you to save both time and money. Moreover it also reduces the number of printers required, as you can connect your printer to the multiple computers easily. Though you can directly connect your printer to the network, while the networking way you choose might differ that depends on your printer hardware. For more information, consult experts at HP Help Number. http://hptechsupporthelpnumber.com
Network-Ready Printer • Here, you need to connect the Ethernet cable from the one end to the port that found on the printer. Then, simply connect the cable from the other end to an available port on the router. In addition, you can connect the printer to an available network wall jack. • Now, you have to hit the power button to turn on the printer and wait for few minutes till the printer and router communicate before proceeding. • In the next step, you are required use the control panel of the printer in order to print a configuration page. Here, the page contains networking information, which includes the IP address to the printer. Moreover, you can use the control panel in order to allocate an IP address to your printer. In addition, the steps to print the page and to configure the IP address differ from model to model.
USB Printer: • In the next step, you need to click “Start” followed by “Devices and Printers” in order to launch the Devices and Printers dialog box. • Now, browse the available printers till you find the one that you want to share. Then you need to right-click the printer and further click the “Properties” option from the details that appear. • Once you complete the above step, you need to click the “Sharing” tab to check the Sharing properties for the printer. Then click in order to choose the “Share this Printer” option. Here a check appears once you enable the option. http://hptechsupporthelpnumber.com
Slide Title Contact US • Fesco3 Corporation, prospect place • Rutherford • New Jersey 07070 • 1-877-438-9239 http://hptechsupporthelpnumber.com