Download
1 / 4
40 likes | 54 Views
During the purchase of the Canon Printer Setup, the Canon password is set. It would be interesting to know that the Canon Printer Serial Number is the Canon Default Password. Canon Printer offline Serial Number is made up of nine alphanumeric characters (four alphabets followed by five numbers)and is printed on a sticker affixed to the printer.

E N D
Canon Printer Setup Title- How can we perform Canon Printer Setup? Meta Description- We are competent and reliable service providers of Canon printers’ products and services, including the Canon Printer Setup. Meta Title- What are the procedures for Canon Printer Setup? Keyword- Canon Printer Setup Canon printers have delivered remarkable printing performance worldwide and are one of the top-ranked products in its league. To avail maximum benefits of Canon printers, every user should know and understand every detail of the Canon Printer Setup. The process of Canon Printer Setupis simple and takes place in only two major steps: - 1. Connecting your printer to the computer 2. Installing the Canon printer driver Step 1 – Connecting your Canon Printer Setup to the computer If you want to set up your Canon printer then you have to connect it to your computer. You can connect your Canon printer to the computer in 3 ways and they are: - a. USB Connection b. Wi-Fi Connection c. Wired Network Connection a. Connecting your printer via a USB cable If users want to connect the Canon printer to the computer directly and print only from that device then they are supposed to choose the USB connection. You should simply plug one end of the cable into the USB port on the Canon printer and the other into the USB port on your computer.
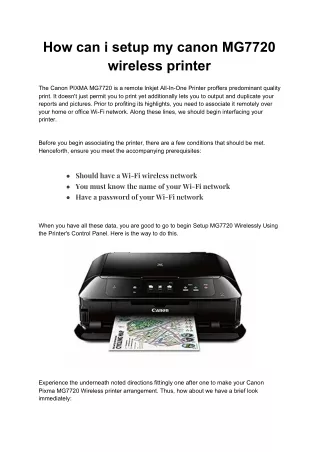
Thereafter, you should plug in the power cable and then turn on the printer. After successfully connecting your Canon printer with your computer, you are advised to install the appropriate Canon printer driver. b. Connecting your printer via Wi-Fi If you own a Canon wireless printer then you can easily connect it via Wi-Fi. As a result, your wireless Canon printer will be able to print from any devices connected to the same wireless network, which mainly includes computers, laptops, tablets, or cell phones. For connecting your Canon printer via Wi-Fi, you should follow the below-mentioned steps: - 1. You should first plug in the power supply and then turn on your Canon printer 2. On the printer’s control panel, you should use the arrow key to select Menu, and then select Network Settings. 3. For configuring the printer’s networking settings, you should refer to the manual of your Canon printer, as it varies from model to model. 4. Now, you should select Wireless LAN, and press OK. 5. Next, you should select the Wireless LAN settings, and press OK. 6. Thereafter, you should select your network and enter the password. Canon printer users should ensure that their printer is connected to the same wireless network as their computer. After the successful wireless connection, you are advised to install the Canon printer driver. c. Connecting your printer via a wired network A Wired Connection requires the usage of an Ethernet cable and allows multiple devices on a wired network to access the printer. The users can connect their Canon printer directly to the router by following the below-mentioned steps: - 1. You are supposed to connect one end of the Ethernet cable to the Canon printer and the other end of the cable to your router. 2. Now, you should turn on your Canon printer.
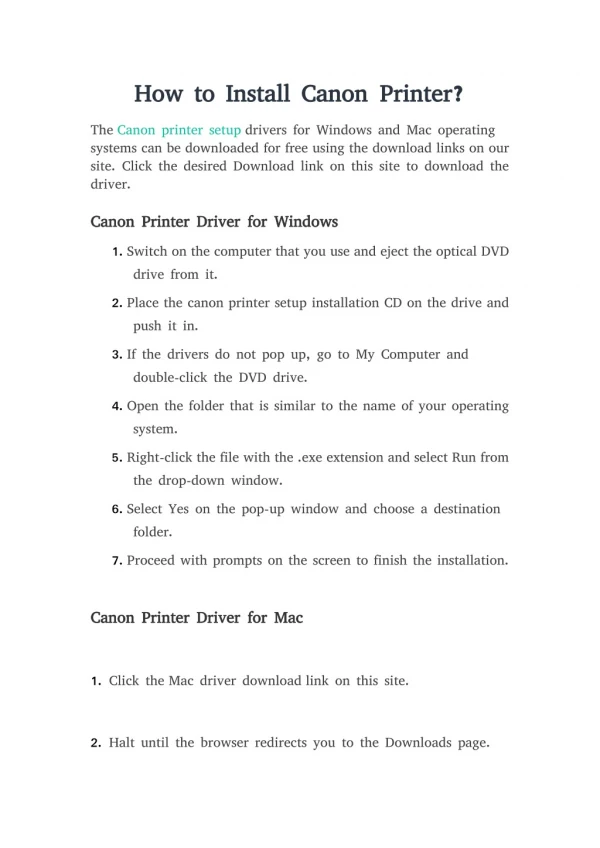
3. On the printer’s control panel, you are supposed to use the arrow key to select Menu, and then select Network Settings. 4. Finally, you should select Wired LAN After your Canon printer is successfully connected to a wired LAN, you are advised to install the printer driver on your computer. Step 2 – Installing the Canon Printer Setup driver If you want your Canon printer to communicate accurately with your computer then you are advised to install the appropriate and updated version of the Canon printer driver. If your computer automatically detects the Canon printer then you should simply follow the on-screen instructions to install it. Or else, you are supposed to download and install the printer driver manually. The users can directly insert the installation CD, provided with the Canon printer, and then launch the setup program. In case, if users don’t have the installation CD then there are 2 ways to get the printer drivers: - a. Manually b. Automatically Option 1 – Downloading and installing the driver manually Like every renowned international printer brand, Canon also keeps updating its printer drivers. You should follow the below-mentioned instructions: - 1. Firstly, you should visit the official website of Canon 2. Now, you should enter your printer product model and then select it from the search results 3. Next, you should scroll down to the Drivers & Downloads section. 4. Now, you should choose your operating system, and then click Selectnext to the driver you’d like to download. 5. You should click Download 6. Thereafter, you should open the downloaded file and then click Yes when you are prompted to continue 7. In the setup wizard, you should click Next 8. Now, you should click Yes 9. If you have connected your Canon printer via a USB cable, then you should select the USB connection. If you are using the Wi-Fi or Ethernet connection, then you should select the Network Connection and then click Next.
To conclude, you are supposed to follow the wizard to complete the entire setup procedure. It will enable you to print documents with your recently installed Canon printer. Option 2 – Automatically updating the Canon Printer Setup driver You can automatically update the Canon printer driver with Driver Easy. It will help in recognizing your system and will find the accurate driver for your Canon printer, and your Windows version. It will download as well as install then accurately, do follow these steps: - 1. Firstly, you are supposed to download and install Driver Easy 2. Now, you should Run Driver Easy and then click the Scan Now button. 3. Subsequently, Driver Easy will scan your computer perfectly and detect any problem drivers. 4. Thereafter, you should click the Update button, placed next to the flagged Canon printerdriver to automatically download the accurate version of that driver, then you can manually install it (you can also do this with the free version). 5. You should also click Update All to automatically download and install the accurate version of all the drivers that are missing or out of date on your system. Conclusion In this article blog, we have provided you with all the basic knowledge required for a perfect Canon Printer Setup. For any type of additional technical help and support, you can contact our technical support team.