HTML Basics: Links, Images, Fonts, Lists
Learn how to create links, add images, customize fonts, and create lists in HTML. Enhance your web design skills with this introductory guide.

HTML Basics: Links, Images, Fonts, Lists
E N D
Presentation Transcript
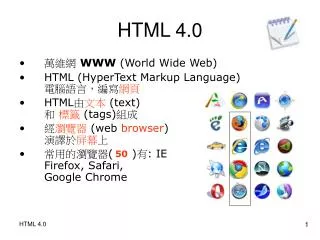
Introduction to HTML 4.0 Getting Started – Links, Images, Font, and List Teacher: Mr. Ho
Link Tag: <a> … </a> • <a> … </a> create a hyperlink so that you can go from one web page to another • If you want to link to a Google web page, you can do the following: <a href=“http://www.google.ca”>Google</a> • Make sure that <a> … </a> are between <body> and </body> • Make sure to include http://
Attributes of <a> … </a> • Besides the href attribute, there are more attributes of <a> … </a>. • Check this out at http://www.w3schools.com/tags/
Image Tag: <img /> • <img /> creates an image in an HTML file • There is no end tag for <img /> • To create an image in your HTML page, do this: <imgsrc=“happyFace.gif” /> • Make sure that <img /> is between <body> and </body> • Note: happyFace.gif must be in the same folder as your HTML page.
Image Tag: <img /> • You can create a link on your image. • To do this: <a href=“http://www.google.ca”> <imgsrc=“happyFace.gif” /> </a> • There are more attributes of <img /> beside src: • height • width • border
Font Tag: <font> … </font> • <font> … </font> set the font face, font size, and font colour of the text between the opening and closing <font> tags. • As you can guess, the attributes of <font> … </font> are: • face • size • color
Font Tag: <font> … </font> Example: <font face=“verdana” size=“12” color=“red”> Testing the Font </font> • Make sure that <font> … </font> are between <body> and </body> • To figure out the attribute value for the font face, go to Microsoft Word.
List: Unordered List • Unordered list looks like this: Example of Unordered List: • Coffee • Tea • Milk • To create this in HTML, you do: <h4>Example of Unordered List:</h4> <ul> <li>Coffee</li> <li>Tea</li> <li>Milk</li> </ul>
List: Ordered List • Ordered list looks like this: Example of Unordered List: • Coffee • Tea • Milk • To create this in HTML, you do: <h4>Example of Unordered List:</h4> <ol> <li>Coffee</li> <li>Tea</li> <li>Milk</li> </ol>
Questions & Answers • Do you have any questions so far? • If you do, please ask now.