Download
1 / 58
580 likes | 718 Views
Creating Maps. Create a folder on the Desktop and call it maps. Save the image files that you are going to use in this folder. Be sure to edit your pictures to best fit the display area. First the graphics need to be converted to the correct size and file format.

E N D
Create a folder on the Desktop and call it maps. Save the image files that you are going to use in this folder. Be sure to edit your pictures to best fit the display area.
First the graphics need to be converted to the correct size and file format. • In this example, there are three graphics we will be using from a single image.
Converting • Your files will need to be in the Windows Meta File format. • Easy Graphic Converter is a useful program that will not only convert your image files but also resize the images to the right size. Go into Settings and set the Output Format to Windows Metafile(*.wmf) and under the Resize Option choose Exact Size and enter 504 for the Width and 360 for the Height. The Output directory should be set to C:\Program Files\Lifeline\SC_USER with no File Name Suffix.
Select the Add Directory tab and open the Maps folder A window will open showing what file types can be converted • Select Start to convert your files, the files will automatically go to the output directory selected previously in the setup menu
Map file Location • Now that the maps are converted they are not only the right size and format but also located in the C:\Program Files\Lifeline\SC_USER Sub-directory.
RegEdit • Now that your Map files are in the SC_USER sub-directory set your default map in RegEdit.
Enter the name of the file for the main map that will be displayed in the Main Picture Field then click Write to save the change. Then select the Register tab and enter the Community Name (this will be displayed above the main picture) again click Write to save the change and Exit.
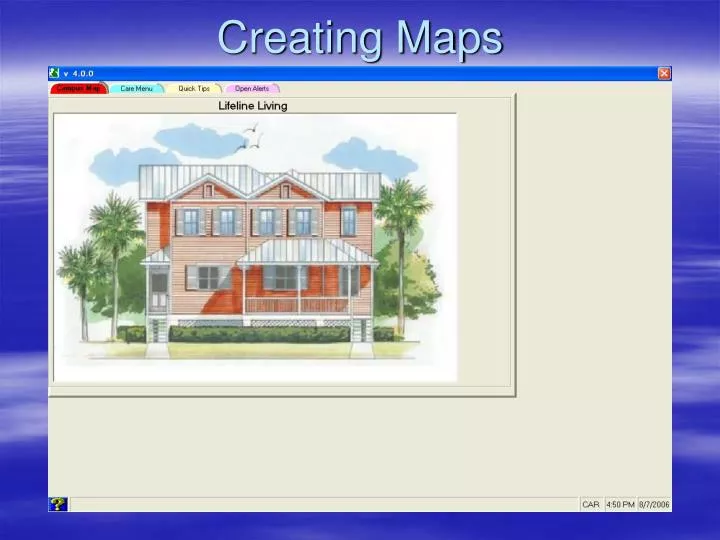
Now when you enter SmartCare the map and Community name are displayed under the Campus Map tab
Recap • Map files must be in Windows Metafile format at an aspect ratio of 5:7 (504x360 pixels) • Map files must be located in C:\Program Files\Lifeline\SC_USER • Use RegEdit to specify what file to use for the Campus Map and to enter the name of the community.
WARNING • DB Builder should not be twice on the same clusters it directly writes to Smart.mdb this will cause serious database issues. The Point of no return as far a writing devices is DB Summary seen on the picture to the Right. Once written to the DB even if you remove a cluster it will not delete the devices they must be manually deleted in SmartCare
DB Builder • Go To My Computer • C:\Program Files\Lifeline\SmartCare\UTILITIES • Double-click on DBBuilder.exe
Opening Smart.mdb • Click on file • Open • Smart.mdb • Save which is actually opening the database.
Number of CCU’s? • The Number of CCU’s is the Number of Receivers/Carts Plus one for the CAR/Motherboard. • If you have 8 Receivers and a CAR the Number of CCU’s is 9.
Adding Pagers Enter the pager number and description then select Add Repeat the process for all local pagers
Pager Escalation Level 3 Out Call • In call escalation level three you see I have checked “call out to answering service”. • When level three is implemented a call will be placed to off site #. The phone will ring and when answered the voice will say • Community Name • Acct # • And read message ( which appears on pager) • The off site must press # when done listening to cancel call or the system will keep trying to dial off site. Also if an answering machine answers it will be treated just like a person answered. So the number the system is calling should not have an answering machine connected. Should always be a live voice.
Pager Escalation Level 3 Out Call Cont • Place the Off Site Phone Number Here. • Account ID is used for offsite phone pagers.
Location Cluster Summary • Rules • Add a cluster only once • Deleting a cluster does not delete the locations created within the cluster • Never add a cluster twice • If needed, delete the old smart.mdb and replace with a new copy rather than trying to fix existing mistakes.
Clusters and Caution • Clusters are groups of locations that have something in common • If you have any suites in any cluster you must check the box even if there is only 1 suite in that group (Cluster) • Not all clusters will be resident locations
Cluster Location Setup The group name should reflect the locations
Cluster Location Setup Total Number of locations in the group
Cluster Location Setup This stays with the locations
Cluster Location Setup This stays with the locations
Adding a Cluster This Places this device in all locations
Confirm • Take the time to confirm the clusters • Are they correct, if so click next. • If Not delete or edit • If you forgot a group click new.
Suites • If you added Suites, then this is where you can choose those locations that are suites.
Click Next Select Next
Placing the Dots Now that the database is complete select Done. From here select Yes to go directly to the place dots menu. Note: Dots can be placed at a later time by selecting No, and then running the PlaceDots utility located in C:\Program Files\Lifeline\SmartCare\UTILITIES
Dot Menu Selecting the DB in the dot menu is referring to the Campus Map to be displayed for the Database Select the appropriate file for the Campus Map that is to be used, then select Open.
When placing Dots the image file must be selected for each Dot individually regardless of whether or not they are on the same map. • First, change the File and select the corresponding map for the point listed at the top of the screen and select Ok. • The Dot by default is located in the upper left hand corner of the screen, single click the place on the map where the Dot should be placed (the Dot can be moved as many times as needed to find an optimal position on the map by single clicking locations) when the Dot is in the best position select Ok and that will save the location for that Dot and move to the next location.
When all Dots have been placed select Ok • Repeat the process of Changing Files (again even if it is the same map as the previous Dot located) selecting Ok • Locating the Dot by Single Clicking on the map • Selecting Ok Now all Dots have been assigned to the database, select Exit Note: Running the PlaceDots utility again after the initial setup will relocate the Dots back to the upper right hand corner and they will need to be relocated
Managing PHBs and Devices in SmartCare • There are two Golden Rules to follow • PHBs are assigned to Residents, not apartments. • After you activate or deactivate any PHB or Device, you must sync the CAR.
To add a new Resident: • Click on the Care Menu tab. • Log on to the System Menu (password: system). • The Residents tab will appear immediately. Select Residents if anything else is showing. • To add a brand-new Resident, click on Move In. To change existing Resident information, you can click on Edit (or Relocate to simply move the Resident to a different apartment). • Select the Location (room number) or the ID to edit, and click OK. The red Residents tab will open. (The list of Locations can be sorted by clicking on ID or Location.) • Enter the Resident information, and click Exit. • Click Yes to save the Resident information. • Click on Log Out to exit the System Menu.
Location, Location, Location! • The Location must be entered into SmartCare before a Resident can be added. If the Location is not listed, you must enter the Location in first.
System Menu – Residents – Move In • The Resident Information must be entered into SmartCare before adding the PHB. If the Resident is not listed, you must enter the Resident information in first.
How to Add Devices • PHBs are added and deleted through the Care Menu tab. All other Devices (including fixed transmitters, pull cords, and wireless receivers) must be updated by logging into the System Menu (password: system) and customizing or adding Devices.
Add PHB • Click on the Care Menu tab. • Click on Add PHB, or press F5. • Select the Resident name or location, and click OK. The Add Device tab will open. (The list of Resident names can be sorted by clicking on ID, Name, or Location.)
Note when Learning a Device • SmartCare will immediately ask you to Activate the new Transmitter. • Push the PHB. • Click on the checkbox to force sync to the CAR on exit. • Select the Done Learning button, or Add Another if you need to learn additional PHBs. Check the Sync to CAR Box always