Download
1 / 12
120 likes | 198 Views
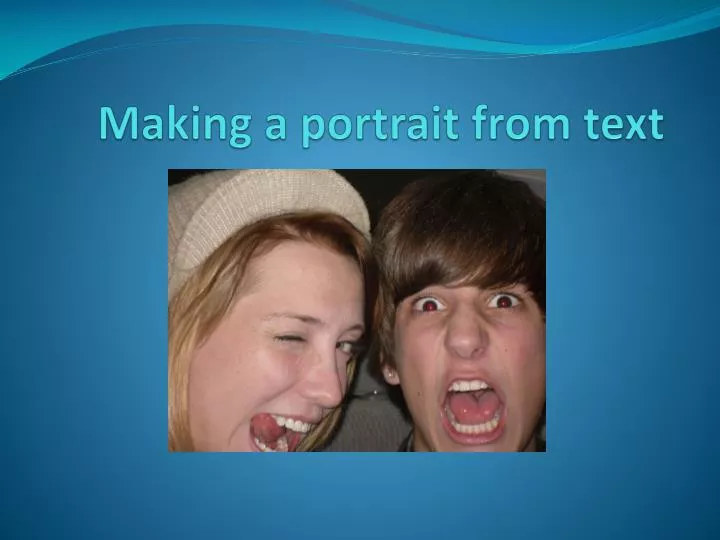
Making a portrait from text. Step 1. This works best with a picture of someone, preferably close to his or her face. Dark space behind the person doesn’t show up well with text over it. It turns out better if you have more lighter colors than dark. . Step 2.

E N D
Step 1 • This works best with a picture of someone, preferably close to his or her face. Dark space behind the person doesn’t show up well with text over it. It turns out better if you have more lighter colors than dark.
Step 2 • Open your picture in Photoshop. Crop the photo to where most of the picture is the figures face. By using the Crop tool in the left hand column of the vertical toolbar. If you’re going to crop it to a certain size, use the height and width bar across the top to make it the size you want.
Step 3 • Add a new blank layer by clicking on the “Create a New Layer” button at the bottom of the layers panel.
Step 4 • Fill this new layer with black, so that the finished picture appears to be black and white. • Edit menu> Fill> select black from the drop down list to the right of Use in the contents box> OK (the picture will turn black)
Step 5 • Add a text box to the picture by selecting the Text tool and creating a text box that is about the same size as the picture or bigger. Change font settings in the toolbar at the top. Keep in mind that smaller, simple text works better. However, the smaller the text, the more words you need to fill up the text box. Set the text color to white.
Step 6 • Add text to the text box. You can use song lyrics, letters, or just random words. Make sure it fills the whole box. (Just typing on the keyboard will not work. It will mess up the spacing, so use real words) When you’re done click on the checkmark in the options toolbar.
Step 7 • Click on the text layer. Then, click on the “Add layer mask” button at the bottom of the layers panel. Nothing will appear to happen.
Step 8 • Select the entire BACKGROUND layer by pressing Ctrl+A. Copy the contents by clicking Ctrl+C.
Step 9 • Hold down “Alt” and click on the layer mask thumbnail. Press Ctrl+V to paste the image to the layer mask. The image will appear in black and white.
Step 10 • Hold down “Alt” and click on the layer mask thumbnail. Press Ctrl+D to remove the selection outline.