Empower Your Learning: Creating VoiceThread for Online Education
Join the Virtual Symposium to discover how to create VoiceThreads for online education. Learn to upload media, add comments, edit, and share with ease. Contact Charlotte Russell Cox for more information.

Empower Your Learning: Creating VoiceThread for Online Education
E N D
Presentation Transcript
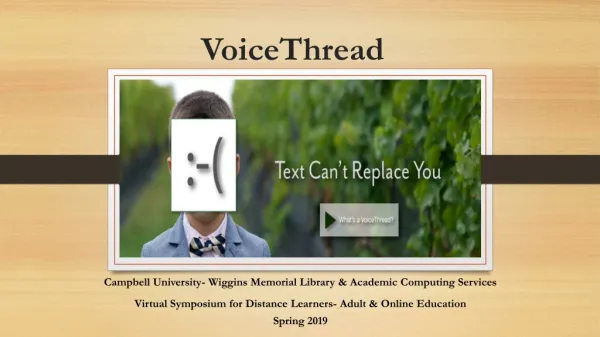
VoiceThread Campbell University-Wiggins Memorial Library & Academic Computing ServicesVirtual Symposium for Distance Learners-Adult & Online Education Spring 2019
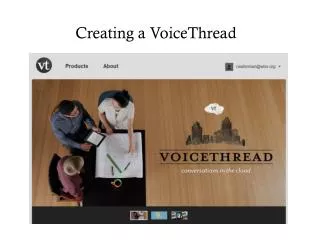
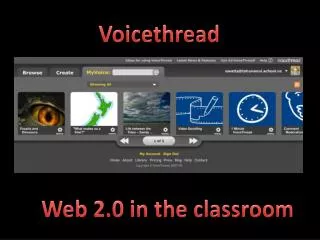
Creating a VoiceThread: Overview • Create an account: https://voicethread.com • VoiceThread is FREE-You can purchase additional storage and features. • Click on “Register” for a new account. • Once logged in: Click on “Browse” to view public VoiceThreads. • Click on “Create” and add media to start a VoiceThread: • Presentations (PowerPoint) • Images • PDF • Microsoft Word documents
Creating a VoiceThread: Uploading/Adding Media • Click on “Create”, then select “Add Media”: • My Computer (select image, PDF/MS Word document, PowerPoint presentation) • Media Sources (select My VoiceThreads, Khan Academy, Flickr, NY Public Library) • WebCam Photo(Camera and Microphone Access) • WebCam Video(Camera and Microphone Access) • URL(Type a website address) • Add a Title, Description, and/or Tag • Add additional pages with same steps
Creating a VoiceThread: Commenting While Creating • Ability to add comments during VoiceThread creation or during viewing • Click on “Comment” and select commenting type • Click on the arrow to advance to the next slide, image, or page • Select commenting type (text, phone, microphone, video-webcam, and/or upload)
Creating a VoiceThread: Editing a VoiceThread Click on the line icon and click on “Edit” Click “Edit” (in blue text) again -Select Title/Description -Playback Option -Cover Art 3. Select or de-select playback options 4. Choose the length of time before VoiceThread slide advances 5. Click “Save” for changes 6. Select individual pages/slides and click on the pen “edit” icon
Sharing a VoiceThread: Overview Click on theVoiceThread, click on the line icon then “Share”. Click on VoiceThread options -Basic (Email the link) -Secure (Upgrade required) -Who has access -Export
Sharing a VoiceThread: Basic Link (Copy link-select options allow anyone to view and/or comment) Embed (Copy embed code and paste in Blackboard) Post -Facebook -Twitter • Charlotte Russell CoxInstructional Technology Specialist • (910) 893-7210crcox@campbell.edu Questions/Contact Information
The Verdict - • Not a video • You need to add a PDF or PowerPoint • Most effective if you add comments • Need a webcam and/or microphone + • Free • Easy to add slides • Voice over feature • Web (online) tool • Ability to use webcam, phone, or keyboard to make comments VoiceThead Example: https://voicethread.com/share/8598842/