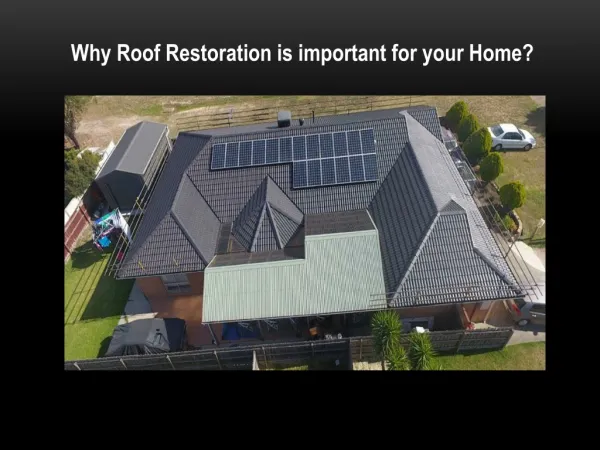
Download
1 / 5
50 likes | 60 Views
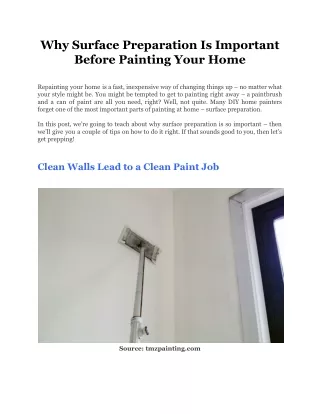
Repainting your home is a fast, inexpensive way of changing things up no matter what your style might be.Many DIY home painters forget one of the most important parts of painting at home surface preparation.

E N D
Why Surface Preparation Is Important Before Painting Your Home Repainting your home is a fast, inexpensive way of changing things up – no matter what your style might be. You might be tempted to get to painting right away – a paintbrush and a can of paint are all you need, right? Well, not quite. Many DIY home painters forget one of the most important parts of painting at home – surface preparation. In this post, we’re going to teach about why surface preparation is so important – then we’ll give you a couple of tips on how to do it right. If that sounds good to you, then let’s get prepping! Clean Walls Lead to a Clean Paint Job Source: tmzpainting.com
There are all kinds of contaminants that can end up on your walls – dust, debris, mildew, grease, and a whole lot more. If you apply paint directly to contaminants, you’ll end up with a lot of problems; the paint can start peeling and lifting away from your walls. That’s because contaminants will stop the paint from adhering properly to your walls – not a good look – even in the most surreal rooms. You can end up with other problems, too. The paint you apply can end up discolored if there are contaminants or moisture on one section of your wall, but not on the other sections. Obviously, we want to avoid these problems. So what are you to do? The solution, of course, is proper surface preparation. In most cases, all you’ll need is a sponge and some warm water – then, wash your whole wall! Pay close attention to any spots that seem particularly dirty. Things change a bit in your kitchen, where grease is likely to have accumulated on your walls. Here, using a degreaser along with warm water will serve you well. Just be sure to wash off the degreaser with another round of clean water once you’re done! When you’re cleaning your walls, it’s worth noting whether or not there’s a lot of dust in particular areas. There can be a lot of reasons your home is dusty – investigating them now can keep dust from accumulating before you’re ready to actually apply the paint. Mold Problems and Mildew Can Be Signs of Deeper Mold and mildew are simple enough to deal with – you can use a solution of one part bleach to three or four parts water. You want to kill off mildew for obvious reasons – it’s a contaminant and it will keep growing through another layer of paint if you don’t kill it first. Here’s the deeper problem – mold and mildew may be signs of water damage. If they are, your new paint job may not last very long, as water may seep through your walls and damage them. Be sure to check for leaks and find the source of the mold and mildew before you repaint.
Sanding Keeps Your Walls in Good Standing Source: shopify.com You don’t always need to sand your walls before painting them – but there are some circumstances where it’s a very good idea. Do you have very glossy walls? Glossy or high-gloss walls need to be sanded down completely before new paint is applied – otherwise, it won’t adhere properly. This can be a laborious process – but trust us, it’s absolutely worth the effort. Cracking and flaking paint also needs to address – fortunately, it’s not as intense as sanding a whole wall of high-gloss paint. Here, you’ll just need to sand down the cracking and flaking parts – the primer (which we’ll discuss next) will handle everything else.
It’s Prime Time for Your Walls What makes paint fade? Time is a big factor – the sun, for example, will naturally lead to paint degradation. But if you see a paint job fading quickly; it’s probably because the people who painted the wall didn’t prime it properly. Priming does a lot: it protects the walls being painted; creates a better surface for the paint to adhere to, and increases the durability of the paint. A lot of people nowadays are skipping the primer, however – unless you have a very particular type of wall (like a masonry wall), you may not need a primer at all. Many higher-end paints are now self-priming, which can save you a step. Different Preparation Surfaces May Need Different Source: gobrokers.pl
All of the tips we’ve discussed so far apply to drywall, but different surfaces might need a bit more TLC. It’s not a good idea, for example, to paint over wallpaper. Concrete surfaces need to prepare differently, as do wood and masonry surfaces. And now you know all about surface preparation – without it; your next paint job might not look nearly as nice as you’d like it to! With just a little extra effort, you’ll end up with longer-lasting, better-looking results. Trust us, it’s worth the time. Stay tuned for our favorite Neutral Paint Colors that we will be sharing next week so you can get to painting your dream home! Contact Us : Website: https://interiorcraze.com Email Id: interiorcrazeofficial@gmail.com To Connect With Us Visit