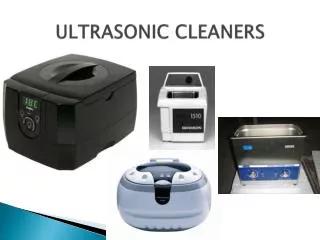
Custom Ultrasonic Washer
80 likes | 241 Views
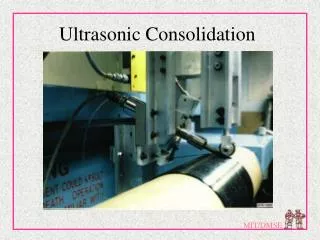
Custom Ultrasonic Washer. Custom Ultrasonic Washer. Fill sink with warm water and soap from the dispenser. Hand wash scopes, camera and light cord. Place protective covering on scopes. Loading the machine.

Custom Ultrasonic Washer
E N D
Presentation Transcript
Custom Ultrasonic Washer Fill sink with warm water and soap from the dispenser. Hand wash scopes, camera and light cord. Place protective covering on scopes
Loading the machine Place protective coverings on scopes. Double check to make sure that tubing isn’t kinked and that all stop cocks are open.
Log onto Custom Ultrasonic Machine Log onto the system using your initials and password.
Perform the OPA test Dip indicator in reservoir and place on paper towel to set. Check reservoir level to make sure it is at the correct level. You want a purple strip
Follow directions for processing on the top of the Custom Ultrasonic machine.
Recording your results Make sure to initial on the printout by the Cidex OPA Make sure that it reads 5min/greater than 25*C Open reservoir and take instruments to the clean side to air dry on a towel