Download

1 / 11
110 likes | 116 Views
How to clean dryer vent cleaning? Before you get started read this article that will help you. Let's see step by step guide and how to keep it clean?

E N D
Dryer Vent Cleaning Without Fuss with 5 Easy Steps Did you know that clogged dryer vents are one of the major causes of domestic fire? This makes dryer vent cleaning much more than just the act of cleanliness. It’s a matter of safety for you and your home. But the question is how to figure out if dryer vent cleaning is due? In case you’re doubtful of this, assess the following conditions: ● Are the washed clothes taking an unusually long time to get dried? ● Does your laundry room give off a burning smell after you put a load on it to dry? ● Is your dryer extremely hot when it’s functioning? ● Are your clothes hot on touching once they run through the dryer? ● Does the lint filter keep getting clogged more than usual? If any of these conditions can be noticed, it’s a sign that it’s time for cleaning a dryer vent. Even the best quality dryers cannot promise unclogged vents. So it is advised that dryer vent cleaning is performed at least twice a year. Now the question is how to clean a dryer vent? Well, you don’t have to worry because we’ve curated 5 easy steps for dryer vent cleaning to save you from the trouble of damp clothes and minimize the chances of any fire hazard.
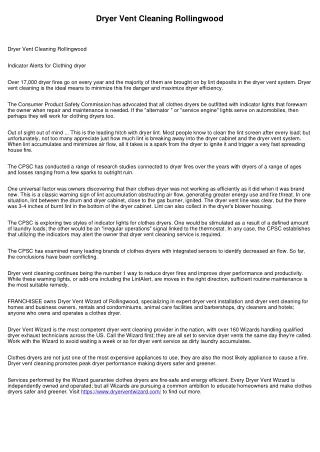
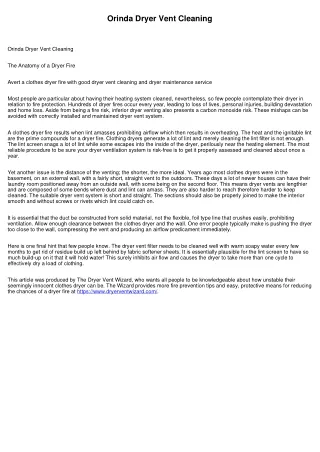
How to Clean a Dryer Vent? Source: hswstatic.com A dirty dryer vent can be problematic with the reduced performance of the dryer and multiple issues it raises. The cleaning dryer vent can be an easy task if you follow all the steps carefully and take precautions. Here are the 5 quick steps for dryer vent cleaning with easy-to-use tools. Before Getting Started… Before you begin with the dryer vent cleaning, check if your dryer runs on electric supply or gas. The easy trick to determine this is that an electric dryer will be grounded to a 240-volt outlet while the gas dryer will be plugged into the standard 110-volt outlet along with its connection to the gas valve.
This preparation before beginning the dryer vent cleaning is important as you’ll have to turn off the gas supply for the gas-powered unit and the electric one will have to be unplugged from the source. Dryer Vent Cleaning Tool Kit Your dryer vent cleaning tool kit comprises simple equipment that is extremely convenient to use. These are: ● Dryer vent cleaning kit ● Vacuum ● Dustpan ● Duct tape or electrical tape ● Power Drill Step 1: Locate the Vent The first and foremost step in the dryer vent cleaning is to locate where exactly the vent is. Generally, dryers are attached to an exhaust pipe which is further linked with the ductwork within the wall. This duct carries the hot air from the dryer to exit through the exterior wall. Once you’re able to locate the exterior dryer exhaust, check the pipe for any lint, dust, or debris. Clean all the visible dirt to clear the path of hot air to exit properly.
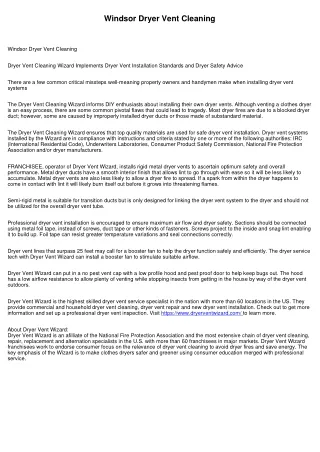
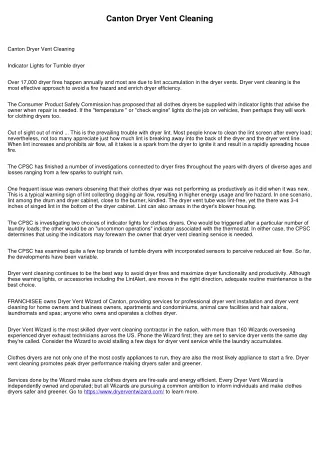
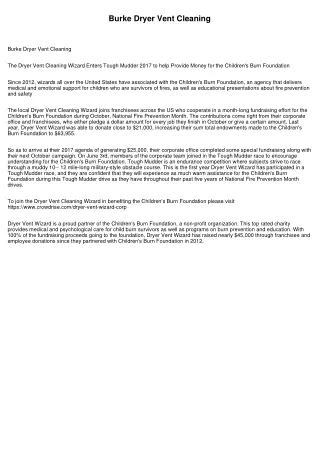
Step 2: Unplug the Dryer Source: carpetcleaningniagara.com Pull the dryer away from the wall and disconnect it from the power supply. The next step is to loosen any tapes or fasteners connecting the dryer vent pipe to its exhaust. Be extremely careful while removing the vent tube from the wall ductwork, use delicate pressure to avoid breaking the pipe.
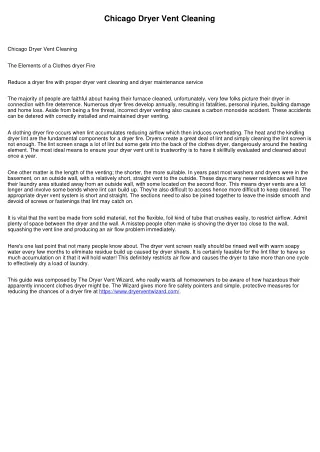
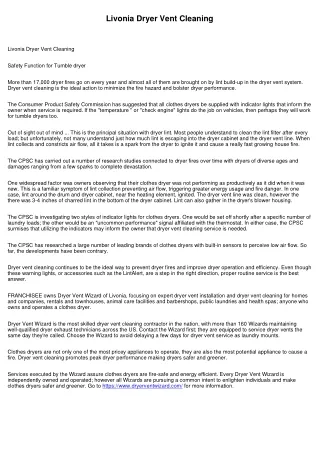
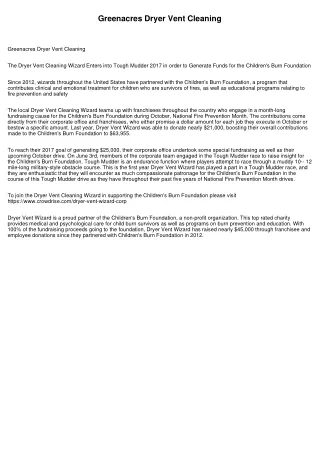
Step 3: Suck Up Lint with Vacuum Source: twinsductcleaningfl.com After performing these steps, you should be able to get a clear vision inside the dryer vent. Use the vacuum to suck up lint formed within or around the vent hole. Perform this with a hose attachment extended on the vacuum pipe. The vacuum can be performed even on the exterior duct if the physical cleaning was not enough to clear out the path.
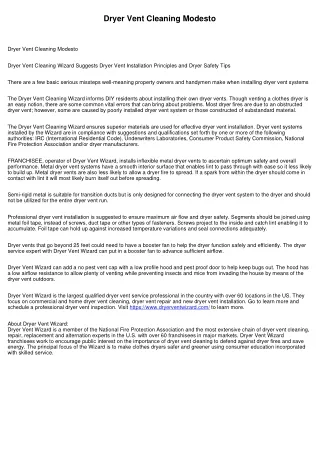
Step 4: Employ Brush from the Dryer Vent Cleaning Kit Source: homedepot-static.com One of the main dryer vent cleaning tools is the power drill. Connect the power drill with the cleaning brush and place the brush end inside the duct. Clean the duct by pushing it as far as you can considering the route of the duct. The brush from the dryer vent cleaning kit can also be employed to clean the outer duct but be cautious while cleaning and don’t force the brush too far. The secret to effective cleaning with a brush is to identify whether the house’s interior or outside vent is higher, then begin cleaning on the upper side to assist the lint release through gravity.
Step 5: Sweep the Dirt and Reconnect Source: thdstatic.com When you’re done vacuuming, examine the ductwork to help ensure they’re in good shape and up to standards. If necessary, repair the ducts. Reconnect the ducting and the vent cap. Seal the duct with the help of electrical or duct tape and bring back the dryer to its original position and connect it with the base power supply. To inspect the dryer, operate it in air dry mode for 15 to 20 minutes to ensure all wires are connected with a secure connection and to remove any leftover debris.
How to Keep the Dryer Vent Clean? Source: newsweek.com The lint catcher is the key to continue maintaining the dryer discharge vent clear. To get rid of all the additional particles, clean in and around the lint trap. The most important step is to remove the dryer lint when using dryer sheets. Scrub the interior of the dryer with a scrubbing brush and lukewarm, soapy water frequently, particularly if you use dryer sheets. After you’ve washed it, pat it dry with a cloth. This will not only help in the dryer vent cleaning, but will also preserve the smooth functioning of your dryer, enhance the drying rate of the device, and reduce the risk of home fires. Dryer vent cleaning by removing lint also
helps to keep your property safe from fires. Not only may lint catch fire due to accumulation, but if a fire breaks out dependent on other factors, the lint will act as fuel, allowing the fire to spread. Use a stiff or corrugated semi-rigid metal duct instead of a plastic or foil duct. Unlike the other materials, this one allows for maximum ventilation. Clothing soiled by gas, frying oils, cleaning fluids, or other flammable liquids should be washed more than once. Instead of placing these garments in the machine, you must hang these to dry. Aside from the dryer vent cleaning, it’s also a good idea to never leave a dryer running unsupervised. Don’t leave the house with a load on. This is a step towards your safety to prevent any fire accidents from the running dryer. Last but not least, make sure your dryer has enough space to breathe. Keeping debris and storage products on or near a dryer is a fire danger that should be avoided. A clogged dryer vent may also raise your energy expenses by needing prolonged drying periods for the laundry, in addition to being a fire danger. Knowing steps for dryer vent cleaning may help you secure your home, save cash, and improve the appearance of your garments. At What Time Gap Is the Dryer Vent Cleaning Required? While the dryer vent cleaning is recommended at least once a year, you might need to employ your dryer vent cleaning kit more often. It all
depends on the quality and condition of your dryer. If you have shedding dogs or a big family who uses the electric or gas dryer frequently, you must plan on cleaning dryer vent at smaller gaps than usual. Furthermore, certain dryer duct materials are more vulnerable to blockage and, as a result, fire hazards. Such dryer vents might theoretically be substituted with a robust metal duct. If this isn’t possible, exercise extreme caution to keep these dryer vents clear and debris-free with a routine maintenance schedule. Say Bye to Damp Clothes! Source: thdstatic.com Although dryer vent cleaning isn’t a fun task to do, with these easy steps, you can reach the victory point with clear vents. Start the dryer and listen
for the lovely sounds of accomplishment as the air travels gently exhausts out of the vent. With this, there will be no more soggy clothing or repeated cycles for drying out your clothes. I hope you like this blog and keep coming to Homedesignnow for more interesting tips and ideas on home improvement and decoration. Contact Us : Website: https://homedesignnow.com Email Id: homedesignnowofficial@gmail.com To Connect With Us Visit