1 / 4
40 likes | 52 Views
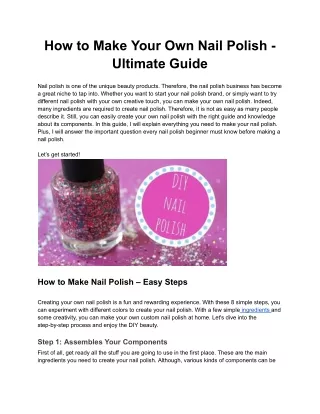
Are you looking for a way to relax and unwind after a long day at work? Look no further than building your own DIY sauna kit! With a little bit of know-how and some elbow grease, you can create a cozy retreat in the comfort of your own home. In this ultimate guide, we'll show you everything you need to know to build your own sauna kit from scratch.

E N D
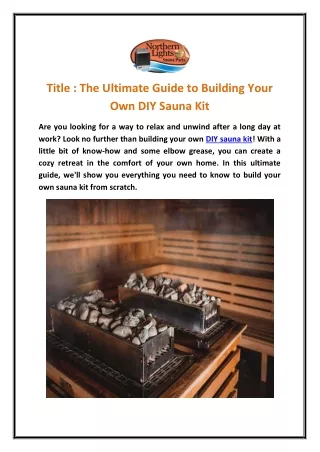
Title : The Ultimate Guide to Building Your Own DIY Sauna Kit Are you looking for a way to relax and unwind after a long day at work? Look no further than building your own DIY sauna kit! With a little bit of know-how and some elbow grease, you can create a cozy retreat in the comfort of your own home. In this ultimate guide, we'll show you everything you need to know to build your own sauna kit from scratch.
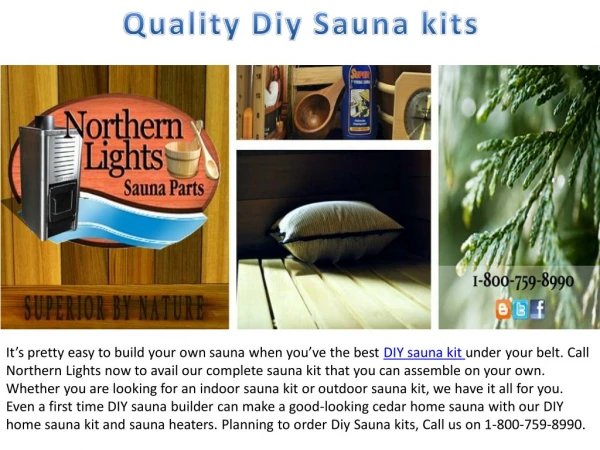
1.Determine Your Space The first step in building your own DIY sauna kit is to determine where you want to put it. Do you have a spare room that you can convert? Or maybe you have a large backyard where you can build an outdoor sauna? Whatever space you choose, make sure that it is large enough to accommodate the size of the sauna kit you want to build. 2.Choose Your Materials The next step is to choose the materials for your DIY sauna kit. There are a variety of options to choose from, including wood, ceramic, and metal. The most important thing is to choose a material that is both durable and able to withstand the heat generated by your sauna heater. 3.Plan Your Design Once you have chosen your space and materials, it's time to plan the design of your DIY sauna kit. This includes deciding on the size and shape of your sauna, as well as any additional features such as benches or a changing room. You may want to consult with a professional sauna builder to ensure that your design is both functional and safe.
4.Install Your Sauna Kit With your space, materials, and design chosen, it's time to install your DIY sauna kit. This process can vary depending on the type of sauna you are building, but generally involve assembling the walls and ceiling, installing the heating element, and adding any additional features. 5.Enjoy Your New Sauna Congratulations! You have successfully built your own DIY sauna kit. Now it's time to sit back, relax, and enjoy the benefits of your new sauna. From relieving stress to improving circulation, saunas have a wide range of health benefits that make them a great addition to any home. In conclusion, building your own DIY sauna kit is a rewarding and relaxing experience. By following the steps outlined in this ultimate guide, you can create a cozy retreat in the comfort of your own home. Whether you're looking to relieve stress or improve your health, a sauna is a great way to unwind and rejuvenate. Contact Heaters4Saunas got everything you need for your sauna, whether it's a new heater or a replacement for the door handle.
CONTACT DETAILS Country :- Canada State :- Manitoba City :- Winnipeg Zip :- R2G 0 N5 Email :- dan@cedartubs.com Call :- 1 800-759-8990 THANK YOU!!


![[PDF] Bath Bombs: The Ultimate DIY Guide on How to Make Your Own Natural and Hom](https://cdn7.slideserve.com/12455163/slide1-dt.jpg)