Download

1 / 12
120 likes | 291 Views
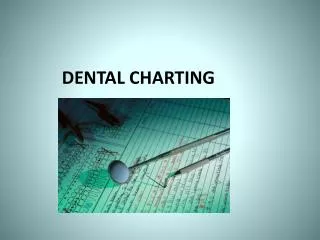
Introduction to Charting. Sections of the Dental Chart. Personal Patient Information – this may include name, address, age, employment information, telephone #, name of guardian, and medical alerts. Charting area – this is the diagrammatic representation (pictures) of the teeth

E N D
Sections of the Dental Chart • Personal Patient Information – this may include name, address, age, employment information, telephone #, name of guardian, and medical alerts. • Charting area – this is the diagrammatic representation (pictures) of the teeth • Treatment Rendered – this is the written record of all treatment (and services) provided for the patient.
A dental chart is: • The patient’s record of his dental condition and treatment received while he is the patient in this office or clinic. • A valuable legal record. All services rendered must be recorded on it.
All entries must on the dental chart must be: • Complete • Correct • Clear
As a valuable legal record, the patient’s chart must be protected. • Charts should never be left lying around • After use they should be returned to their proper places. • They should be stored so as to protect them from fire, damage, or loss.
To record an examination quickly and accurately you must: • Be familiar with the words the dentist is using. • Know the proper symbols and abbreviations so you can use them quickly and accurately. • When in DOUBT—WRITE IT OUT!!! (Don’t take chances. If you are not completely sure of the symbol, write it out completely)
Trust nothing to memory – write everything down. (Use symbols, abbreviations, or longhand..... But write it down as soon as possible) • Don’t be afraid to ASK about anything that you did not hear or understand completely.
Guidelines for making charting entries • Do not use a pen, either ball point or felt tip, when charting an exam. If you make a mistake you can not erase it. • Use a regular black pencil for all entries, unless you are told to use a system with colored pencils. • EXAM entries are made in pencil; however, all other entries are made in pen.
Learn the term the dentist will be using. • Be ready to use the proper symbols to record findings. • Pay attention, Listen carefully, and Don’t be afraid to ask!! • Be accurate – your mistake in charting could cause the patient considerable pain and trouble.
Charting with red and blue pencils • Solid blue – is used to show existing restorations. (Fillings that are in place and in good condition) • Solid red – is used to show caries (decay) or other conditions that require attention. • Solid blue outlined in red – used to show that a restoration is resent but must be replaced.
Classification of Cavities • Class I – involves the pit and fissure caries. • Class II – caries of the occlusal and proximal surfaces of a posterior tooth. • Class III – caries of the proximal surfaces of an anterior tooth.
Class IV – caries of the proximal surface and incisal edge of an anterior tooth. • Class V – caries on the gingival third of the facial or lingual surface of all teeth ( not pit & fissures) • Class VI – abrasion of the incisal edge or occlusal surfaces of the teeth.