Download
1 / 20
200 likes | 311 Views
Towson University Robotics. Mindstorm NXT-G Introduction. Move Block. Select which Motors to move Select Direction to move or break Set Duration to Rotations, Degrees, Seconds, or Unlimited (Continuous Rotations) Set Next Action to be either brake or coast after duration has expired

E N D
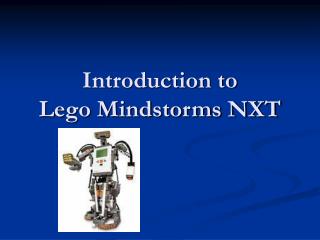
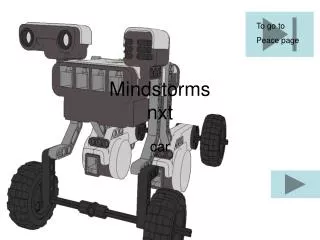
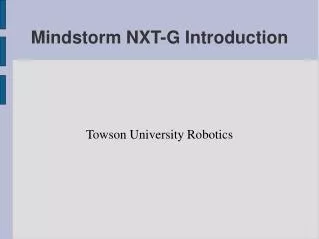
Towson University Robotics Mindstorm NXT-G Introduction
Move Block • Select which Motors to move • Select Direction to move or break • Set Duration to Rotations, Degrees, Seconds, or Unlimited (Continuous Rotations) • Set Next Action to be either brake or coast after duration has expired • Set power of motor
Move Block • State the intended goal
Display Block • Choose whether to display text or image • Checkbox to indicate if we should Clear (Erase) the screen before Displaying • If using Text mode, there is a line to allow you to enter Text to be displayed. • There is a x,y position or line position to set the display item to be displayed at a precise location on the screen.
Time Wait • Controled by Time • Wait Until n Seconds has passed before continuing
Sensor Wait • Controlled by Sensor • Sensor chooses which sensor is controlling the wait, eg. Touch Sensor. • Port chooses which port the sensor is connected to. • Action chooses what action is to be waited for. That is, the block will remain in a waiting state until Action is accomplished. eg., Pressed for Touch Sensor.
Logic Loop • Controlled by Logic (true / false condition) • Continues to executes the commands Until the Until condition is true. • eg. Until is set to false. Logic1 is a Logic variable set to true. And Logic1 is connected by a wire to the Loop. Loop would continue executing until variable is set to false. Once Logic1 is false, Loop would exit because Until condition has been satisfied.
Other Loops • There are various other kinds of loops • Loops can also be controlled by Sensors, Counters, Time, or be told to continue Forever. • Sensor loops can continue until some action occurs, eg. Until Touch Sensor is pressed. • Count loops continue Until Count of times performed loop equals a certain number, eg. Loop Until Count =5, so we perform the loop 1, 2, 3, 4, 5 times and then exit.
Switch Statement • Switches execution of program to different cases depending upon condition. • Works like If then else statement. • eg. Switch controlled by Value of Type Number, means if number = 0, then do x. if number = 1, then do y. if number = 2 then do z. • Checkmark indicates default choice. For example, if number is checked then it is the default choice. If the number variable = 6, since we only have 0,1,2 as choices, 1 executes because it is the default choice.
Variables • Allow you to Write (Store) a value to the variable, or to Read (Retrive) a value from the variable. • Can be connected by wires to Loops and Switch Statements. • May be of type Logic(true/false), Number or Text variables
Less Than / Greater Than • If Variable connected via Wire to A is Less Than, Greater Than, or Equal To the variable connected to B via wire, then output True, otherwise output false. • Output may be connected to a Switch Statement controlled by Logic or used inside a Loop Statement.
Number to Text • Converts a number input to text output. • Usually connected to Text input of Display block via a wire.