Download
1 / 8
80 likes | 243 Views
Hi there Music Production buddies. Hope this Project Checklist is useful Cheers maths dx

E N D
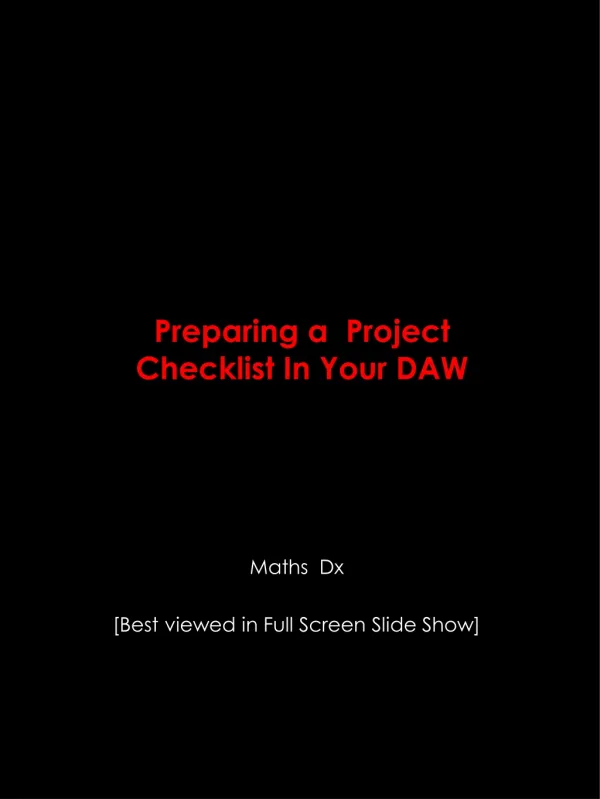
Preparing a Project Checklist In Your DAW Maths Dx [Best viewed in Full Screen Slide Show]
Introduction Hi, I’m Maths Dx from a far away galaxy on the Internet. This lesson is for Week 2 of Introduction to Music Production at Coursera.org. Today, I will be covering the topic as concisely as possible. All the salient points of the topic are presented so that it is also an easy-reference for later use– you can also download it. Before you start, you of course need to have your choice of Digital Audio Workstation (DAW) and Audio Interface ready. The following are the topics to be covered today so let the music begin! • Project Name • Folder/ File Location • Sample Rate • Bit Depth • Recording File Type • Audio Interface Settings • Buffer Size
1. Project Name/ Folder, File Location • This seems straight forward but it is good to think of an appropriate name for the project as the DAW will usually name the folder based on the Project Name • DAWs usually place the file and folder into a default folder location (eg. My Music) so it might be good to place it into your specific folder for all your music composition for easier cataloguing and reference for the future
2. Sample Rate/ Bit Depth • These are set either on your DAW or your Audio Interface hardware, depending on the make-up and preferences of each manufacturer. • But it is likely that it will be in your DAW preferences • It is suggested that you set the Sampling Rate to 48,000 Hz and Audio Driver Bit Depth to 24-bits.
3. Recording File Type • Use an uncompressed file type • It is recommended to use Broadcast Wave otherwise Wave or AIFF files.
4. Recording File Type • Configure the DAW’s preference to use the Audio Interface’s audio in and out drivers otherwise there will be no sound. • Ensure that both Playback and Recording Timing Masters are configured.
5. Buffer Size • Set your Buffer size – it is likely that you could set it in your Audio Interface if you are using ASIO drivers. • Start with 128 samples per buffer and progressively move it up until the sweet spot where there is minimal latency
Epilogue Thank you for reading through this and I hope that this will be a useful checklist before you commence with your music production. *English functionalities to be added in Phase 3