1 / 5
50 likes | 69 Views
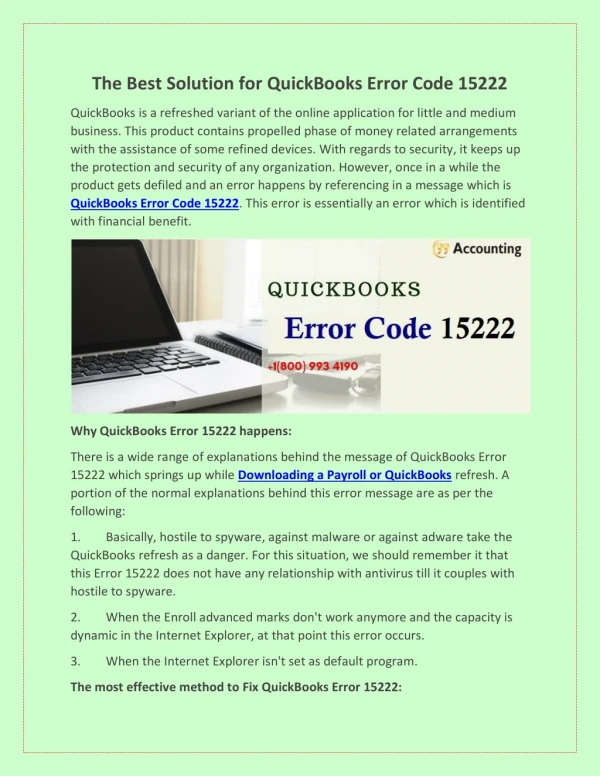
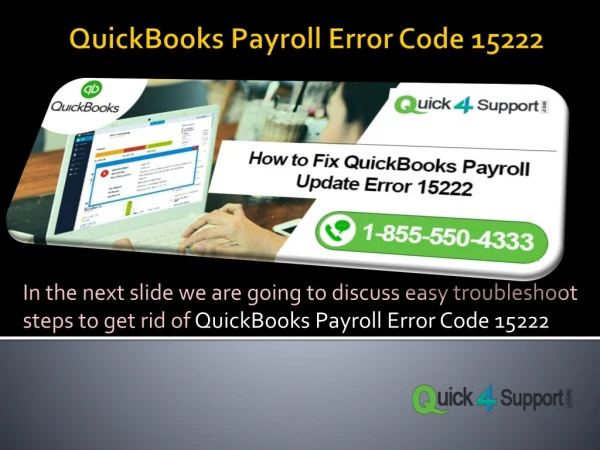
How to Resolve QuickBooks Update Error 15222 Get Solution usually arises when there is a problem with your Internet Connection settings. QuickBooks is an accounting/bookkeeping application package developed by Intuit for the management of small-medium scale size businesses. Therefore, QB takes too long to connect with the web servers and the updates donu2019t get installed. To resolve QB error 15222, make sure that your internet is running properly. You can also try various other methods given in this blog to fix this issue solution for contact number 1800-993-4190.<br>https://youtu.be/eW2nBzadFoM

E N D
How to Troubleshoot the QuickBooks error code 15222 If you also come across error code 15222 in QuickBooks, then perform the steps given below for instant solution. In case you need technical Support 1800-993-4190.
QuickBooks Update Error 15222 • Install a digital signal certificate: • In the initial stage, we have to shut down the QuickBooks Desktop. It should be done in the initial stage because if Quickbooks is open, then the Digital Signature tab will not be seen. • In the next step, we have to do right click on QBW32.exe which is located in C:\ Program Files\ Intuit \ QuickBooks and select Properties. • Then we need to click the Digital Signature tab. In this case, it should be made sure that Intuit, Inc. is chosen in the signature list. • The next step will be to select Details and in the Digital Signature Details window, we should click on View Certificate. • Then in the Certificate window, Install Certificate should be clicked on.
There are many different reasons for QuickBooks Error 15222message which pops up while downloading a Payroll or QuickBooks update. Some of the common reasons for this error message are as follows: Basically, anti spyware, anti malware or anti-adware take QuickBooks update as a threat. In this case, we should keep it in mind that Error 15222 QuickBooks does not have any association with antivirus till it couples with anti-spyware. QuickBooks Payroll Update Error 15222
How to Resolve QuickBooks Update Error 15222 Get Solution • If they are marked, please clear the box next to Check for publisher’s certificate. • scroll down towards the bottom, On the sameAdvanced tab • ensure that TLS 1.2is not checked. If marked, clear the checkbox. • Hopefully the above discussed steps will surely help you to solve. Lastly, if you are unable to Solve QuickBooks Error Code 15222 even after trying the steps that are mentioned above, then you can contact QuickBooks support team on their toll free number. • If you'd like us to instant fix your error & issues, visit our "blog" page and then contact us for more information.And if you have any comments or questions about this article, contact usor Call Support Helpline 1800-993-4190 USA 24x7 Support
QuickBooks Error Code 15222 Install Digital Signature Certificate To get your Digital Signature tab, at first, close QuickBooks Desktop, select the “Properties” option after right on QBW32.exe. Choose the Digital Signature tab by selecting Intuit Inc. in the list of signatures. Select the “Details” option and in the Digital Signature details, choose the option “View certificate”. In the certificate window, tap on the “Install certificate” option and then hit on the “Next” button. A “finish” menu will appear on the screen, hit on it to finish the installation.