Download
1 / 6
60 likes | 76 Views
This presentation will demonstrate how to effectively remove spray foam insulation. You can also hire an expert if you don't want to do it yourself. To know more, visit our website: www.sprayfoaminsulationproblems.co.uk

E N D
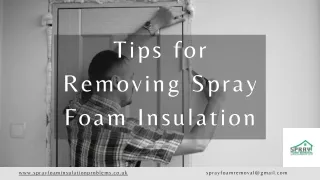
Tips for Removing Spray Foam Insulation www.sprayfoaminsulationproblems.co.uk sprayfoamremoval@gmail.com
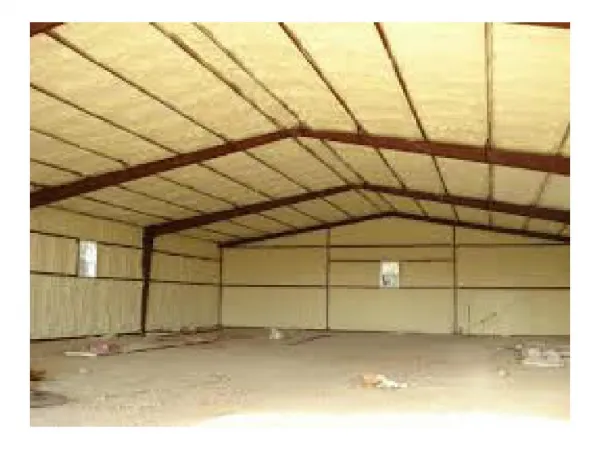
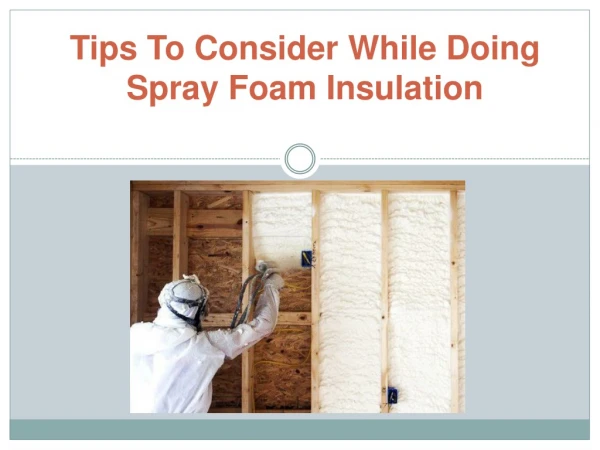
When it comes to removing spray foam insulation from walls, you can find yourself "stuck." Many of the suggestions are primitive, and you can end up damaging your wall by the time you're finished. When you try to dig it out, you can end up removing portions of the wall! To successfully remove foam insulation without causing harm, follow the steps outlined below. TIP: Before you start working, figure out what sort of spray foam you have and whether you need to take any precautions (such as wearing a respirator mask or wearing safety glasses). Some types of spray foam are harmful to touch or inhale, especially if you have a history of respiratory or skin problems.
ALLOW FOR NATURAL REMOVAL USING ROUGH BRUSHES, SCRAPE FOR TOUGH SPOTS, USE A SAW To begin, dig up enough of the cured foam to ensure there are no electrical or plumbing lines beneath it. If it is safe for you to do so, cut sideways with a reciprocating saw to remove the foam. Never cut at a 90-degree angle, since this will utterly damage your wall. Examine the foam insulation to see if it has cured or dried. Depending on your wall surface, a non-cured material will normally fade off over time. You have the option of leaving it alone and allowing it to organically decompose. If the foam has hardened, scrape it away with a stiff- bristled brush or other rough brush. To ensure the complete removal, wash any residue left behind with hot water.
USING OLDER TOOLS, PRY IT OUT CLEAN WITH ACETONE INSTEAD OF WATER. HEAT SHOULD NEVER BE USED. You could use an old claw hammer and an old flat pry bar—ancient enough that the edges are a little dull and the damage to your wall is minimal. You could try removing uncured wall foam with acetone (nail polish remover). To guarantee that no damage occurs, test it in a hidden place first. Use soap and water sparingly, as moisture causes the foam to cure. When removing foam insulation, never use heat. Many poisons are present in this material, and heat causes them to be released into the air.
WHEN REGULAR TOOLS DON'T WORK, TRY USING SPECIALISED TOOLS. USE THINNERS CHEMICAL DAMAGE CAN BE REDUCED BY USING A KNIFE Lacquer thinner is a great way to get rid of cured wall foam insulation. It is available for purchase at paint retailers. Instead of using chemicals that cause the wall paint to peel off, you may use good old- fashioned elbow grease. Apply grease to the foam and use a knife to scrape it off. Make sure you're not cutting at a 90-degree angle this time. To remove wall foam insulation, you can use a variety of instruments. Aside from foam saws, there are specific knives with handles designed to remove it with care. Before using these instruments, make sure you read the user handbook thoroughly.
IF YOU'RE NOT SURE, GET PROFESSIONAL ASSISTANCE. If this is your first time removing spray foam insulation, it may not go as planned, so be prepared to seek assistance. You can expect careful, high-quality work from an expert, as well as a lower danger of wall damage. You don't want to remove the insulation yourself just to have to pay someone to repair the damage. www.sprayfoaminsulationproblems.co.uk sprayfoamremoval@gmail.com