Download
1 / 17
170 likes | 198 Views
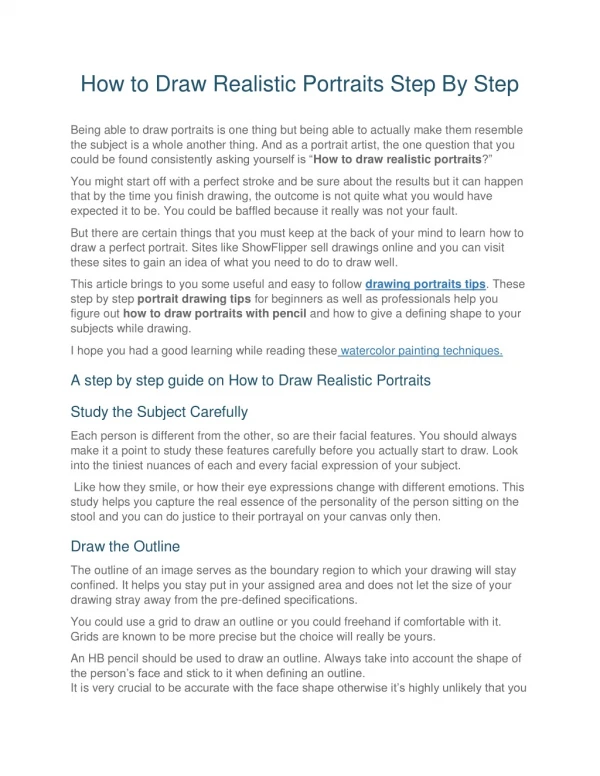
Learn how to draw a portrait step-by-step with accurate proportions by studying facial features closely. Follow a detailed guide from drawing the face shape to adding hair details for a realistic appearance.

E N D
Learning Objective- How to draw a portrait step- by- step, using correct proportions
Before beginning to draw a portrait, the subject must be studied closely. Look closely at the next portraits. Notice how the facial features differ.
Click on an image to enlarge/shrink Edward J Poynter – ‘Head of a young woman’ Joseph Chesters – ‘Portrait of James Bentley’ S Harding– ‘Colonel Mytton’ Dorrien – ‘Robert Jones’ Evan Walters – ‘David Lloyd George’ Kyffin Williams– ‘Fusilier Dean’ All of these portraits were taken from www.gtj.org.uk
1. Draw an egg shape (but remember not all faces are egg shaped!) This bit is difficult so remember to use your pencil lightly, just in case You need to rub out mistakes!
2. Draw a centre line vertically right through the centre of the egg This ensures that you line up the nose, mouth and eyes correctly
3. Draw a horizontal line ½ way down the egg This is where the eyes and top of the ears will go
4. ½ way between the eye line and the chin draw a 2nd horizontal line This is where the bottom of the nose and ears will go
5. 1/3 of the way down from the nose draw a 3rd horizontal line This is where the mouth will go
6. Draw in the eyes with the corners on the line To ensure the eyes are the correct size you should be able to fit 5 equal eye widths across the head
7. Draw the bottom of the nose The nostrils should rest on the line
8. Draw in the mouth with the line dividing the 2 lips By measuring 1/3 in from the corner of the eye and drawing a line vertically on each side, you can achieve an accurate mouth width
9. Draw in the ears and the hairline The hairline can help determine the shape of the face Remember the ears should fit snugly between the eye and nose lines
10. Draw the neck by drawing a vertical line from the outer corner of the eye on each side to achieve the correct width Remember the neck to the shoulders curves gently. The shoulders are 3x the head width.
11. Now add the hairstyle of your choice! Notice the hair grows out away from the head, appearing as an indent where the hair is parted Long hair requires you to make long pencil strokes Notice the hair on top of the head is lighter where it reflects the light and darker underneath. This is achieved through using many or few lines accordingly
Short hair requires you to use short pencil strokes Look carefully at the different directions that the hair fall in
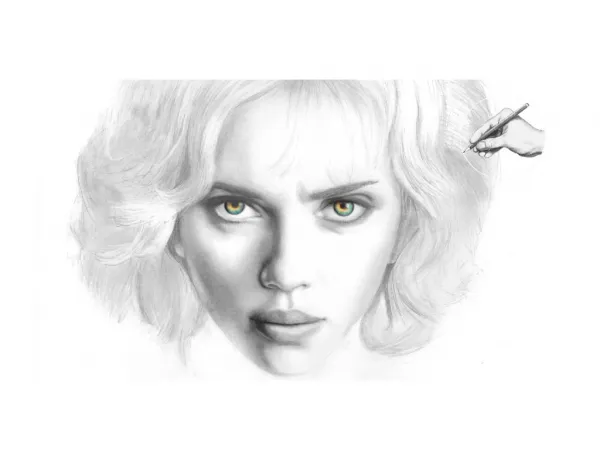
12. You can then rub out your guidelines and add tone to give a more realistic appearance Remember, these are only guidelines in how to draw a portrait in proportion. Everybody varies slightly and that is what makes us so interesting, unique and individual!