Download

1 / 9
90 likes | 401 Views
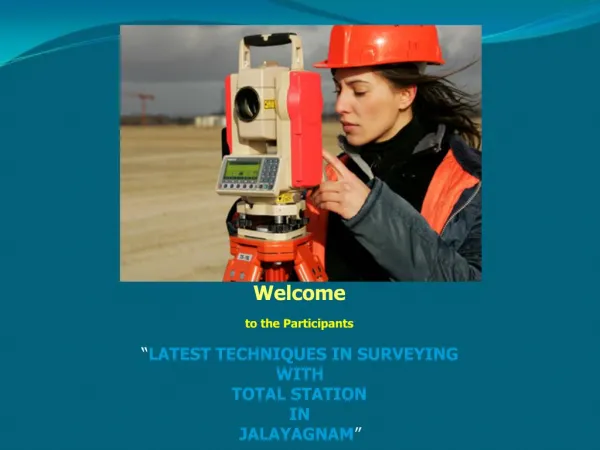
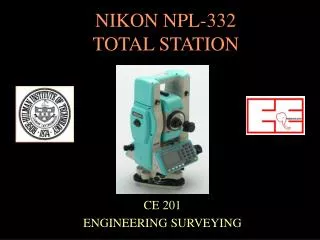
A total station is a surveying tool that combines an electromagnetic distance measuring instrument and an electronic theodolite. It also includes a microprocessor, an electronic data collector, and a storage system.<br><br>Visit: https://www.falcon-geosystems.com/used-survey-equipments/used-total-stations/

E N D
How To Use Total Station In Surveying https://www.falcon-geosystems.com
The stages involved in using a total station in surveying are as follows: • Setup the Tripod • Setting Up The Total Station On A Tripod • Adjusting the Total Station Level • Electronically verifying the levelling • Image Adjustment & Cross-Hair Focusing • Taking Measurements
Setup the Tripod The tripod legs are secured in place so that they are evenly spaced. The tripod stand head should be level as well (roughly). The standing head should be in such a position that the top of the mount is exactly over the station mark.
Setting Up The Total Station On A Tripod The Total station is then put on the stand after it has been secured to a particular spot. The instrument should be supported over the stand with one hand while the centring screw should be tightened with the other.
Adjusting the Total Station Level The levelling foot screws are then adjusted to the point where the review point on the optical drive is midway. The tripod legs are also adjusted such that the bubble is in the middle. First, the air bubble is aligned with the two-foot screws and brought to the centre by rotating both screws in the same direction. The air bubble is then adjusted corresponding to the extra foot screw and brought to the middle by rotating the screw from that point forward.
Electronically verifying the levelling To begin, press and hold the "ON" button on the keypad until the instrument turns on. When the instrument is turned on, it emits a blare. The function is selected once the screen has been displayed. The foot level screws are then replaced, allowing the electronic bubble to be focussed as well. The instrument is pivoted at 90 degrees again, and the cycle begins again.
Image Adjustment & Cross-Hair Focusing After that, the horizontal and vertical cinches are removed, and the telescope is oriented at any featureless light foundation. The cross-hair is then adjusted until the image appears to be perfectly focused. The telescope is then centred on the objective, and the centre ring is adjusted until the objective is sharply focused. The evacuation of parallax is then ensured by progressively moving the head to the side.
Taking Measurements The entire station can be used to take measurements or observations once the preceding procedures have been performed. Looking for Leica survey equipment accessories? Falcon Geomatics LLC is the best Leica total station supplier and dealer in Dubai, UAE. For used Leica total station call us now. Source : https://falcongeo.livejournal.com/752.html
sales@falcon-geosystems.com 97142212333 https://www.falcon-geosystems.com Do you have any questions? THANKS!