Download
1 / 6
60 likes | 67 Views
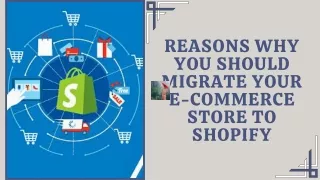
Looking to migrate your ecommerce store to Shopify? Don't worry - we can help! In this article, we'll show you how to migrate your store to Shopify in just a few simple steps. Plus, we'll give you some tips on what to do before and after your migration to make sure everything goes smoothly. So what are you waiting for? Start your Shopify migration today!

E N D
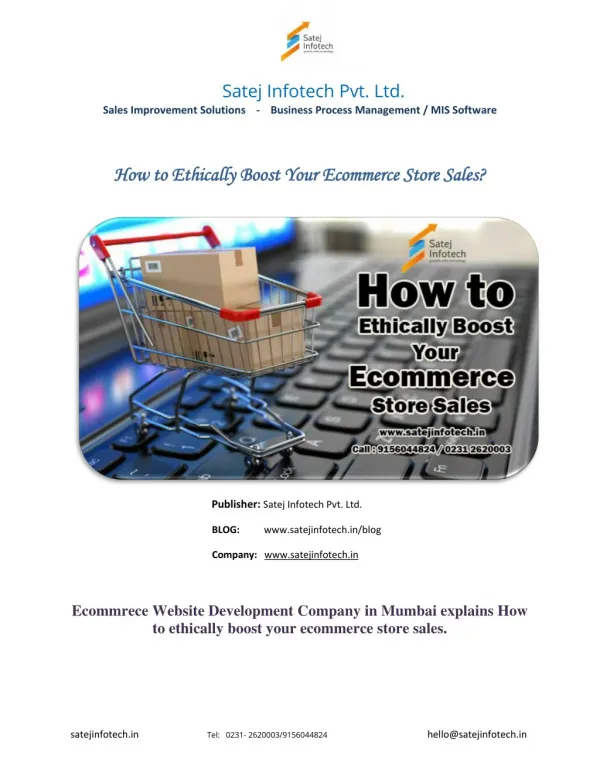
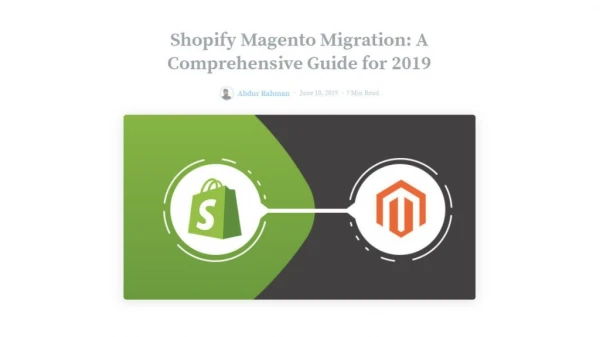
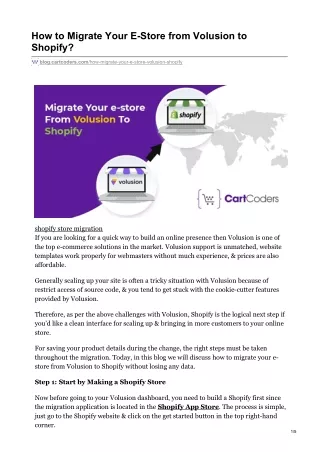
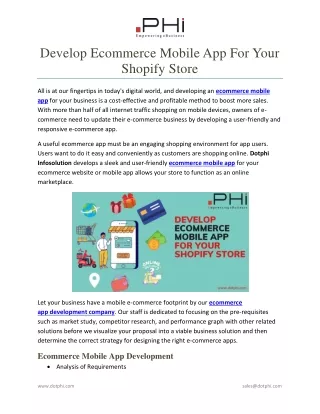
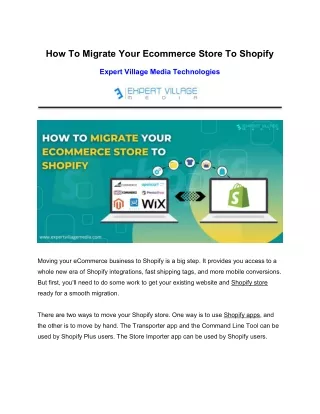
How To Migrate Your Ecommerce Store To Shopify Expert Village Media Technologies Moving your eCommerce business to Shopify is a big step. It provides you access to a whole new era of Shopify integrations, fast shipping tags, and more mobile conversions. But first, you'll need to do some work to get your existing website and Shopify store ready for a smooth migration. There are two ways to move your Shopify store. One way is to use Shopify apps, and the other is to move by hand. The Transporter app and the Command Line Tool can be used by Shopify Plus users. The Store Importer app can be used by Shopify users.
Remember that all of your data and information about your products have been saved or copied. The Shopify migration process takes some time, and if your store has a lot of data, it might take even longer to process the data. Step #1 Sign Up and Configure Your Basic Settings There are some things you should strictly take care of before you add products and set up your payment methods. ● Review the things that need to be thought about while migrating website to Shopify to make sure the process goes smoothly. ● Finish setting up the initial processes, so everything is up to date. ● Find the option that lets you access your billing information and manage your account. ● Add staff members who each have their own login information to keep all sensitive information safe. Step #2 Import Your Store's Data to Shopify When you switch to Shopify, you have to move everything from your old platform, including your products, blogs, and customer transactions. The process of migrating website to Shopify is long, so make plans for each step. Make a list of the information you want to transfer from your old platform to Shopify. Once you have the list, you can decide how and in what order you will move the data. You can take a few steps as mentioned below to switch to Shopify: Copy and paste the content from your old website to your new site. Use certain apps for Shopify migration
Get help from a Shopify expert Transfer data manually using CSV files (this option can only move customers and products, not customer passwords) If you are importing information about your products, customers, and past orders, the order is important. Follow the order below when you import: 1. Products 2. Customer 3. Historical orders If you do things in this order in Shopify, you'll be able to see your customers' full transaction history. Also, the orders that were moved will be linked to the products and customers that go with them. Step #3 Organise Your Products If you used a Shopify app to import your data, check to make sure everything was done right. No matter which Shopify migration process you choose, it's a good idea to get your data and services ready for the move before you make it. Among these are: ● Take HTTP: and HTTPS: out of the URLs of your theme files, stylesheets, and images to get rid of certain protocols. ● Make sure all data is up-to-date and free of mistakes ● Running and saving a full copy of all of your data ● Getting your service providers to agree on a date for the switch ● Letting relevant third parties use your Shopify account
Step #4 Add a Theme As soon as one signs up for a Shopify account, you will already have a theme. You can also make your website look great by adding free or paid themes from the Shopify theme store. Step #5 Setup Your Domain There are two ways, either you can buy a new domain or move the domain from your old Shopify account to your new one. However, it is always recommended to use the same domain. Step #6 Setup Your Shipping Details Before you launch your website, you should set the shipping rates and methods. One thing to remember is that if you're selling digital goods, you need to turn off the shipping option because your customers won't be getting anything physical. Step #7 Configure Your Tax Details Taxes is one of the crucial parts of running a business and migrating website to Shopify. Depending on where you live and run your business, there are different rules about sales tax. Spend some time learning how the tax process works in your area and setting up taxes in Shopify. Find out how you will keep track of your taxes all year while you set up your tax settings. Step #8 Setup Payment Gateway Every business needs payments because getting paid is one of the main goals of making a sale. Setting up payment gateways that work well is important for both you
and your customers if you have an online store. It's also pivotal to make sure that your customers have a great shopping experience that is as easy as possible to use. Here are some factors you might should think about when choosing a Shopify Payment Gateway: Vision and type of business: This includes things like where you will sell your goods and what currency you will accept. Once you've decided on these, you'll be able to choose the payment gateway that will work best for your business. Cards that can be used to pay: When you choose a payment gateway, you need to think about the cards that can be used to pay. Target Market: When choosing your payment gateway options, think about how you want to grow your e-commerce store and if that payment gateway option is accepted in that country. Concerns about security: It's better to be safe than sorry, so when choosing a payment gateway, make sure it's safe and has good features for spotting fraud. Shopping Experience: If you want to keep customers coming back, you need to make sure they have a good shopping experience. The payment gateway option you choose should help make that happen. Step #9 Place Test Orders After adding your payment gateway, try placing a few transactions to make sure everything is working correctly. Run a test order and go through all the steps your customers will go through when they buy something from your store.
Step #10 Setup URL Redirects Setting up redirects from your old platform to your new Shopify store is also a good idea. This makes sure that people who use old bookmarks or links by accident can still find their way to your store and products. Log in to your old platform, go to your account settings, find the URL redirects section, enter your old URL and your new URL, and then run a test. Conclusion Before you sit back and enjoy your hard work, take a moment to think about how you can make your new Shopify store even better than your old website. You can now use a whole new set of apps, integrations, partners, and other tools.