Download

1 / 30
500 likes | 1.89k Views
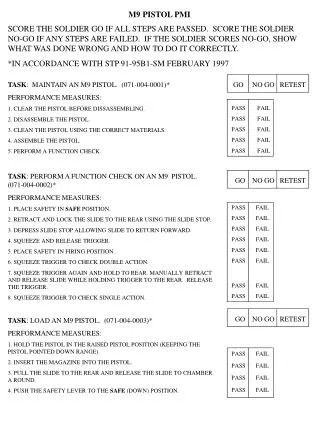
M-9 PISTOL PMI. LMTS. EQUIPMENT DATA. The M-9 pistol is a semi-auto, magazine fed, recoil operated, double action weapon chambered for the 9mm cartridge. SAFETY FEATURES . De-cocking/safety lever Firing pin block Half-cock hammer notch These prevent accidental discharge .

E N D
M-9 PISTOL PMI LMTS
EQUIPMENT DATA The M-9 pistol is a semi-auto, magazine fed, recoil operated, double action weapon chambered for the 9mm cartridge.
SAFETY FEATURES • De-cocking/safety lever • Firing pin block • Half-cock hammer notch • These prevent accidental discharge
WARNINGTHE HALF-COCKED POSITION CATCHES THE HAMMER AND PREVENTS IT FROM FIRING IF THE HAMMER IS RELEASED WHILE MANUALLY COCKING THE WEAPON. IT IS NOT TO BE USED AS A SAFETY POSITION. THE PISTOL WILL FIRE FROM THE HALF-COCKED POSITION IF THE TRIGGER IS PULLED.
FUNDAMENTALS • The main use of the pistol is to engage an enemy at close range with quick, accurate fire. Accurate shooting results from knowing and correctly applying the elements of marksmanship.
THE ELEMENTS OF COMBAT PISTOL MARKSMANSHIP • Grip • Aiming • Breath control • Trigger squeeze • Target engagement • Positions
GRIP • The weapon must become an extension of the hand and arm. It should replace the finger in pointing at an object.
ONE-HAND GRIP • Hold the pistol in the non-firing hand and with the firing hand form a V with the thumb and forefinger. Place the pistol in the V and wrap the firing hand around the pistol. Grip the pistol tightly until you begin to tremble; relax until the trembling has stopped. At this point the necessary pressure for a proper grip is being applied.
FIST GRIP • Grip the pistol with the one-hand grip; close the fingers of the non-firing hand over the fingers of the firing hand, ensuring that the index finger of the non-firing hand is between the middle finger of the firing hand and the trigger guard. Place the thumb of the non-firing hand alongside the thumb of the firing hand.
PALM-SUPPORTED GRIP • Grip the pistol with the one-hand grip. Place the non-firing hand under the firing hand, wrapping the non-firing hand around the firing hand.
WEAVER GRIP • Apply this grip the same way as the Fist Grip; the only exception is the non-firing thumb is wrapped over the firing thumb.