Download
1 / 9
90 likes | 214 Views
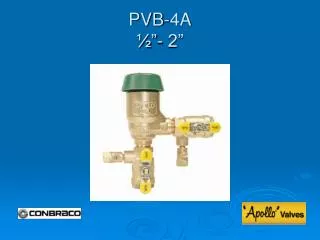
The PVB-4A series valves have been in production since 2008 and remain a current offering. This guide provides a detailed overview of the valve's features, including canopy and bonnet removal procedures, float service, check valve disassembly, and replacement of critical components such as the check disc and seat. Step-by-step instructions ensure proper reassembly while highlighting the importance of lubricating the bonnet O-ring for optimal performance. Follow this guide for effective maintenance and service of the PVB-4A series.

E N D
Modification Overview • Production of the PVB4A series began in 2008 and is current.
Canopy Removal • The canopy is secured by two screws.
Bonnet Removal • The bonnet is threaded into the body and sealed by an o-ring. • Unscrew the bonnet counter clockwise. • There is no spring load. Note: If float spring is damaged, the bonnet must be replaced.
Float Removal and Service • The float is free once the bonnet has been removed. • Replace the rubber seal by pulling it from the groove on the float.
Check Valve Disassembly • The check valve is secured by the float cage and sealed by an o-ring. • Remove the float cage. • Push down and turn the spring retainer 90 degrees.
Check Disc Replacement • The check poppet is free once the spring and retainer are removed. • The check disc is free once the retaining screw and guide are removed.
Check Seat Replacement • The check seat is pushed into the body and o-ring sealed. • Simply pull the seat straight out of the body.
Reassembly Notes • Reassemble in reverse order. • Lubricate bonnet o-ring.