Download

1 / 25
250 likes | 384 Views
This project focuses on creating a scale model of an energy-efficient house that incorporates innovative energy-saving features. Participants will design a house that meets specific room requirements including three bedrooms, two bathrooms, and key living spaces. The project includes wiring the model with simple circuits and light bulbs, selecting sustainable materials, and integrating passive solar design principles. Final presentations will convince a panel of judges of the home's viability for a green community in Citrus Heights.

E N D
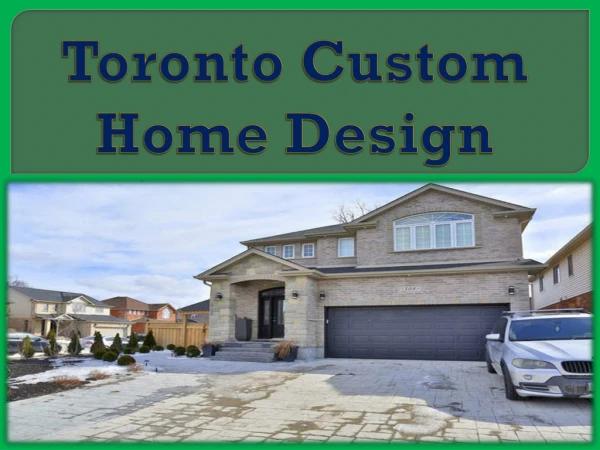
Custom Home Design Project Save Energy Save the world
Project Overview • Build a scale model house • Describe the energy saving features • Wire your house with simple circuits and light bulbs • Convince a panel of judges that your house should be chosen for a residential community of custom energy efficient homes to be built in Citrus Heights
What energy features should you build into your model? • Start with the list from your Green Energy Project (page 7) • Read the handout: Passive Solar Design • Watch the video: • You will describe these features in great detail in your house description (50 points)
What should my house look like?What should I build it out of? Standard
Minimum House requirements 3 bedrooms (8x10)(10x12)(12x14) 2 bathrooms- sink, toilet, shower/tub (6x6) Living room (16x16) Kitchen (7x8) all countertops/appliances 2’ deep Garage (16x16) usually (20x20) Dining room (10x12) Closets (2x4) Family room (optional) Laundry facilities – washing machine/dry each 3x3 (maybe inside house or garage) Any other rooms optional Standard wall height 8 feet – some ceilings raised 10-14 feet Outside doors 7 or 8 feet tall, inside doors 6.5-7 feet
Where do I start? • Floor Plan directions: • Draw a draft plan on scratch paper. Put all the required rooms, plus any others that you would like in your house, in your drawing as boxes (for now). Label each room with its name and dimensions. Glue the draft into your notebook. • Choose one room to start with. Using ¼ inch graph paper, draw the room to scale (1 square= 1 foot). Add shaded exterior walls (shade with pencil; make outside walls 1 square thick). • Keep adding adjacent rooms in the same manner. (Do all your work in pencil, so you can erase later!) Tape another piece of graph paper onto the edge if you need more space. • Once all the rooms exist: Add windows (by erasing the shaded area and drawing a sheet of glass) and doors (by erasing shaded area and showing the swing of the door into the room. Interior doors are generally 2.5 feet wide, and exterior doors are generally 3 feet wide). • Add the scale (1 square= 1 foot= 12 inches) • Label North South East West
How do I make a second story? • Make stairs on the first story floor plan where you want them • Make a second floor plan that puts the stairs in the same position • Remember: the second story should NOT be larger than the first story (in most cases) • Label 1st floor and 2nd floor on the house plans
How do I draw a wall? • Hold a blank piece of graph paper up next to your floor plan • Draw a horizontal line where the wall would touch the floor • Count up the number of squares for the height of the wall (remember most walls are 8 feet high) • Add out side doors (7 feet tall and 3 feet wide) • Add windows • Label each wall east/west/north/south
Follow the directions in your handout for all calculations and the roof
Looking Ahead • Model House Design (100 points) • House Description (50 points) • Model House (50 points) • Presentation (50 points) 250 points and you can get every one of them! This is your final exam Final exam date:
Digital Resources • Look at some example designs from blueprints or on websites such as http://www.houseplans.com/ to get a feel for dimensions of rooms in houses. For example, all doors should be standard 3-feet wide, etc. • Use graph paper to create a rough draft of your dream house. You can print your own graph paper by using the website: http://www.printfreegraphpaper.com/. • Once your rough draft is completed, go to www.floorplanner.com and create a login. It is FREE, but you do need a login to save your work. • While on www.floorplanner.com, use the outline features to create the outlines of your room including doors and windows. Make sure the dimensions of your rooms are dimensions that could actually be created (for example, do not accidentally create a 2-square-foot bathroom). • Use the features provided on www.floorplanner.com to add furniture and appliances to each room. Links to View Previously-Created Blueprints for Design Ideas: • http://www.houseplans.com/ This website allows you to select the number of bedrooms, floors, bathrooms, etc. and to view different floor plans for your needs. • http://www.coolhouseplans.com/ This website also allows you to plug in requests, as well as dimensions of the house. • http://andyshowto.com/room_design_floor_plans.htm This website gives you general dimensions of different features that you might want to include in a room, such as countertops, to help you plan out the dimensions of each room.