Download
1 / 30
300 likes | 384 Views
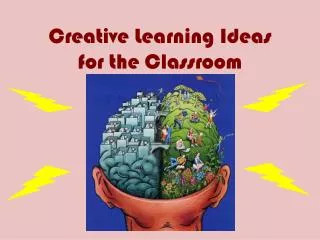
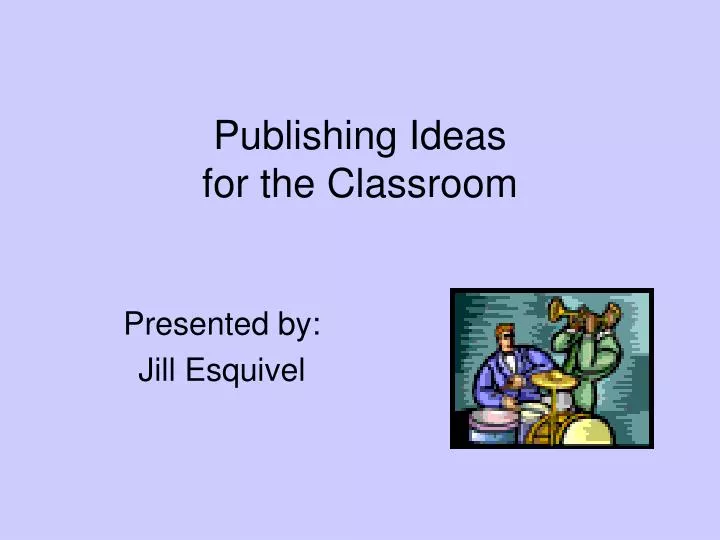
Publishing Ideas for the Classroom. Presented by: Jill Esquivel. Purpose. To provide different ideas for publishing many of the activities found in the comprehensive curriculum To show different ways to use PowerPoint other than just for presentations – it’s all in the printer settings

E N D
Publishing Ideas for the Classroom Presented by: Jill Esquivel
Purpose • To provide different ideas for publishing many of the activities found in the comprehensive curriculum • To show different ways to use PowerPoint other than just for presentations – it’s all in the printer settings • To show “cool” things you can do with Microsoft Word and PowerPoint
Accordion Books • Students research a topic and prepare a report or write a story. • They create a PowerPoint presentation then print the slides and create the book. Directions
Animated 3-D Text • Use available online resources to enhance presentations and web sites. • 3D TextMaker http://www.3dtextmaker.com • Cool Text http://cooltext.com
PowerPoint Animated Border • Add something special to PowerPoint opening slide • Can be time consuming • Require entire presentation be completed before adding special effects Directions
Animated Graphics • Add excitement to presentations • Require entire presentation be completed before adding special effects Directions
Bookmarks • Research a topic • Famous people • Book Reports • Autobiography • Show students how to use bookmark template • Print 4 bookmarks • Great for student exchanges, parent night Sample
Candy Bar Templates • Publish poetry • Recognize special efforts • Say “thank you” • Parent gifts – Christmas, Mother’s Day, Father’s Day, Grandparents’ Day Templates
For Additional Templates • http://www.jersgirl.com • Do an Internet search for free templates
Filling Word Art or Auto Shapes with Graphics • Can be done in any Word or PowerPoint document • Different way to illustrate various concepts: • Weather terms • Landforms • State names • Famous places • Famous People
Filling Word Art with Graphics Stratus Cirrus Cumulonimbus Nimbus Cumulus
Flip-Ups/Flippers • Good for displaying • Figures of speech • Riddles • Math activities • Various research topics • Writing activities
Hats Off to… • Create a pyramid report on a paper hat about: • Scientists • Explorers • Mathematicians • Americans • Elements Template
Mini Books • Explain and give examples • Equivalent ractions • Geometric shapes • Elements • Various cycles • State facts
Paper Chain of Events • Use for events that follow a sequence • Body systems (cardiovacular, digestive, etc.) • Systems of the earth (water cycle, how a seed becomes a plant, etc.) • Government systems (how a bill becomes a law, how the president is elected) • Story, book, or movie plot • How-to steps • Math concepts
Shape Poems • Short poems • Word associations Sample
Digital Storytelling • Use PhotoStory to create digital stories. • Use digital images, clip art, scanned images, etc. as illustrations • Can zoom in and out on portions of pictures • Can pan a picture • Put words into a PowerPoint document • Save as a jpeg (each slide is saved as separate picture) • Insert into PhotoStory Sample
Turn Off Word Task Pane • Select Tools Options • Click the View tab • Remove the check from the Startup Task Pane option • Click OK
Disable the Drawing Canvas • Select Tools Options • Click the General tab • Remove the check from the Automatically create drawing canvas when inserting AutoShapes • Click OK
Change How Clip Art/Pictures Come In • Select Tools Options • Click on the Edit tab • In the Insert/paste pictures as section, select any option other than In line with text • Click OK
Change Spelling/Grammar Check Settings • Select Tools Options • Click on the Spelling & Grammar tab • Remove the check in the Check spelling as you type and Check Grammar as you type boxes • Click OK
Setting the Default Font • Select Format Font • Select the Font, Font Style, Size, Font Color, etc. • Click the Default button in the lower-left corner • Click OK
Changing Margins & Page Orientation • Select File Page Setup • Set desired margins • Select Portrait or Landscape • Click OK
Adding Words to the Dictionary • Right click on the word with the red wavy line beneth it • Select Add to Dictionary
Alphabetizing Lists • Type the list • Select the list (highlight it) • Select Table Sort • Select Ascending or Descending order • Click OK Items can alse be sorted in a table.
Box in Text • Highlight the text • Select Format Borders and Shading • Select the Setting, Style, Color and Width of the border • Make sure Text is selected in the Apply to: section • Click OK
Boxing in a Paragraph • Highlight the paragraph • Select Format Borders and Shading • Select the Setting, Style, Color and Width of the border • Make sure Paragraph is selected in the Apply to: section • Click OK
Creating Drop Caps • Highlight the first letter of a paragraph • Select Format Drop Cap • In the Position section, select Dropped or In margin • Set the number of Lines to drop • Set the Distance from text • Click OK Example
Adding a Page Border • Select Format Borders and Shading • Click the Page Border tab • Select a Setting, Color, Style and Width • Click OK
Adding Border Art Around a Page • Select Format Borders and Shading • Click the Page Border tab • In the Art section, click the down-pointing arrow • Select the desired border • Set the width • Click the Options button • Click the down arrow under Measure from and select Text • Click OK • Click OK