Download
1 / 5
50 likes | 149 Views
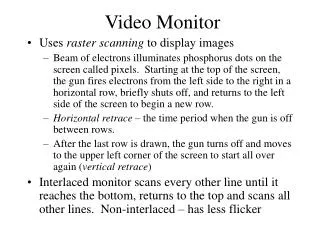
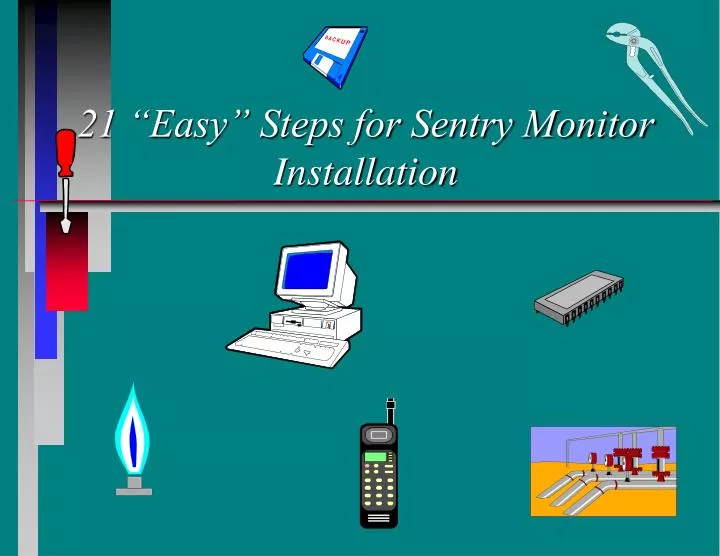
21 “Easy” Steps for Sentry Monitor Installation. 1. Tools required: 1/2” combination wrench (for clamps), #1 phillips screwdriver (for battery lid), 5/32” allen wrench (for set screws), crescent wrench (for backup), small & large flathead screwdriver, sledgehammer, utility

E N D
1. Tools required: 1/2” combination wrench (for clamps), #1 phillips screwdriver (for battery lid), 5/32” allen wrench (for set screws), crescent wrench (for backup), small & large flathead screwdriver, sledgehammer, utility knife & cutters. 2.Drive the 1-inch pipe into the ground 2 feet (cement if soil is sandy). 3. Slide the 2-inch pipe over the 1-inch pipe with collar up. 4. Tighten the 2 set screws against the 1-inch pipe. 5. Unfold the aluminum solar panel bracket & attach the pipe clamp closest to the solar panel to the bracket. Slide the pipe clamp over the top of the pole & tighten. Attach the lower bracket to the 2-inch pole with another pipe clamp & tighten. The panels should be at 45 degrees and pointed South. 6. With the pipe clamps, attach the monitor enclosure to the 2-inch pipe. 7. Attach a battery box to the 2-inch pole with the pipe clamps found inside the box & tighten.
8. Attach a second battery box (if provided) to the 2-inch pole with the pipe clamps found inside the box & tighten. 9. Drop in the battery. If you have 2 battery boxes, insert the smaller cable into the second battery box through the strain relief. Attach the cables with ring terminals to the battery posts. 10. Insert the red & black wire without connectors through the mounting brackets to solar panel. 11. Run wires along lower solar panel bracket & tie wrap. 12. Insert through strain relief & attach as shown.
13. Tighten all strain reliefs located on the bottom of the enclosure tightly against the cables 14. Screw together the antenna mast. 15. Connect the antenna to the end of the antenna pole & screw on the cable.
16. Slide the antenna mast into the top of the 2-inch pole & secure with the 2 set screws at the top of the 2-inch pole. 17. Insert the antenna cable through the strain relief in the bottom of the enclosure. Attach the cable to the transceiver located at the bottom right of the backpanel. Tighten the strain relief against the cable. 18. Turn the antenna mast until the best signal reception is located on the cellular handset. Tighten the set screws again. 21. Insert monitored points according to instruction manual. Close the internal door & program according to the instruction manual. 19. Insert the fuses into the fuse block. Close the internal door. 20. Keep solar panels clean.