Download

1 / 2
20 likes | 79 Views
Are you looking for a way to change up your images? Are you wanting to do something creative with an old photo? Maybe youu2019ve got a design project that needs some coloring. Well, there are many ways to manipulate colors, but one of the simplest is by inverting them. Inverting colors can be done in Photoshop or another graphics editing software. Itu2019s easy enough to do, but first you need to know how! Read on for everything you need to know about inverting colors in Photoshop.

E N D
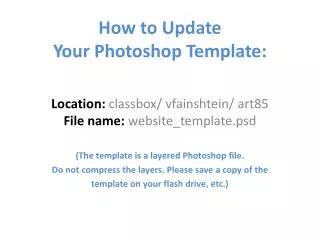
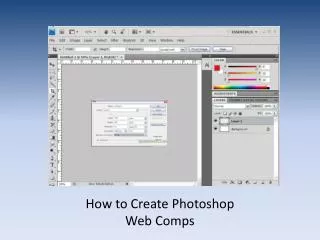
How to Invert Colors in Photoshop 2021 Are you looking for a way to change up your images? Are you wanting to do something creative with an old photo? Maybe you’ve got a design project that needs some coloring. Well, there are many ways to manipulate colors, but one of the simplest is by inverting them. Inverting colors can be done in Photoshop or another graphics editing software. It’s easy enough to do, but first you need to know how! Read on for everything you need to know about inverting colors in Photoshop. What is inverting colors? Inverting colors is where you take an image that has been colored a certain way, and instead of coloring the image using those colors, you reverse the colors to their original state. How to Invert Colors in Photoshop To reverse a color in Photoshop, simply choose Image > RGB Color Balance and choose the same color that was previously used. It doesn’t matter if the color was white, black, or other colors. Next, click the color icon in the window at the top of your Photoshop interface. A drop down menu will open up with several options. Choose the “New Clip” option and click “OK.” A new folder will open up on your Photoshop Desktop. On the left side of the folder is a new window with a box with a section on the left and a section on the right. How to Invert Colors in Photoshop To invert colors in Photoshop, you need to select two colors from the RYB color wheel. Here is an image of the color wheel with the colors in question in it: Now, select the appropriate color (red or blue) and the appropriate white and black colors. For this tutorial, you’re going to choose
red for the red circle, and blue for the blue circle. Your selected color and white will be used to create the basic color profile. For this tutorial, we’re going to use these colors as our key colors, and the black color will be used as the base layer. From the Layers menu, choose New Layer and name it Retro-Color. This is the name you will use to title your new layer. Click the New Layer button, and then name the layer Color Inversion. But What If I Don’t Have Photoshop? So far, I’ve explained what happens when you do an “I” symbol to an image, but how about when you don’t have Photoshop? The concept of inverting colors is pretty simple, but if you’re unable to get Photoshop, check out these tutorials: Can’t You Invert Colors in Photoshop Just by Settings? Sure, but the same thing applies. Click here What if you have a photo that is properly converted for printing but you still want the colors to be flipped? No problem! Some of the conversion tools are unable to convert RGB colors to CMYK color values so they can’t be inverted, but you can manually invert colors. See the easy steps for manually inverting colors here: Can’t I Just Open Image in GIMP? This is a common question, and it is the one I get asked the most. Conclusion Although the usefulness of inverting colors is apparent, you might find that there is a learning curve involved in figuring out how to do it. The basics are simple enough, though. The advantage to inverting colors is that you can use the palette of your image to achieve the desired outcome. This is especially useful when you’re working with subjects that are too dark or too light to color in in the first place. You can use the inverted colors from the palette to bring the image back to normal. In the examples in the article below, the “caffeine” and “granola” color palettes were used as reference. You can see how to use these palettes as guides to determine the color of your image. Start With an Old Photo Let’s start with a simple technique that anyone can try.