Download
1 / 16
160 likes | 312 Views
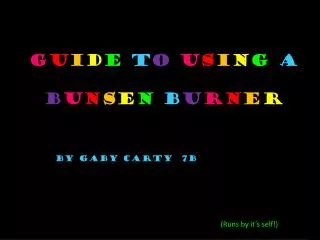
G U I D E T O U S I N G A B U N S E N B U R N E R. By Gaby Carty 7B . (Runs by it’s self!). DIFFERENT PARTS. Barrel. Air Hole. Collar. Rubber Tube. Base. Bench Mat. Wire experiment. Medium part. Hottest part. Coolest part. THE 8 Steps to lighting a Bunsen burner.

E N D
GUIDETOUSINGA BUNSENBURNER By Gaby Carty 7B (Runs by it’s self!)
DIFFERENT PARTS Barrel Air Hole Collar Rubber Tube Base Bench Mat
Wire experiment Medium part Hottest part Coolest part
1. Put on safety glasses, get equipment out and make sure that there’s no paper, text books etc lying around
8. Open air hole to temperature needed (More open-hotter flame)
History… The Bunsen burner was invented by two germen chemists called Robert W Bunsen and Christian Schonbien. Even though it’s named after Robert W Bunsen, it was actually just an improvement of the design that his laboratory assistant, Peter Desaga in 1855, made on a previous design produced by Michael Faraday.
WARNING! Unless working directly with the Bunsen burner have the safety flame on so others or your self don’t get burnt! Only once your ready for your experiment you open the air holes. And remember… Safetyflame = closed air hole = orangeandredcolour= coolerflame Hotflame= open air hole = clear and blue = hotter flame= hotter flame
Packing away… Turn off gas Let it cool down Take rubber tube off gas outlet Pack away exactly where you found it
BIBLIOGRAPHY http://www.rhymezone.com http://images.google.com.au/images?gbv=2&hl=en&q=Bunsen+burner http://www.wisegeek.com/Bunsen Burner 7B 2008 PowerPoints