Download
1 / 8
80 likes | 95 Views
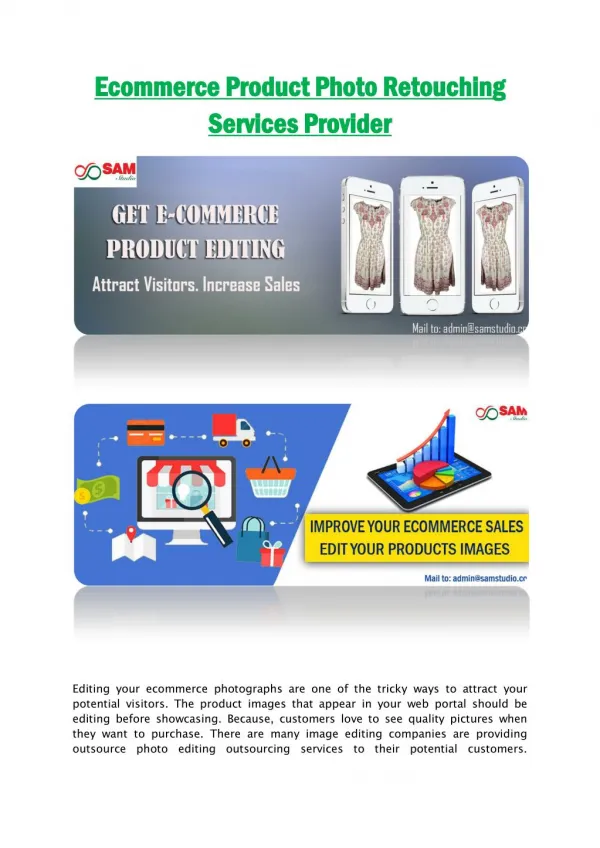
Product Photo retouching & editing is becoming very important these days, many companies asking for the expert product retouching service providers. so read and follow these 5 simple step to a product editing services

E N D
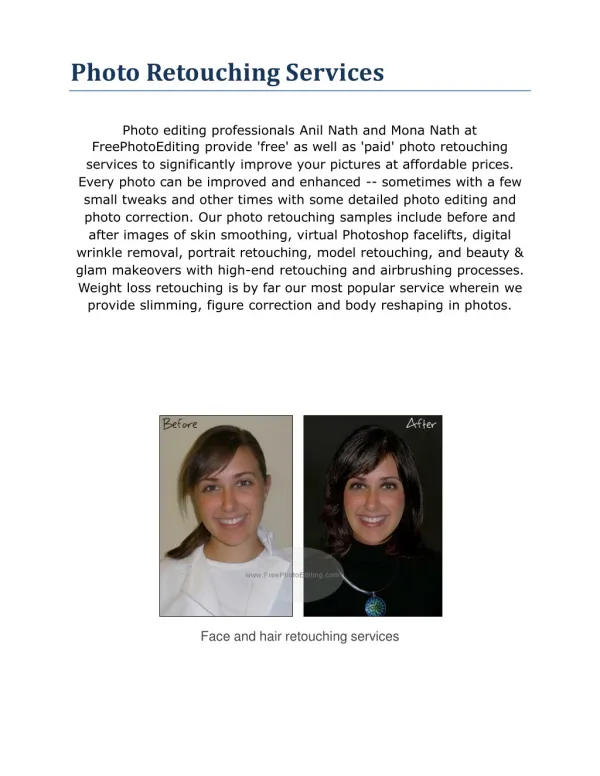
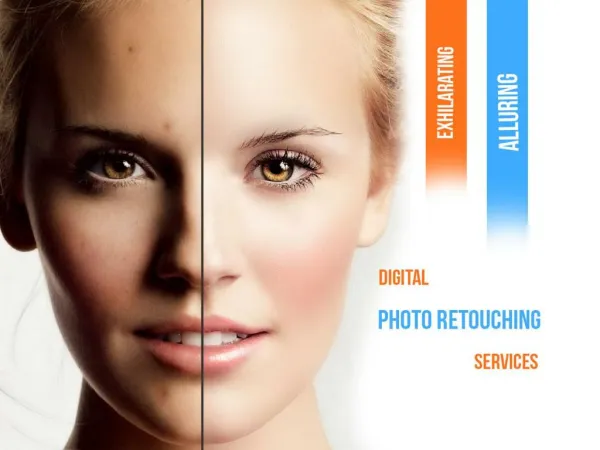
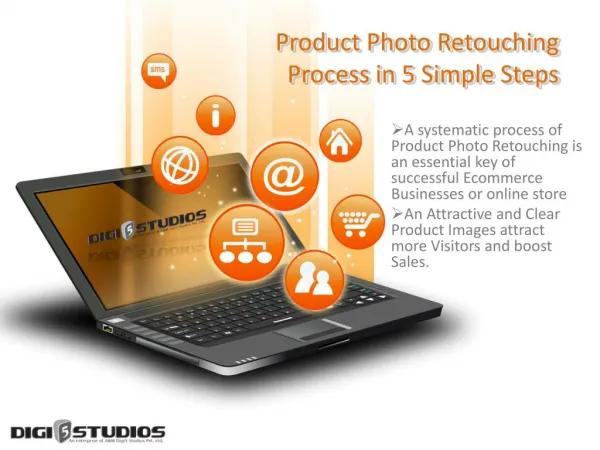
Product Photo Retouching Process in 5 Simple Steps A systematic process of Product Photo Retouching is an essential key of successful Ecommerce Businesses or online store An Attractive and Clear Product Images attract more Visitors and boost Sales.
1-Photo Evaluation It is always important to evaluate or analyze the product that is to be retouched. Determine factors like the lighting or the overall look. This way, you will be able to find the areas of the product that need the most attention and quickly assess what should be accomplished with the Photo retouching process.
2-Elimination Process The elimination process is not limited to dust, dirt, scratches or anything else that may not belong in the image. Use the spot healing brush and the patch tool to get rid of the attributes that should not be part of the product
3-Remove Unwanted Things While aspects such as dirt and dust are distractions that can be removed easily by Product Retouching service providers, But reducing image shadows adds personality’ to the product. This avoids the harsh highlights of overexposure
4-Add Noise The next step is to add slight noise to the product image. Product Photo Retouching Services do forus the blending tones together. This is really helpful when you have to band your image. Adding noise will diminish any banding, making for a stronger image and print. You can add more noise depending on the effect you are looking to achieve.
5-Save Your Work • This simply means that once you are done, do not export your work immediately. Instead, save your work, close your computer and step away. It is best to always look at the product image with a fresh set of eyes after a day to ensure that your perception when working on the image was not skewed
Conclusion 5 simple steps for retouching your product! It is always best to stay true to your product while keeping a close eye on industry trends, new techniques, and technologies. By mastering all of these steps of Ecommerce productretouching will be easier and highly enjoyable! After all, advertisers prefer to use the most professional product images to attract consumers. #Source:-https://www.digi5studios.com/blog/top-5-product-photo-retouching-process-techniques-in-simple-steps/