Portrait Drawing
Portrait Drawing. Using Correct Proportions. In order to correctly draw the human portrait It is helpful to understand what lies beneath the skin. The Basic Underlying Structure . facial musculature. The Structure of the Neck. The Head in Profile.

Portrait Drawing
E N D
Presentation Transcript
Portrait Drawing Using Correct Proportions
In order to correctly draw the human portrait It is helpful to understand what lies beneath the skin
The face triangle is from the center of each pupil, through the nostrils of the nose to the point between the top front teeth. To me this is an important trait, every bodies triangle is a little different.The smiling mouth lines up under the pupils, the two iris usually equal the maximum smiling width of the mouth.
http://goldennumber.net/neophite.htm Human beauty is based on the Divine Proportion
Center of pupil : Bottom of teeth : Bottom of chin Outer & inner edge of eye: Center of nose Outer edges of lips : Upper ridges of lips Width of center tooth : Width of second tooth Width of eye : Width of iris
The distance between the two eyes is the distance between the 'EYE WHITES'
http://drawsketch.about.com/gi/dynamic/offsite.htm?site=http://www.anticz.com/heads.htmhttp://drawsketch.about.com/gi/dynamic/offsite.htm?site=http://www.anticz.com/heads.htm
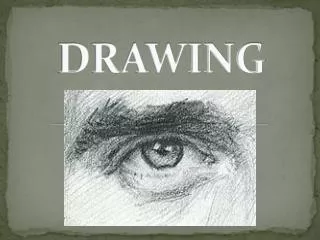
Drawing the Facial Features
Step 2 – The Initial Tones
Step 3 - The Final Tones Carefully refine the strength and subtlety of the tone, softening the lines that join each plane with graduated areas of shading. You must look more closely at this stage to try to discern the faint variations of shading within each area of tone.
Drawing the Mouth
The mouth is the second most expressive feature of the face. Great care should be taken in drawing its shape as it is a key element in achieving a likeness. Start by drawing the subtle shape of the line that is formed as the lips meet. This will set a natural expression for the mouth. The top lip has its characteristic bow shape which varies considerably from person to person. The bottom lip is usually larger than the top and more creased with vertical stretch lines. Step 1 - The Initial Line Drawing
Drawing the Ear
Now that we know the basic proportions of the head, how do we apply these concepts to drawing from life? The trick is to take it a step at a time, and to trust your eyes. Keep proportion and perspective in mind, and remember that what you 'know' about the face may be very different from what you see, depending on the angle. Two of the most common faults are placing the eye too high on the face, and making the skull too short. Drawing the Human Head from Life
Observing the subject, begin with a rough ball indicating the main part of the skull. Draw the line from forehead to chin, form the plane of the face, and add the jaw line and main features. Note that the line indicating the nose shows the base of the nose, not the tip. This will help with modeling the nose later. www.youtube.com/watch?v=RiUfVKPEKxU Otis Art instructor video
Place the ear, construct the nose (in a frontal view using two lines along the length), draw the jaw line and indicate the brows, forehead and cheeks (depending on the pose). Position the eyes carefully.
Erase construction lines. Improve the line work, checking the model constantly, adding detail and correcting shape. Add hair. Note that the drawing of the neck and shoulders must also be accurate. This drawing has been darkened to demonstrate the observed lines. If you wish to shade your drawing, keep the line work light.
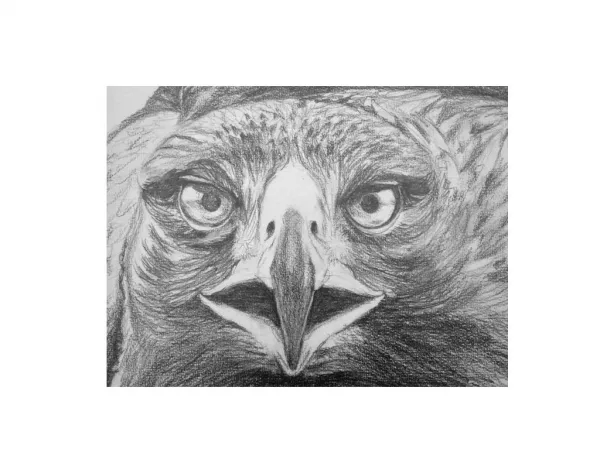
Tips: Practice drawing the head from many different angles. Observe how the facial muscles change as an expression changes. Try taking your own reference photos. Adults are easier to draw than children, as their features are more sharply defined. Try doing some studies of a skull if you can, (try the local museum, art school or school science department) as this will help you understand the planes of the face.
Examples Charcoal Portrait - How to www.youtube.com/watch?v=Fk3eI3oI0uw www.wetcanvas.com/Articles2/2514/81/ - 19k http://www.portrait-artist.org/face/structure.html