Download
1 / 2
20 likes | 30 Views
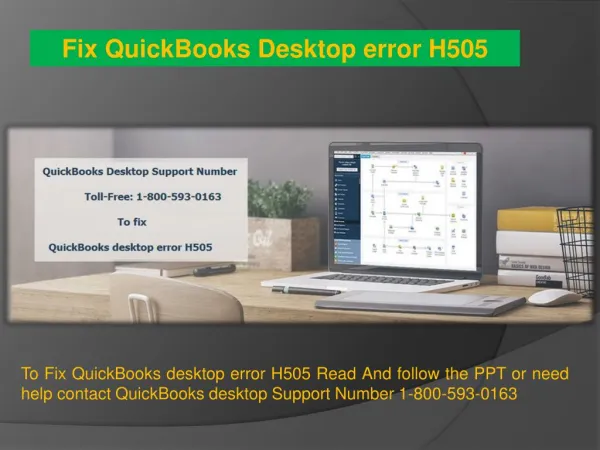
QuickBooks H505 error is a part of QuickBooks error series H101, H02 and H303 and it occurs when user trying to switch to multi-user mode. This error occurs because something blocking the multi-user mode. In this post we figure out the reason of this error and how to fix it.

E N D
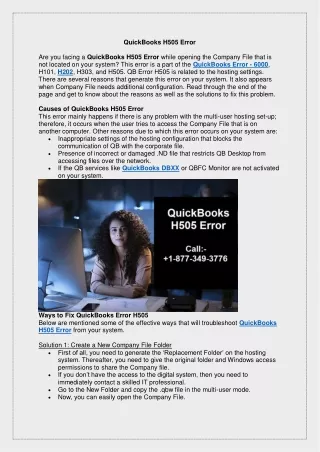
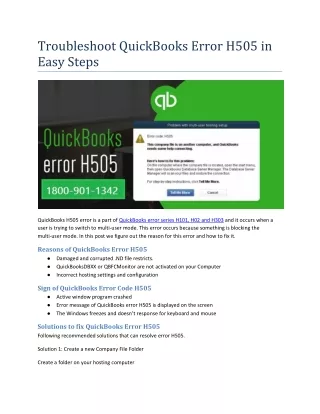
Troubleshoot QuickBooks Error H505 in Easy Steps QuickBooks H505 error is a part of QuickBooks error series H101, H02 and H303 and it occurs when a user is trying to switch to multi-user mode. This error occurs because something is blocking the multi-user mode. In this post we figure out the reason for this error and how to fix it. Reasons of QuickBooks Error H505 ● Damaged and corrupted .ND file restricts. ● QuickBooksDBXX or QBFCMonitor are not activated on your Computer ● Incorrect hosting settings and configuration Sign of QuickBooks Error Code H505 ● Active window program crashed ● Error message of QuickBooks error H505 is displayed on the screen ● The Windows freezes and doesn’t response for keyboard and mouse Solutions to fix QuickBooks Error H505 Following recommended solutions that can resolve error H505. Solution 1: Create a new Company File Folder Create a folder on your hosting computer
Now share the folder which contain the QB company file and provide permission for access to share company file In the new folder, Copy .qbw file in multi-user mode again Now open the Company file. Solution 2: Open Network Ports that QuickBooks uses to transmit knowledge ● Configure Firewall settings ● Go to the Windows ● Open Control Panel. ● Now click on firewall settings ● Go to the left and right-click ‘Outbound Rules,’ and select ‘New Rule.’ ● Select Ports and click on Next ● Click TCP, and in the specific local ports enter the following ports: 1. For QuickBooks Desktop 2018- 8019,56728,55378-55382 2. For QuickBooks Desktop 2017-8019,56727,55373-55377 3. For QuickBooks Desktop 2016-8019,56726,55368-55372 4. For QuickBooks Desktop 2015-8019,56725,55363-55367 ● Click Next and select ‘Allow the Connection’ option ● Click Next to type-in name in the name field, and press Finish ● Repeat steps 1-5 for the inbound rules ● Now go to the multi-user mode again and open QuickBooks ● Turn-on Network Search 1. Open the control panel, and Clcik on System and Security 2. Click on Windows Firewall 3. In the left panel, go to Click permit associate app/feature on the Windows Firewall (If you are on Windows server 2012) 4. Press Modification option 5. Select Network Discovery, and Press OK ● Know the name of your server ● Open the RUN command, and press on the Windows Key + R. Type the CMD and click Enter ● Enter config/all, and press Enter ● In the IP Configuration section, look for the ‘Host Name.’ ● You can see the server name on the right ● Now save and move to the next step