Download
1 / 31
320 likes | 1.01k Views
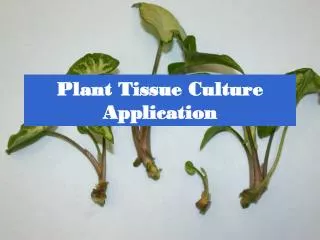
Plant Tissue Culture Project. Original Power Point Presentation by Paige and Elisa. Modified by GA Agricultural Education Curriculum Office July 2002. What is Plant Tissue Culture?. Plant tissue culture is a form of asexual propagation of plants under laboratory conditions.

E N D
Plant Tissue Culture Project Original Power Point Presentation by Paige and Elisa Modified by GA Agricultural Education Curriculum Office July 2002
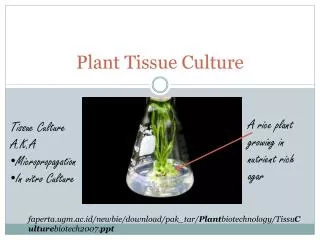
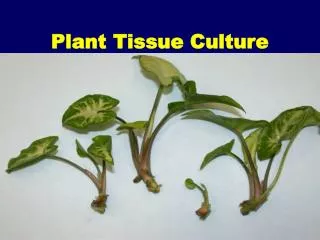
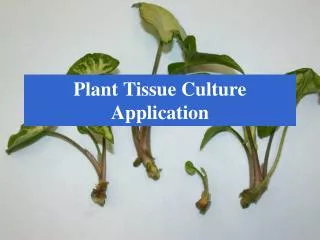
What is Plant Tissue Culture? • Plant tissue culture is a form of asexual propagation of plants under laboratory conditions.
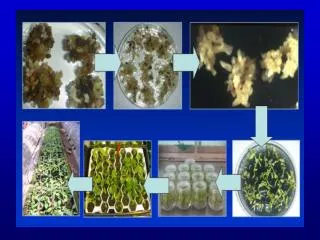
Why is Plant Tissue Culture Important? • It has made significant contributions in: • The production of plant material • Plant breeding • Gene banks • The production of chemical compounds
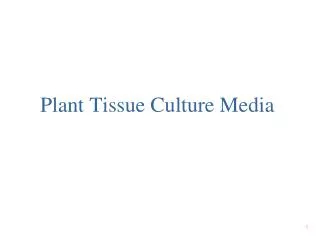
How is Plant Tissue Culture Done? • It is grown on a special culture medium which supports its growth and development. • The medium can be either semisolid, such as agar, or liquid, such as purified water.
Microorganisms and Plant Tissue Culture • In the practice of plant tissue culture, microorganisms are called “contaminants” because of their harmful effects on plant growth in vitro. • Six potential sources of contamination in the plant tissue culture lab are: • Air • Water • Growth Media • People • Equipment • Plant Material
Experiment One: Description • A one dollar bill was cut in half and placed in two different petri dishes. • Dollar 1 was placed in a room at 100 F. • Dollar 2 was placed in a room at room temperature.
Day 1: Dollar 1 • No visible change.
Day 2: Dollar 1 • Bacteria begin to develop around the edges of the dish.
Day 3: Dollar 1 • Bacteria develop rapidly covering most of the dish.
Day 6: Dollar 1 • Bacteria cover the entire dollar and dish.
Day 7: Dollar 1 • The bacteria continue to spread, and the nutrient agar has begun to dissolve.
Day 1: Dollar 2 • No visible change.
Day 2: Dollar 2 • Bacteria begin to develop in the middle of the dollar; although development is not as rapid as in Dollar 1.
Day 3: Dollar 2 • The bacteria have spread to the edges of the dollar.
Day 6: Dollar 2 • The bacteria cover the majority of the bill.
Day 7: Dollar 2 • The entire dollar is covered with bacteria.
Results • The bacteria on dollar 1 developed at a more rapid pace; however, the agar dissolved due to the high temperatures. • The bacteria on dollar 2 developed at a slower pace in the beginning of the experiment, but dollar 2 contained more bacteria than dollar 1 at the conclusion.
Experiment 2: Description • A throat culture was taken from two different people at the same time. • Mouth 1 was taken from a person with flu-like symptoms. • Mouth 2 was taken from a healthy person.
Day 1: Mouth 1 • The bacteria have grown slightly and exhibit a faint yellowish color.
Day 2: Mouth 1 • The bacteria have grown considerably and can be seen with the naked eye.
Day 3: Mouth 1 • The bacteria are spreading.
Day 6: Mouth 1 • The bacteria have grown considerably: yellowish colored spots are beginning to form.
Day 7: Mouth 1 • The bacteria are still growing at a rapid pace and can now be seen easily without a microscope.
Day 1: Mouth 2 • Very little bacteria have formed.
Day 2: Mouth 2 • The bacteria begin to grow but cannot be seen without a microscope.
Day 3: Mouth 2 • The bacteria are now growing rapidly, and small yellowish spots slightly visible to the naked eye are beginning to form.
Day 6: Mouth 2 • The bacteria have grown gradually, and are easier to see with the naked eye.
Day 7: Mouth 2 • The bacteria are growing slowly, but the small, yellowish spots appear clearly.
Results • The mouth 1 culture grew a larger amount of bacteria at a faster rate than the mouth 2 culture. • Mouth 2, however, did begin to grow towards the end of the experiment.