Download
1 / 16
160 likes | 241 Views
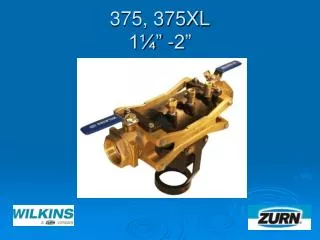
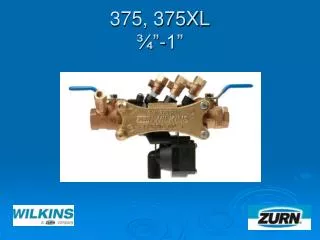
Learn how to effectively perform maintenance on .375 and .375XL¾”-1” fluid valves, including housing and check valve removal, disassembly and reassembly instructions, as well as RV cover and stem maintenance. Easily follow step-by-step procedures for proper valve upkeep.

E N D
Modification Overview • Production of the ¾”-1” 375 began in 2004 and is current. • The lead free version 375XL was introduced in 2010.
Housing Removal • The plastic housing (vessel) must be removed for service. • There is no spring load. • Housing is held in place by a wedge and o-ring sealed on both ends. • Remove wedge screws.
Housing Removal • Pull wedge straight out. ** Inserting a screw in center hole can help remove stuck wedge. • Slide housing towards inlet and lift upward.
Check Valve Removal • Check valve modules. • Modules are located inside the housing. • Modules are sealed by o-rings. • Both modules slide out of the body inlet.
Disassemble Check Module • Modules are spring loaded. • Holding firmly, twist spring retainer counter clockwise.
Check Seat Removal • Check seat is free once the module has been disassembled. • If the seat is damaged, the entire module must be replaced.
Check Disc Replacement • Remove screw, disc retainer, and disc.
Check Valve Reassembly Notes • Lubricate o-rings on modules. • Drop #2 module in body. Then drop #1 module in and turn until #1 spring retainer lines up with #2 seat. • Push both modules into housing.
RV Cover Removal • RV cover is sealed by the diaphragm. • There is a slight spring load on cover. • Hold cover firmly while removing screws.
RV Stem Removal • Gently pull the RV stem out of the housing. • Spring is free once the stem is removed.
RV Seat Removal • RV seat is o-ring sealed. • Pull seat straight out of housing.
Disassemble RV Stem • Remove RV retaining screw. • Pull plunger and disc holder apart.
RV Rubber Replacement • The RV disc and diaphragm are free once the stem has been disassembled. • Reassemble in reverse order.
RV Reassembly Notes • Lubricate plunger o-ring on stem. • Insert RV stem into cover. • Place spring in position over seat. • Make sure sensing o-ring is in position. • Insert cover and stem into housing.
Housing Replacement Notes • Lubricate o-rings on inlet and outlet of housing. • Place housing between struts. • Slide retaining sleeve downstream against housing. • Replace wedge and wedge screws.