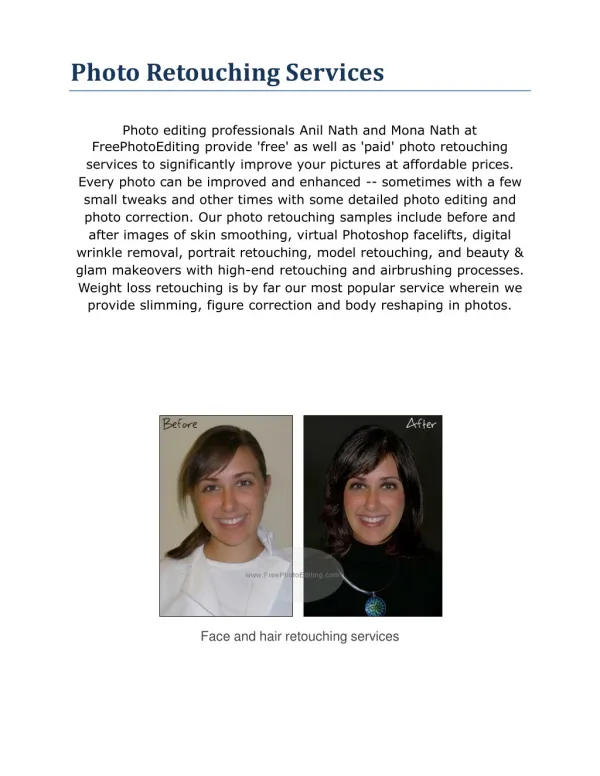
Mastering Light Manipulation in Photoshop: Enhancing Images with Advanced Retouching
Learn to skillfully adjust lighting using Photoshop to transform your photos from ordinary to extraordinary. Enhance your images by adding light effects and making basic adjustments, expanding your creative possibilities. Unleash your creativity with detailed editing techniques to bring your vision to life.


Mastering Light Manipulation in Photoshop: Enhancing Images with Advanced Retouching
E N D
Presentation Transcript
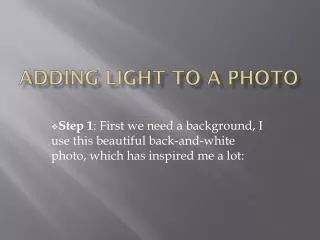
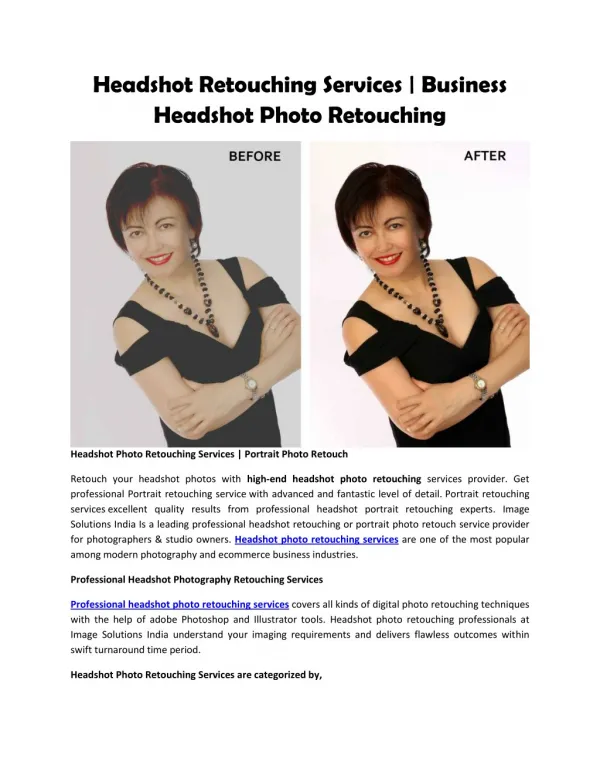
Advanced Retouching Adding Light .
Using Photoshop to Change Lighting: Too many students have the self defeating attitude ‘I’ll fix it later in Photoshop’. This kind of lazy thinking will only result in poor technique and bad habits. My take is to use Photoshop to overcome the limitations of the medium. To use digital editing to reshape an image into something resembling the original scene… from your point of view. Adding Light
Any Excuse to Shoot: My new camera is an excuse to take more photographs. While on my exercise walk around University Village, this was one of the many images that I captured with my new toy. It shows my penchant for using light, design, and color to paint an image with presence. This is the unprocessed camera original ‘negative’. Adding Light
Basic Adjustments: 3-step image processing. Levels Brightness/Contrast Color Use the keyboard Up and Down arrows to compare this image with the previous camera original. Notice that the image is darker. I did so with the idea of ‘turning on the headlight’. Otherwise, it’s punchy but too dark. Adding Light
Let There Be Light: Wah-lah… Use the keyboard Up and Down arrows to compare this image with the previous lab worked image. Adding Light
Super-Size It: Wah-lah again… Use the keyboard Up and Down arrows to compare this image with the previous lab worked image. Adding Light
Camera Original ‘Negative’ Process and safe retouching Special effects retouching Adding Light
Any Excuse to Shoot 2: My new camera at the time was the excellent Sony Superzoom H-1. After enjoying breakfast at Julia’s in Wallingford, this shot grabs my eye. It’s kind of ‘weird in an edgy way’. Adding Light
Important: Playback review The Playback review didn’t show me the ‘special something’ that originally grabbed my attention. I visualized how I might be able to put the zing back into the ‘found’ image. That was to change the lighting and turn on the headlight. Adding Light
Considerations: In order to turn on the light, the surroundings must become darker. The darkening is much more than just changing the Brightness setting. Different aspects of the subject and scene are treated differently in order to produce the final “believable” image. Adding Light
MADE IT: I processed the image to show the “shadowy feeling” that struck me when I first saw the van. I used Photoshop to make it into a “low key” (dark) image and to “turn on” the headlights”. Adding Light
How bright is up to you. There are no right answer to visual solutions. But there can be degrees of rightness. And there can also be overdone solutions. Bracket your visual solutions from not enough to too much. Once you have a range of solutions, it’ll be easy enough for you or the client to pick out ‘just the right solution’. Or more than one solution may reach publication depending on the story needs. Adding Light
All About Choices: Whether it’s about brightness levels or brightening the light, the important thing for an image maker is to have choices from subtle to not so subtle. This choice idea starts out at the story phase even before picking up the camera. Then continue to apply the choice concept to your shooting with exposure, color, focus, lens, depth of field, camera view point, model, wardrobe, set, and a lot more… Add Choices
End x