Download

1 / 4
40 likes | 57 Views
The majority of the time, sewing extensions is done at home because it doesn't require tape, glue, or heat. That helps you save a ton of time and money. A thread and a cheap needle are all that are required. The popularity of sew in extensions is due to this significant benefit.<br>

E N D
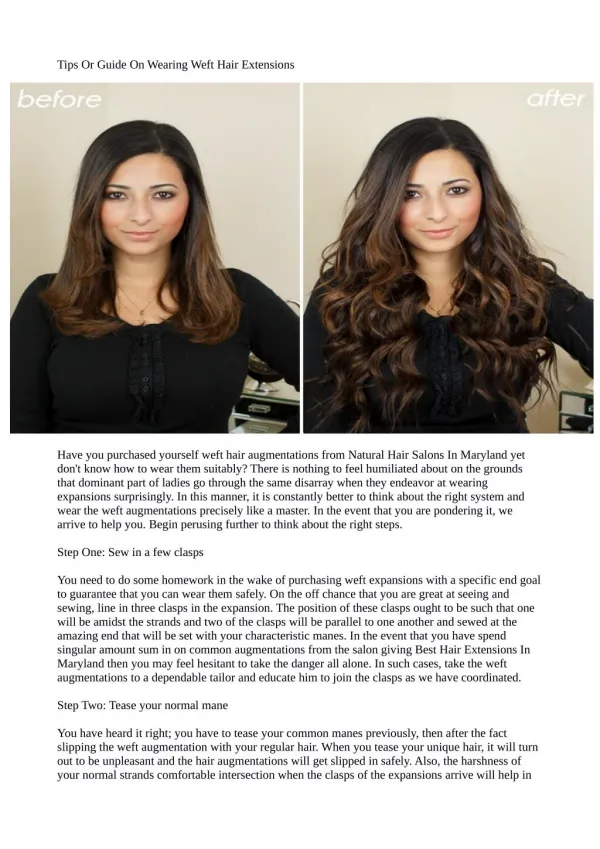
Tips On How To Sew In Hair Extensions For a very long time, sewing hair extensions has been a common technique; you may also be familiar with it as a weave. That is the simplest and least expensive method for reviving and changing your hair. This method has been used to stunning effect by many celebrities. Just picture yourself with long, silky hair that you can style however youlike. The majority of the time, sewing extensions is done at home because it doesn't require tape, glue, or heat. That helps you save a ton of time and money. A thread and a cheap needle are all that are required. The popularity ofsew in extensionsis due to this significant benefit. A sew in weave is made up of hair wefts that have been cut into smaller pieces and sewn in, unlike other types of extensions. The ability to regulate the weave's fullness and density is awesome! Adding more wefts is all that is necessary to finish the task for the day. So, sew-in hair extensions make it simple to achieve extra-voluminous and fullhair.
PreparationFirst Purchasing the sew in weft hair extensions is the first thing you must do. Wefts come in a wide variety at many online retailers. Some are made of synthetic materials, while others are from real hair. Inhumane hair Although Remy wefts are a little more expensive, you get hair of the highest caliber. Something that will feel soft to the touch and be identical to your natural hair. Remy wefts can also be worn once more and should last at least fivemonths. Next, select the texture you want (straight, wavy, curly or deep wave sew in) and a color that complements the natural one well. You can cut costs by sewing the wefts yourself.
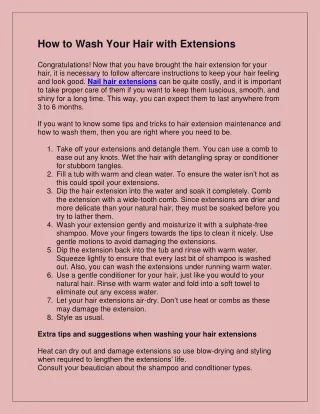
How are hair extensions sewedin? It is time to sew in the chosen wefts once they have arrived. We'll demonstrate the simplest way to attach them. Only a curved needle, some thread, and wefts are required. Asking a friend for assistance might be a good idea if this is your first time. Let'sbegin! Step1 It is best to prepare your natural hair first. Because you want the strands to be perfect before sewing the wefts in, wash and brush your hair afterward. Scroll a little bit down if you're sewing hair withoutbraids. Step2 Make cornrows at this point. It's the simplest method of securing the wefts. Make sure the cornrows aren't too thick and clumsy and begin braiding the hair from the front to the back. That can be accomplished by braiding smaller strands. Once you've finished braiding, tie off theends.
Step3 The wefts are prepared for sewing and the needle is threaded. The weft needs to be measured and cut into smaller pieces. Since there will be one piece of weft attached to each braid, measure in accordance with the cornrows. Fold the weft in half to create morevolume. Step4 Make the first stitch at the front, starting on one side of the head. Remember to leave a space of roughly half an inch between the beginning and ending of the cornrow. Otherwise, it's possible to see thewefts. It should be very simple to pass the needle through the braid and hair due to its curved shape. Make sure the first stitch is strong and tightly woven. As you move to the back of the head, keep stitching along the braid. Make a few stitches to keep the weft in place when you get to the end of thebraid. Step5 You will notice that it gets simpler as you go along now that the first weft is in place. Repeat the process with the following braid. Make sure the stitches are well-done and tidy. The weave is finished at thispoint. Now you know how to sew in hair extensionsand we hope you sew in your extensions well and achieve the best look you always wished for. If you are looking for top quality sew in weft hair extensions, it is a must to visit an Indique hair store. Embrace summer and enjoy 20% off your Indique purchase! Combine with Indique Rewards to save evenmore!