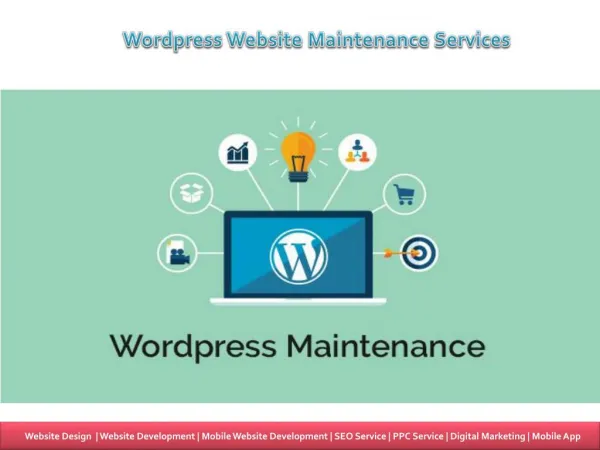
WordPress Maintenance Service
For more information please visit https://projectdmc.org/<br>

WordPress Maintenance Service
E N D
Presentation Transcript
A Comprehensive WordPress Tutorial for Beginners WordPress is among the most popular CMSs for managing content (CMS) out there. From blogs to e- commerce stores, WordPress powers a wide range of sites. It can be daunting if you're just getting started especially when there are so many elements to be considered when using this powerful software. This is why we've created this comprehensive guide on how to use WordPress for newbies. The first step towards establishing your own website using WordPress is deciding which platform you'd like to use. You have two main options: self-hosted or hosted. Self-hosted is in the event that you sign- up for a hosting account from an outside provider like GoDaddy and BlueHost and then install the software directly onto your server. This is perfect for those with some technical expertise and want complete control over their website. The hosted option is the case when you utilize a third party provider like WordPress.com as well as Squarespace to setup and manage your site for you. This is a great option for those who don't have the technical expertise or do not want to spend time managing the servers on their own. Once you have successfully installed WordPress in your web server it is possible to begin creating content immediately. To create a new post or page in WordPress it is easy to visit"Posts" or "Posts" or "Pages" sections of your admin dashboard and then click "Add New . "From there, you'll be able create your title, description, tags, categories, featured image as well as other settings prior to putting the post on your website. It is also possible to use WordPress' built-in Visual Editor to create formatting such as bolding the text or adding links without writing manually HTML code. To find extra details please head to projectdmc.org/ Once you've earned Speed up my WordPress site, you'll be able to access your admin Dashboard and that's where all the magic happens. Here you can customize everything from colors and fonts to menus and widgets; create new pages, posts and categories; manage comments, add plugins, modify settings, etc. This is the central point of all activities for managing your site. It might take a bit of time to become familiar with all the functions however, once you've mastered it the process, it'll become routine. Once you're logged into your dashboard, it's time to start designing your website. This means choosing an appropriate theme or template that best suits the look and feel that you're looking for on your website along with adding content like video, text, images, etc. When you are customizing templates or themes make sure they're mobile friendly, since a lot of people access websites through smartphones or tablets today. Furthermore, there are plenty of excellent tools available online that let users create stunning images without having any experience with design. Just remember that when creating content for any page/post, always follow SEO guidelines by using keywords in a strategic manner throughout your content to ensure that search engines can are able to properly index them. After all your content is added and published, it's time to publish which simply means making sure everything is in order before putting it available to the public. From here, there are a few things to check
for, such as ensuring that all links work properly, spelling & grammar checks have been carried out correctly, and that meta descriptions have been optimized according to SEO guidelines if required (this isn't essential, but is highly suggested). Once these checks are completed, then simply press "Publish" from any page type editor page, and voila! You're live. Congratulations.