Download

1 / 2
0 likes | 2 Views
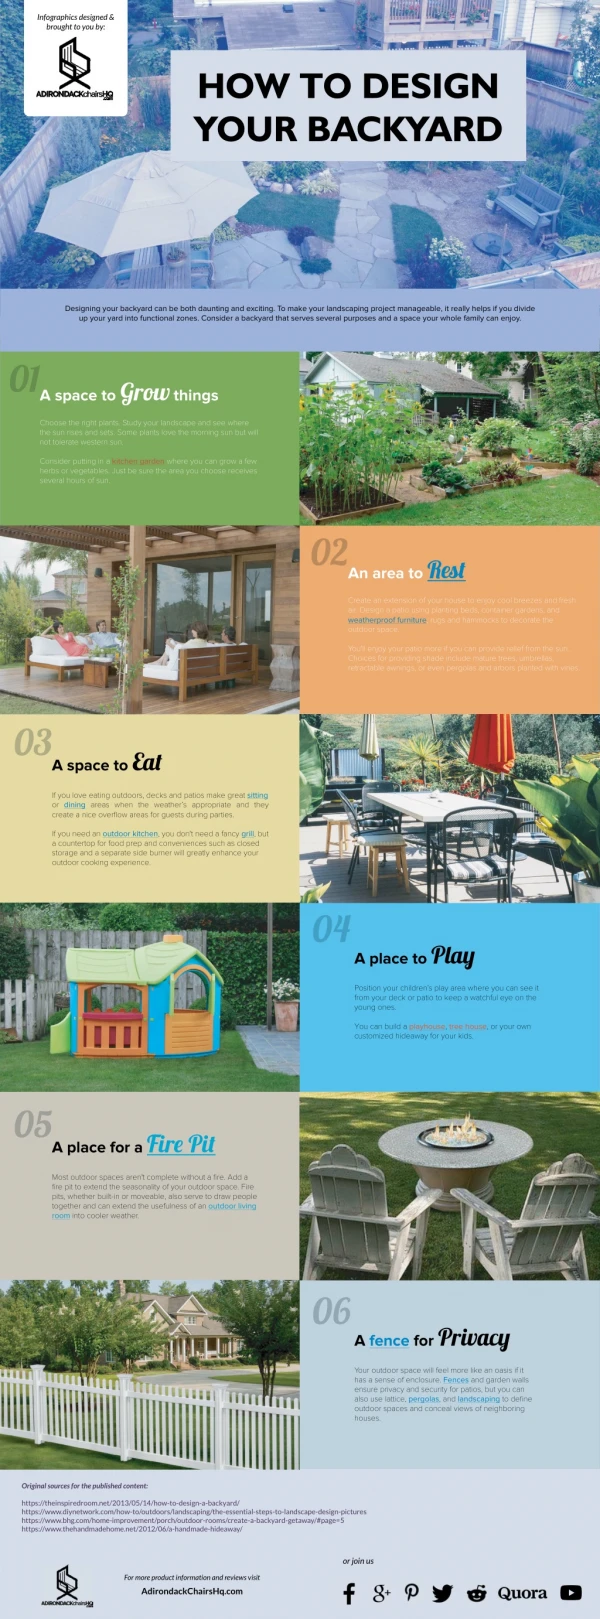
What Is a Pergola? Pros and Cons of the Popular Outdoor Feature

E N D
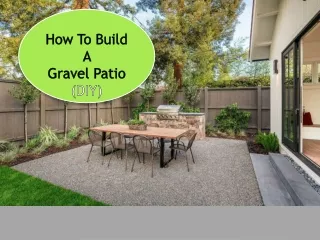
How to Build a Paver Patio: A Step-by-Step Guide to Transform Your Outdoor Space I could carry only one at a time, so this made the project more time consuming. You will need to leave at least a small gap between your concrete pavers to allow for expansion and contraction, but you have the option to go wider. With concrete paving stones are a minimum of 1½” thick and can be laid with large or narrow gaps. How much does it cost to build a patio? You can do it yourself with the right planning and tools. In this guide, we’ll walk you through the steps to build a beautiful and functional paver patio. Building a patio is much like putting together a puzzle. Rotate the pieces until they fit together, working to create a nearly uniform space between the stones. Use the following tutorial for how to build a flagstone, brick, or paver patio. Contact Us Clear View Builders Email: info@clearviewbuildersinc.com Phone: +19164205862 4913 Rio Linda Blvd Sacramento, California, United States 95838 Level the Stones Keep your deck cooler and screen out harmful ultraviolet rays.A water feature adds peaceful sound to a backyard, especially helpful if neighbors or passing cars create noise.Move the pipe or rebar as you work across the patio.You can grout the joints with either sand--which we used--or stone dust that's available from your stone dealer. Continue laying bricks https://ln5.sync.com/dl/a819086a0/view/default/20078227830001#tjqhbi2x-cih5865h-ghizvfye- g6ufaanx until one section is complete. Then work out from this section to complete the patio. Level the stones that aren’t directly under the string with a 4-ft. Level held at a right angle to the original center string line. Tamp high stones down with a rubber-coated hammer handle. Measure the thickness of a few stones to get an average and compare this with the thickness of the bricks you’re using. Then adjust the depth of the sand bed to compensate for the difference in thickness. Your goal is to get the stones and brick even on the top. Coarse washed sand is spread over the gravel in a 1-in. Layer to form a setting bed for the stone and brick, and later to fill the cracks between the bricks and stone. Typically this is landscape fabric, but we actually used a giant painting tarp that cost about $15. I researched first to make sure that it can in fact go under a gravel patio. We poked holes in it for drainage so that the ground beneath the patio wouldn’t harden under the patio. Spread polymeric joint sand across the surface of your patio. Use a hand tamper to settle the sand between the bricks. Once you have this layer evened out, use the tamper tool to compact it. To help with the tamping, you can spray a little bit of water on the top of each of the two layers. I used a garden hose with a sprayer head, on a mist setting. Use the hoe to push and pull the base layer back and forth. To maintain the finest possible appearance for your patio, don't forget to perform routine maintenance. To sum up, creating a patio may be a fulfilling do-it-yourself job that enhances the value and usability of your outdoor area. You should also think about recycling or repurposing salvageable goods. A well-organized workspace lowers risks and fosters a safer atmosphere, enhancing the success of the do-it- yourself project. Use a soft brush to remove tough stains rather than harsh cleansers.