Download
1 / 44
450 likes | 479 Views
This guide provides step-by-step instructions for calibrating the HiPAP system, including conducting a velocity cast, processing data, and configuring transponders. Learn how to ensure accurate sound velocity settings for optimal performance.

E N D
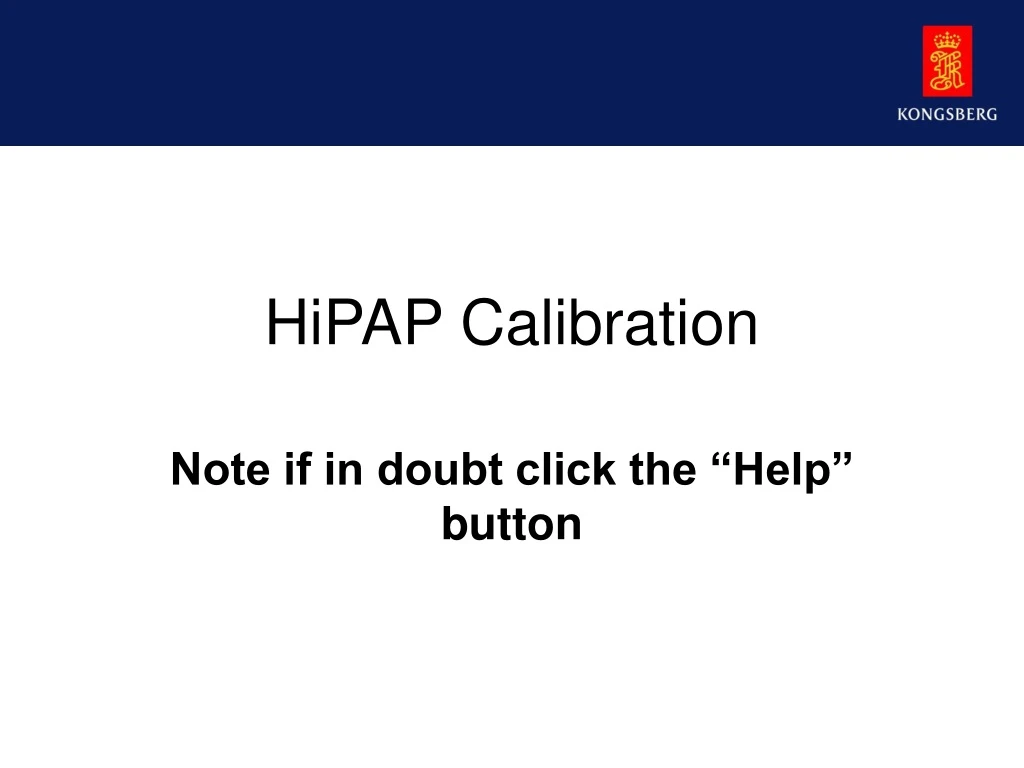
HiPAP Calibration Note if in doubt click the “Help” button
Velocity Cast • It is important to have the correct Sound Velocity for the correct use of the HiPAP and HPR. Do a velocity cast, process the cast into a comma separated file, with Depth, and Speed of Sound.
The APOS Screen The Sound Velocity Icon
Entering the Velocity Profile • A picture similar to the slide below will appear.
Select “File”, and “Open, or click the “Icon” to open a file. The file open Icon
A dialog box similar to this will open. Either steer to the place where your “new” velocity cast is situated, or copy your file into the APOS\Data folder and select it
Your velocity cast should open in a text format. You can edit the file like the example, giving a date or location to make the file meaningful. Added date information
You can now give a Heading text to your Profile, and select the fist line to convert. Use the depth neares to just below the transducer. Also make sure you know which is the depth and velocity column in your file.
Or This Icon
And Finally • Close down all the open boxes. • Save everything when prompted. • When finished click the Sound Velocity icon again. • Make sure you have saved the correct Active Velocity. • Close the Velocity Profile Window.
Add the Transponder as usual Enter the Correct serial number Don’t forget the release box Select MPT
Go to Configure Transponder Either from the menu on the top, Configure Transponder, or right click the icon and select Transponder
Tab to the second Page The Release button is down here. You only get asked once if you are sure you want to Release the Transponder The second page is marked as Transponder Functions It is quite useful to configure the Green Dot screen as Trend. Then setup the Trend menu to monitor Depth from the Transponder
Activate the Calibration transponder, after it has been deployed and is on the bottom Calibration Transponder
Click on Utility, then on Transducer Alignment Transducer Alignment
A dialog ox like this will appear. Select your calibration transponder from the drop down menu. Also if you have more than one HiPAP, select the one you are calibrating. Select your Transponder Drop down Menu The transducer being calibrated
Note. You must have GPS, preferably DGPS into the system and working. The Transponder The Transducer
Decide if you want to start and stop the calibration manually or automatically after a chosen number of position pairs . Normally I would select “After # position pairs” choose 100
The Pattern • It doesn’t matter on the chosen pattern • The preferred method is 4 Cardinal points and a spin stopping at each quadrant, over the top of the transponder. • Note Stay in the beam footprint of the transponder • Ie a 324 transponder, is a 30Khz, 2000 meter depth rated, and a +/- 45 degree beam pattern.
Press the “Calculate” button. After a short period of time an answer will appear. Ensure this box is ticked Number of points logged
The Answer Number of points used in the caculation The new values for the transducer The update button must be “Live”
If the “Update” button is not active, you will need to close all the dialog boxes and log on as “Service”
Logging on as Service Select “User”
Logon Select Logon
The Password is ALWAYS 1997 The Password
Select Yes The new Pitch Roll and Gear (Rotation) will be down loaded into the tranceiver Almost Done
When you get to this one Right click on the transponder. Select “Save Measurements As” Save the file, the default is the Transponder channel, ie B42 The transducer being calibrated ie 11,21, 31 etc if you have more than one, And the time the file was saved. You can name the file anything you like. Save Measurements as
Finished • The system is ready to go to work. • Easy