Download

1 / 6
70 likes | 187 Views
Learn how the first car was built using the assembly line process in the early 1900s, from sourcing parts to final inspection. Detailed stages and processes are explained with images.

E N D
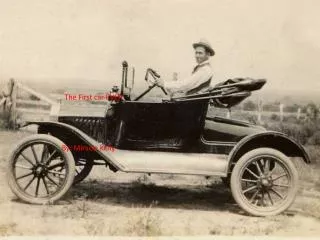
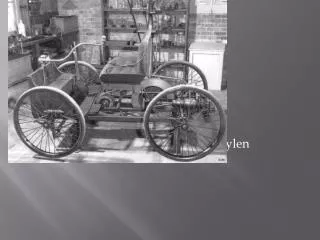
The Very First Car By: ChristianP
The First Assembly Line in the Early 1900s Stage l: components (parts) The parts are made in different locations. The company buys the parts from the suppliers. They send the supplies by a truck or railroad and take it to the plant. The plant gets the supplies and then put some.
Chassis and Body • Stage 2: - The assembly line starts with the chassis, which the frame of the car. • The frame is attached to the assembly line. Then workers add the gas tank, rear axles, drive shafts, and gear boxes. • The shell of the vehicle is built. • The body is built up on a separate assembly line from the chassis.
Paint and Outer Details • Stage 3: • 9 after the e-coat Dath, the shell is again dried in a boat. It proceeds on to the final paint operation. • It’s painted by hand with a brush. • After the shell leaves the paint are it is ready for interior assembly.
Inside Details and Final Inspection Stage4: The seats, the spin drive and the carpet are installed. Pedals and rear bumper is added. It is now ready to mate with the chassis.
Credits: http://www.flickr.com/photos/70626035@N00/8197154039/ http://www.flickr.com/photos/sherlock77/1563525819/ http://www.flickr.com/photos/rpmarks/3269429082/ http://www.flickr.com/photos/dok1/4547024596/