Download
1 / 4
40 likes | 52 Views
The following are the quick steps that help to know how to setup HP Photosmart 7520 printer in no time. Continue reading this page for more printer related queries.<br>

E N D
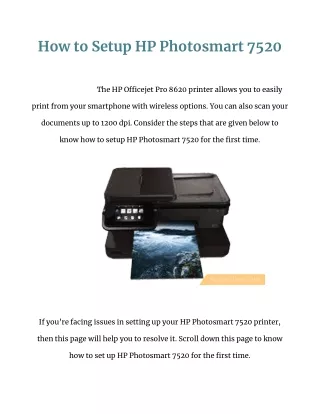
How to Setup HP Photosmart 7520 The HP O?cejet Pro 8620 printer allows you to easily print from your smartphone with wireless options. You can also scan your documents up to 1200 dpi. Consider the steps that are given below to know how to setup HP Photosmart 7520 for the first time. If you’re facing issues in setting up your HP Photosmart 7520 printer, then this page will help you to resolve it. Scroll down this page to know how to set up HP Photosmart 7520 for the first time.
HP Photosmart is an all-in-one printer that uses the thermal inkjet method to perform the print operation. This printer will be the right choice for the one who wishes to perform the printer-related operations over a wireless network because it only supports wireless and Wi-Fi Direct. The step-by-step instructions given below explains how to setup HP Photosmart 7520 for the first time. Step 1: Unpack the printer ● Place the HP Photosmart 7520 printer on a table. ● Open the product box. ● Take the printer and its components out of the box. ● Remove the packing tapes present on the printer. ● Make sure to completely remove the packing tapes present inside and outside of the printer. Step 2: Turn on your printer ● Get the power cord that is provided with your printer. ● Plug one end of the power cord into a wall outlet and the other end to the power adapter.
● Connect the power adapter to your printer. ● Now, turn on your HP printer by pressing the Power button on its control panel. Step 3: Set the basic printer settings ● As soon as the printer turns ON, wait for it to complete the initial boot-up process. ● Once it is done, you’ll be asked to choose the desired language and country or region ● After selecting the settings correctly, save them by tapping Yes. move on to next step to know how to setup HP Photosmart 7520. Step 4: Position your printer’s control panel display ● Raise the control panel display of your printer. ● Adjust the display and the viewing angle as per your desire. ● After setting them, tap OK > Setup. Step 5: Configure your printer’s time & date ● When the Set Time menu is displayed, configure the time & date settings of your country correctly. ● Using the up or down arrow buttons, set the time. ● Finally, press the OK button.
Scroll down this page to know how to set up HP Photosmart 7520. Step 6: Load paper ● Get a stack of plain paper. ● Open the photo tray of your printer. ● Load the stack of plain paper in the tray. ● Align the paper correctly and close the tray. For more info, please visit our page given below. https://techie-bee.co/how-to-setup-hp-photosmart-7520