Download
1 / 3
30 likes | 44 Views
If you want to setup HP Officejet Pro 9010 printer quickly, then you are in the right place. It supports a USB 2.0 connection and wireless connection.<br>

E N D
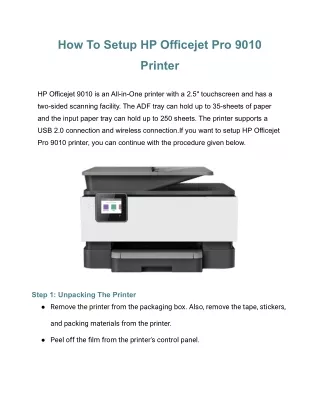
How To Setup HP Officejet Pro 9010 Printer HP Officejet 9010 is an All-in-One printer with a 2.5" touchscreen and has a two-sided scanning facility. The ADF tray can hold up to 35-sheets of paper and the input paper tray can hold up to 250 sheets. The printer supports a USB 2.0 connection and wireless connection.If you want to setup HP Officejet Pro 9010 printer, you can continue with the procedure given below. Step 1: Unpacking The Printer ● Remove the printer from the packaging box. Also, remove the tape, stickers, and packing materials from the printer. ● Peel off the film from the printer's control panel.
● Open the scanner cover and remove the packing material. Now, close the scanner lid. ● You can leave the packing materials for recycling. Step 2: Connecting The Power Cord ● First, plug the printer into an electrical outlet. ● Turn on the printer and then set your preferences. ● Connect the power cord to the rear side of the printer. Plug in another end to a power outlet. ● If the printer does not turn on automatically, press the Power button. ● Select your language and touch the Confirm option. Also, select your country/region. ● Now, you can proceed to set up the HP Officejet Pro 9010 printer. Step 3: Installing The Ink Cartridges ● Unpack the ink cartridges and install them. ● Raise the front door and open the ink cartridge access door. ● The carriage will now be moved to the center of the printer. ● Wait until the printer is idle and install the ink cartridges. Remove the film from the ink cartridges. ● Insert the ink cartridges into the right slots by following the color codes on the label.
● Now, close the front cover and ink cartridge access door. ● Touch OK on the control panel of the printer. Step 4: Loading Paper ● You can load plain A4 paper or U.S. letter into the printer. ● Make sure to align the printhead after loading the paper. ● Pull out the input tray and then remove the packing materials. ● Load paper into the input tray and place the print side down. ● Slide the paper guides to the paper's edges and then insert the input tray into the printer. Tap OK on the control panel. ● When prompted to align the printhead, press OK. ● Otherwise, select Align Printhead from the Setup menu and print the Alignment page. ● Open the scanner cover and place the alignment page on the scanner glass. Make sure to put the page facing down. ● Close the scanner cover and then touch Scan. ● The HP printer will now scan the alignment page and display the Alignment Successful message on the screen. For more info, please visit our page. Link given below https://techie-bee.co/how-to-setup-hp-officejet-pro-9010