Download

1 / 5
50 likes | 68 Views
Learn how to perform differential correction in Pathfinder Office to improve the accuracy of your data. Follow step-by-step instructions to select files, choose processing options, and select a base station provider. Once corrected, compare the corrected data with the original to see the difference in accuracy.

E N D
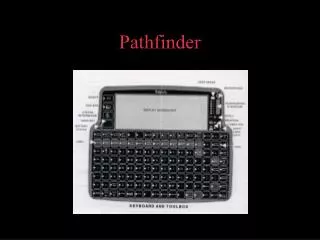
Correcting Your Data In Pathfinder Office v. 3.1 Upon its collection, your data will not be as accurate as it could be. To insure that your data is as accurate as possible, you must complete a process called differential correction. Differential Correction compares your data with data from a permanent, static base station in order to improve your data’s accuracy. Generally, you will need to wait until after the top of the hour after you have recorded data before you try to correct it. For example if you record data from 2:00pm to 2:30pm you need to wait until after 3:00pm to correct.
Differential Correction 2. Go to the “Utilities” menu and then “Differential Correction.” 3. When the Differential Correction box open, check to see that the files you wish to correct are listed. Click next to continue. 1. To start Differential Correction, open the file or files you wish to correct using Pathfinder Office.
5. The default settings in this window are OK, so click Next. 4. The next screen allows you to select the type of processing you would like to perform. Although we only use Standard Code, leave the default bullet checked that encompasses both types. 6. Now we would like to select the provider that will supply us with the base station data needed to correct our raw GPS file. With the Base Provider Search bullet selected, click Select.
9. After the FTP process updates the provider list, notice who the providers are in your area, the distance to them and the integrity index. Choose the provider closest to you and select OK. If that one doesn’t work, then continue down the list until you find one that does. 8. You should see this window. 7. When the Select Base Provider window opens, click update list. NOTE: Your network must be able to FTP to continue. If you cannot, contact your system administrator. 10. Click Next 11. Click Start
12. You should get a box like this. Take your time and scroll through the information noticing how much of and how well the data was corrected. Your new file will have the same name as the uncorrected file, but a new extension of .cor. 13. After you have corrected your data, you may, want to open both your .ssf file and your .cor file to see how much the data has shifted by using the measure tool. Measure between two analogous points and notice the distance between them in the lower left portion of the window. The next section will show you how to export your files for use in a GIS.