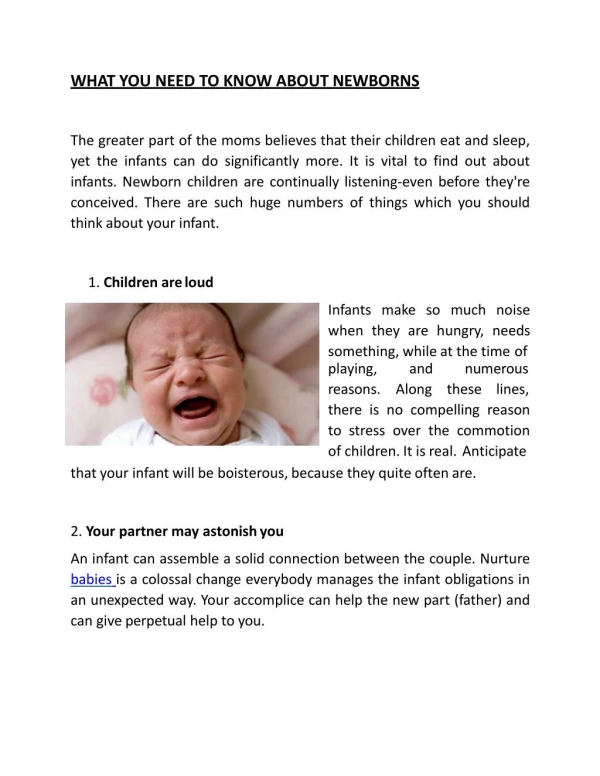
Download

1 / 2
20 likes | 23 Views
" How to " questions answer at your fingertips If youu2019re looking for an answer to a u201cHow tou201d question, youu2019ve come to the right place. And if we donu2019t have an answer, weu2019ll find it for you.

E N D
What you need to know about wrapping a box with a ribbon Everyone has wrapped their gift and is ready to go. All it takes is a pretty bow, and tying a bow around the box gives it a nicer, more elegant feel than an adhesive bow. We show you how to tie a simple bow and how to create a diagonal bow and elegant woven look around your gift box! Lay the tape horizontally across the top of the box. Leave about 4 to 8 inches (10.16 to 20.32 centimeters) hanging to the side for the end of the bow. Don't cut the tape yet. • It is better to have more tape hanging over the side than too little. You can always cut it shorter later. Pull the remaining tape under the case and from the back to the front. Do not go tie a ribbon around a box or you may lose your place. Instead, lift the box and carry the rest of the tape behind. Replace the box once the tape comes out on the other side. Cross the straps across the front of the box. Bring the tie ribbon on gift toward the center of the box, then bring the shorter end closer. Twist the bands around each other so they are aligned vertically. • If your tape has a right side and a wrong side, you may need to rotate it twice to avoid seeing the wrong side of the tape. Wrap the tape around the back of the box and return to the front. Pick up the box again. Take the longer part of the tape out from behind the box and out the other side. Put the box down again. • Place your thumb against the crooked part to hold it securely as you wrap the tape around the back.
Cut the first piece of tape according to the measurements. Return the tape to the box's center. Measure it towards the end of the tape from the beginning and cut it. Wrap the tape under the twisted part. Pull the tape diagonally across the front of the twisted part. Put it under the crooked part and go back to the way you started. Pull both ends of the ribbon to tighten the knot. how tie a ribbon around a box. Fold both ends of the ribbon into loops. Cross the left loop over the right to make a smaller loop in the middle. Thread the left loop through this smaller loop, then pull to tighten it. Adjust the bow and then trim the excess tape. Take a moment to adjust the loops and tails. If you used a cable tie, you can also loosen the loops. For a fancier touch, cut the ends of the tails into angles or Vs. Adjust the bow and then trim the excess tape. Take a moment to adjust the ties and ends. If you used a cable tie, you can also loosen the loops. For a fancier touch, cut the ends of the tails into angles or Vs.