Download
1 / 6
60 likes | 157 Views
This tutorial explains how to install Citygrow modules CG400SWC, CG400SW, and CG400DM to control a line of lights. Learn about tools required, step-by-step installation process, and integration into a Zigbee network.

E N D
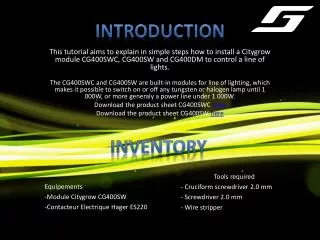
Introduction Inventory This tutorial aims to explain in simple steps how to install a Citygrow module CG400SWC, CG400SW and CG400DM to control a line of lights. The CG400SWC and CG400SW are built-in modules for line of lighting, which makes it possible to switch on or off any tungsten or halogen lamp until 1 000W, or more generaly a power line under 1 000W. Download the product sheet CG400SWC here Download the product sheet CG400SW here • Tools required • Cruciform screwdriver 2.0 mm • - Screwdriver 2.0 mm • - Wire stripper • Equipements • Module Citygrow CG400SW • Contacteur Electrique Hager ES220
Installation • Before handling Disconnect power by turning the power switch "off" before working on the grid. Always check that there is no current load with a tester before connecting a module. • Unscrew the protective caps of the Citygrow module terminals1. 1 2 • Using the 2.0mm screwdriver, release the terminal elevators of the module2. Connect the load and neutral inputs marked "input"3. Screw. 3
Installation • Then connect the output load and neutral terminals marked "output"4. Screw. 4 • Replace the protective cover5. Screw. 5
Installation • Connect the Load and Neutral from the high capacity line to the contactor6. • Connect the Out put Load from the CG400SW to the A1 connection* • (relay coil)7. 7 6 • Connect the Out pot Neutral from the CG400SW to the A2 connection* • (relay coil)8. 8 * The A1 and A2 connections are always controling the contactor’s coil.
CONCLUSION • The Citygrow CG400SW can now control the coil enabling the contactor to switch the main line On or Off9. 9 • Note : in this example, a 250V 25A contactor is used. • The Citygrow module is now ready to be integrated in the Zigbee network, via the mini USB connector6.
Citygrow SA 21, Rue du Mont-Blanc 1202 – Genève Suisse +41 22 732 34 80 – www.citygrow.eu